Developing My First Roll of Film at Home
Like everyone else, I shot film exclusively before the rise of digital cameras. It has really only been in the last three years that I have used film again as a hobby. During the pandemic I found shooting film and the limitations it put on me, as well as the mental challenge it provided, were a much needed escape. Now that I have the film bug though, it has meant needing to get it developed. I have been splitting my film development between London Drugs for all my standard colour photography (C-41 process) and Prism Imaging for all of my black and white and slide film (E-6 process). Unfortunately, Prism no longer develops film in its current incarnation and this has left me with limited choices for black and white development. London Drugs can send your film away, but it costs about $30, which is way too much. You can also go out to Kerrisdale Camera and have them send it away for a reasonable amount, but getting to Uptown is pretty challenging especially if you want to turn your film around in a reasonable amount of time. I could either give up on black and white or find another way.
Luckily, we have one of the best camera stores I have ever seen in Market Square, Camera Traders. And one of the things that they offer is developing equipment. Even better they have a bundled package that will give you pretty much everything you need to get started, even a roll of film. So I did what I needed to and put the developing kit on my Christmas wish list with the assumption that I wouldn’t get it. I guess since I am pretty lucky, my partner decided I should and on Christmas day I was looking at all the parts of a developing kit from Camera Traders.
As soon as I could, I got the roll of Ilford HP5 in my camera and started shooting, I figured that I should try it first before any of my other black and white films. It took me a couple of weeks to get through the roll as I was not trying to waste the film. Though in my stomach I knew that there was a good chance I would do something wrong and the pictures wouldn’t turn out.
Before I get into the actual process I should say what the kit comes with:
A two-roll 35mm Paterson Tank
A dark bag
Cinestill D96 Monobath Developer
Very detailed instructions with a practice piece of film
A roll of film
I added a couple of things to the mix like a film retriever, a funnel, a thermometer and some FlicFilm Slick 200 Wetting Agent. You will also need scissors, water and something to hang your film on for it to dry.
The day finally came when I would develop it. It is a bit of a process and I have to say, I was pretty nervous about it, especially trying to load the film on the spool. I practiced a couple more times with the practice strip that was provided in the kit and then got everything ready.
The first step is extracting the film from the exposed roll, for that I used a Matin Film Retriever. You can also get a can opener type tool and spool the film out in the bag, but with the film retriever you can actually start the roll on the reel before you put everything in the dark bag. With the film attached to the reel, I set out all the things I would need inside the bag: the paterson tank and lid, the film reel, and a pair of scissors.
I unfolded the bag, took my watch off and put it all in and then zipped it up and put my arms in. Once I reached in and felt where everything was I started to wind the film on and then disaster. I felt the film jam. I tried again and it jammed again. Panic was setting in, but I had known that this was a possibility and had asked at Camera Traders about it and they had said that sometimes if you trim the corners off the film lead it will load a little easier. So in the dark bag while not being able to see anything, I carefully trimmed the corners off the film. I slowly fed it back into the reel by touch and started to crank it along and this time it worked. With some careful work I got the full roll on and snipped the end by the canister. After the roll was inside the Paterson tank with its lid on I took everything downstairs to the bathroom to go through the second part of the process.
Just like baking a cake, I got all my parts ready for the developing. I put some paper towels on the bottom of the tub and then put my film-full tank on it along with the funnel, my kitchen thermometer, and the bottle of D96 developer. I also set my phone to timer. I checked the developer and it was a little cold so I placed it in some hot water till it reached 21 degrees. Okay the moment of truth… deep breath… And I poured it in and hit the timer. I had seen online that starting with tank inversions was the way to go so I did four inversions and then set it down. I was now going to lightly agitate the rolls in the developer every 30 seconds for 6 minutes. After the timer ran out I poured the developer back inside the bottle (you can use it up to 16 times). I then rinsed the film and added a couple of drops of wetting agent to the water and rinsed it again to coat it on.
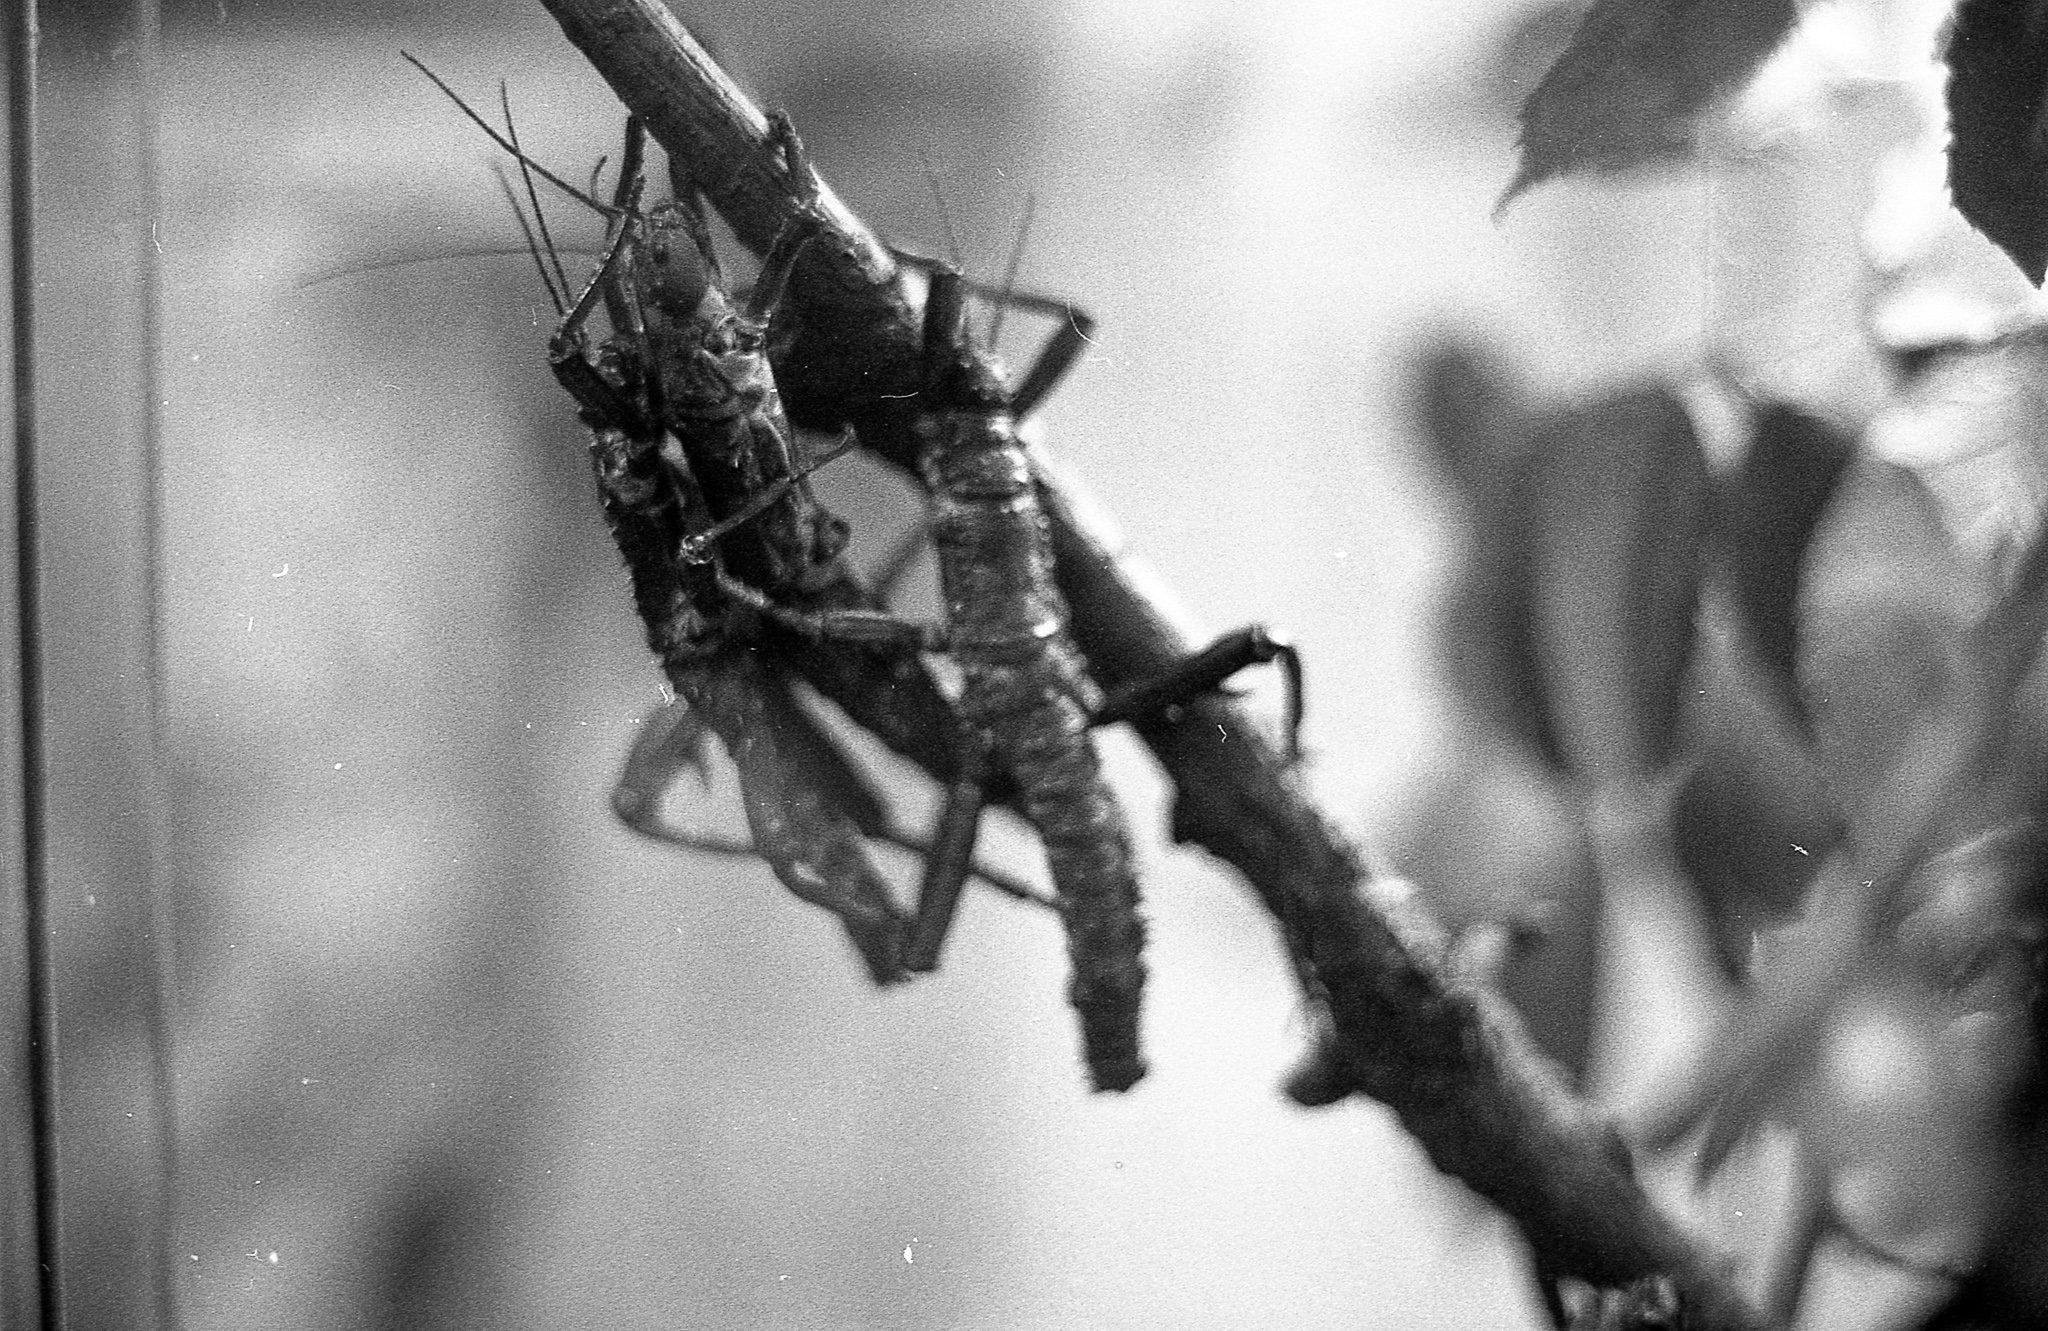
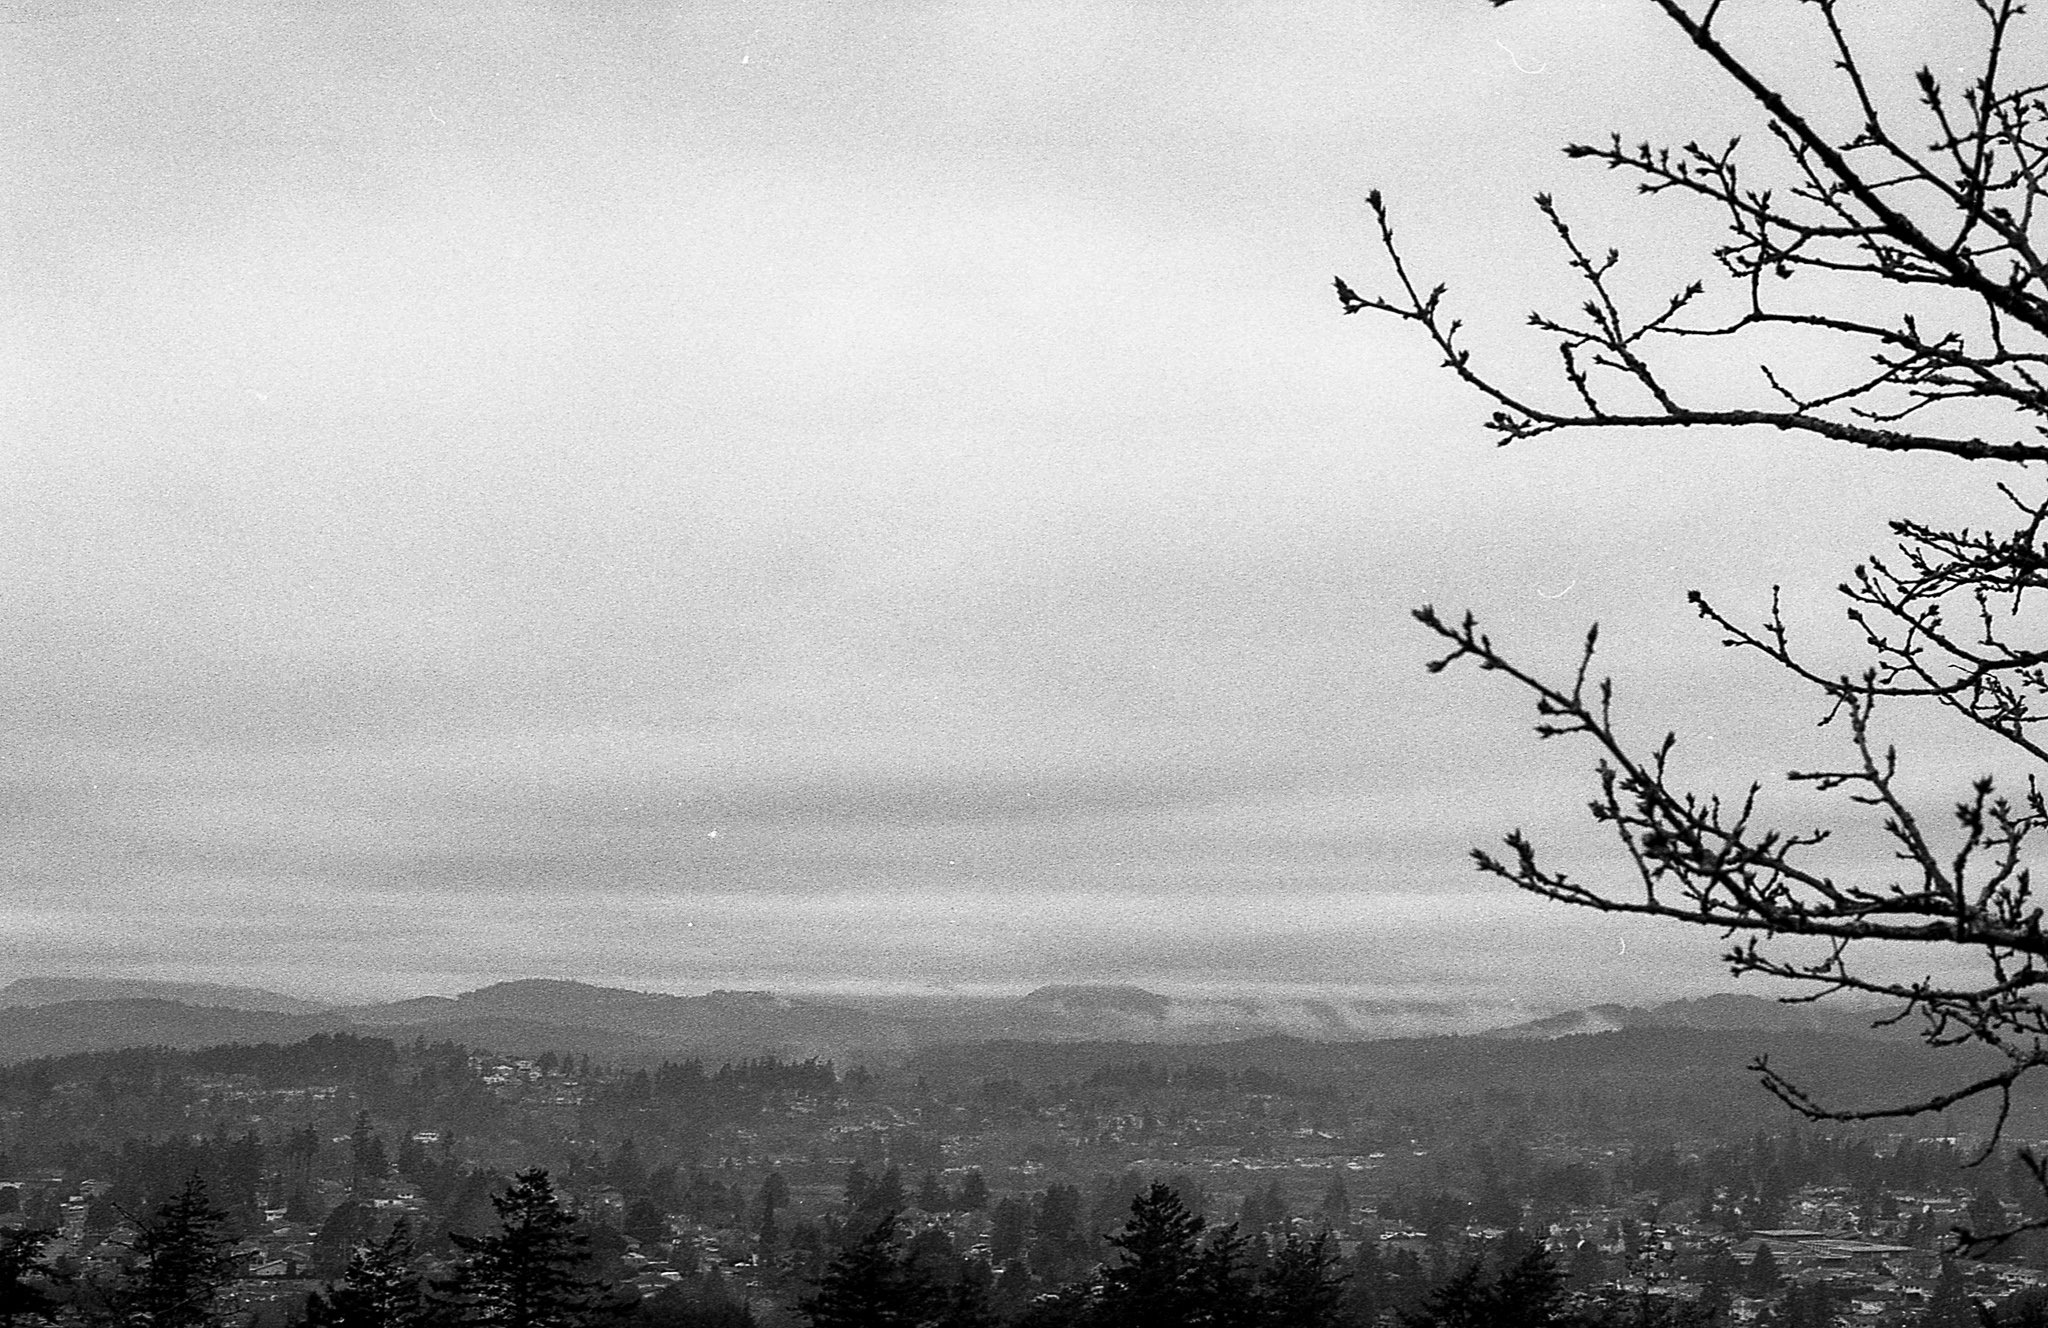
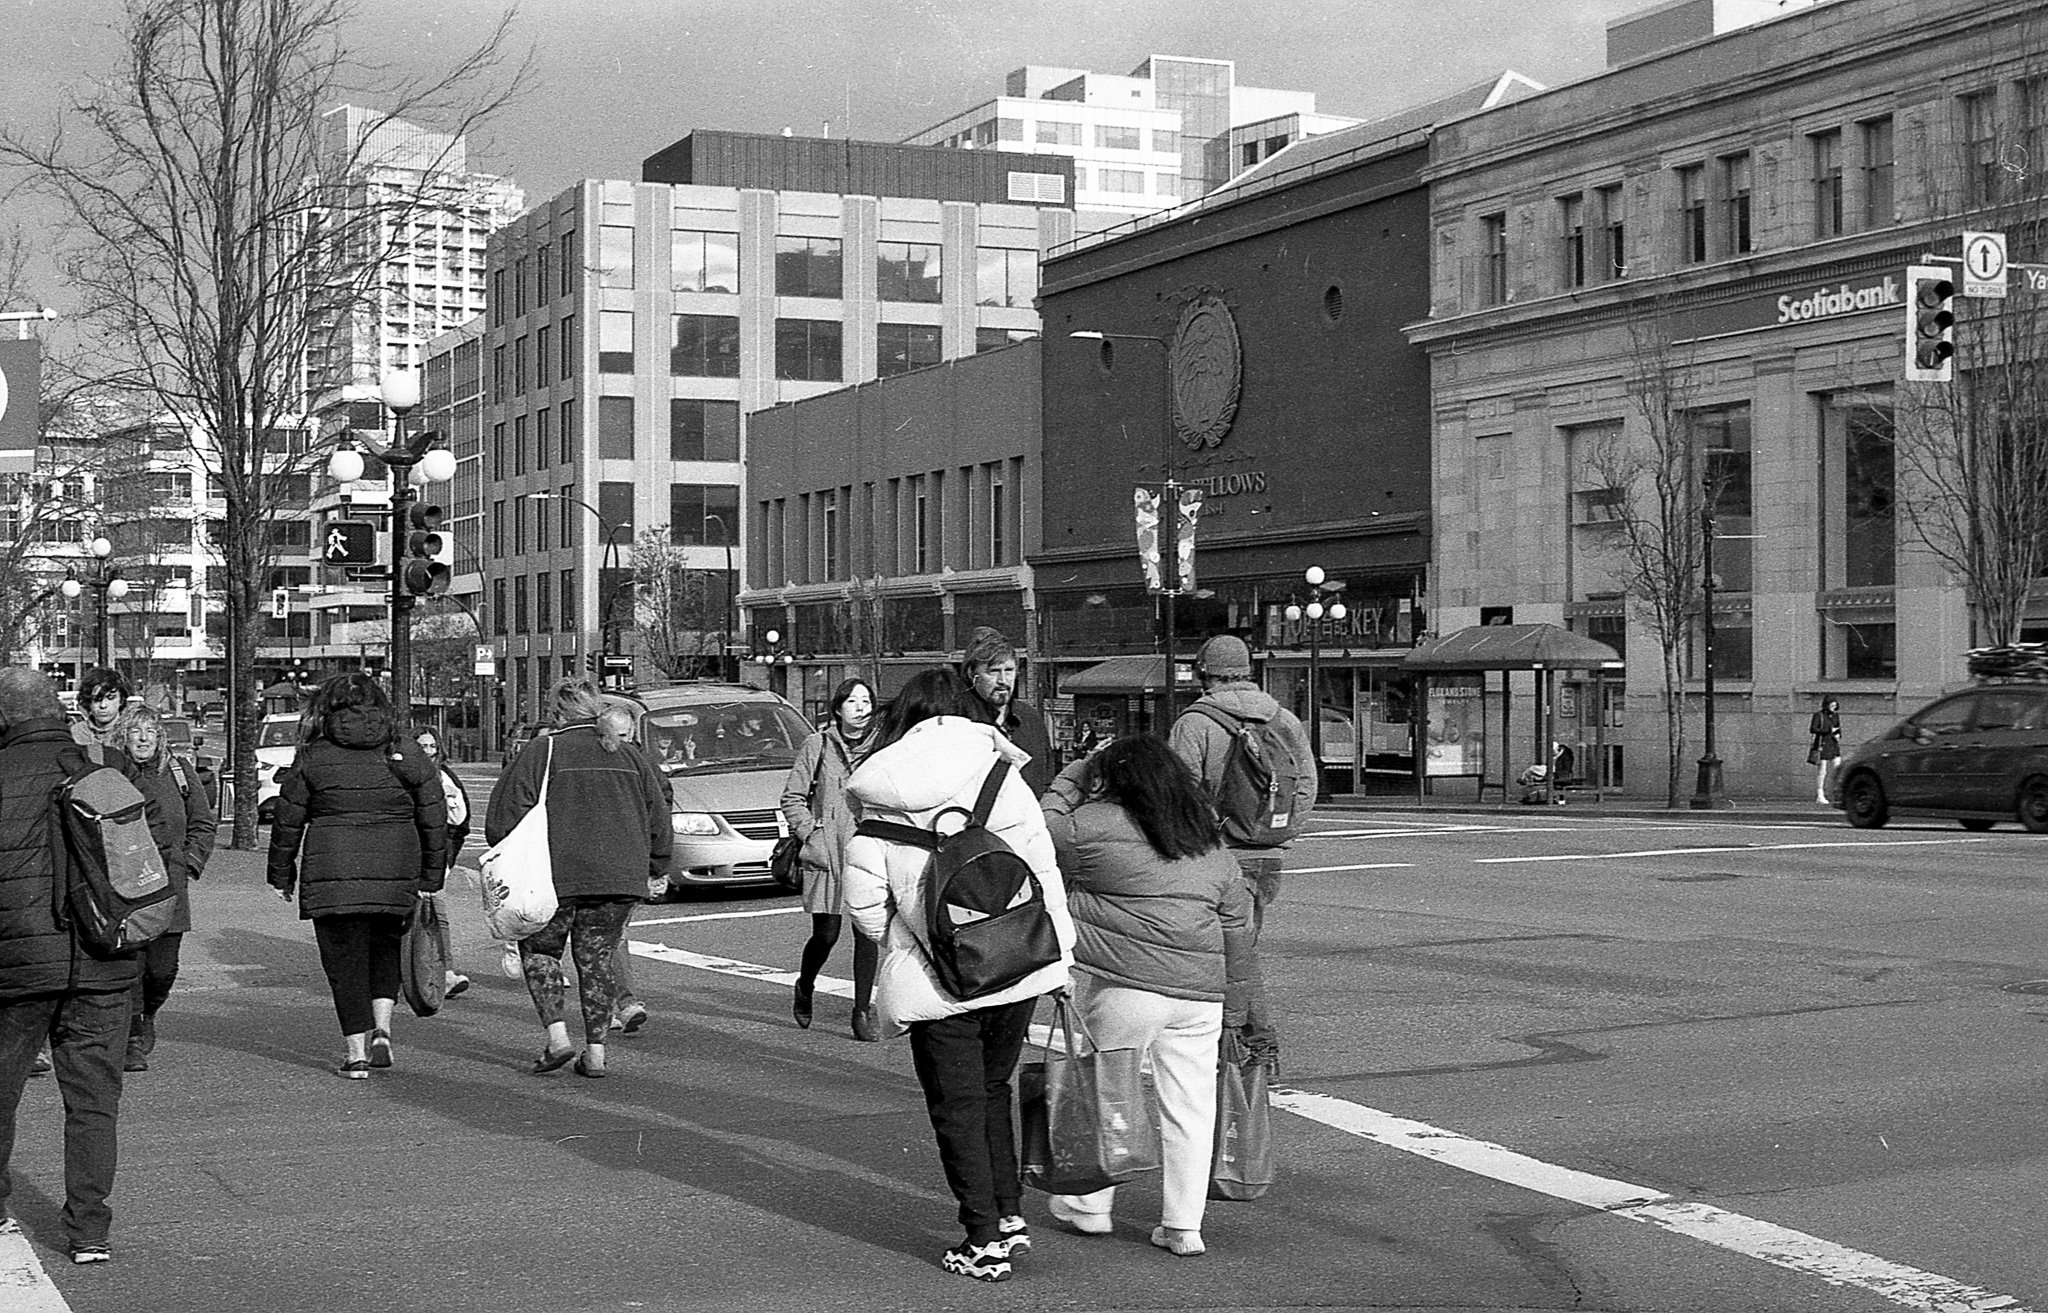
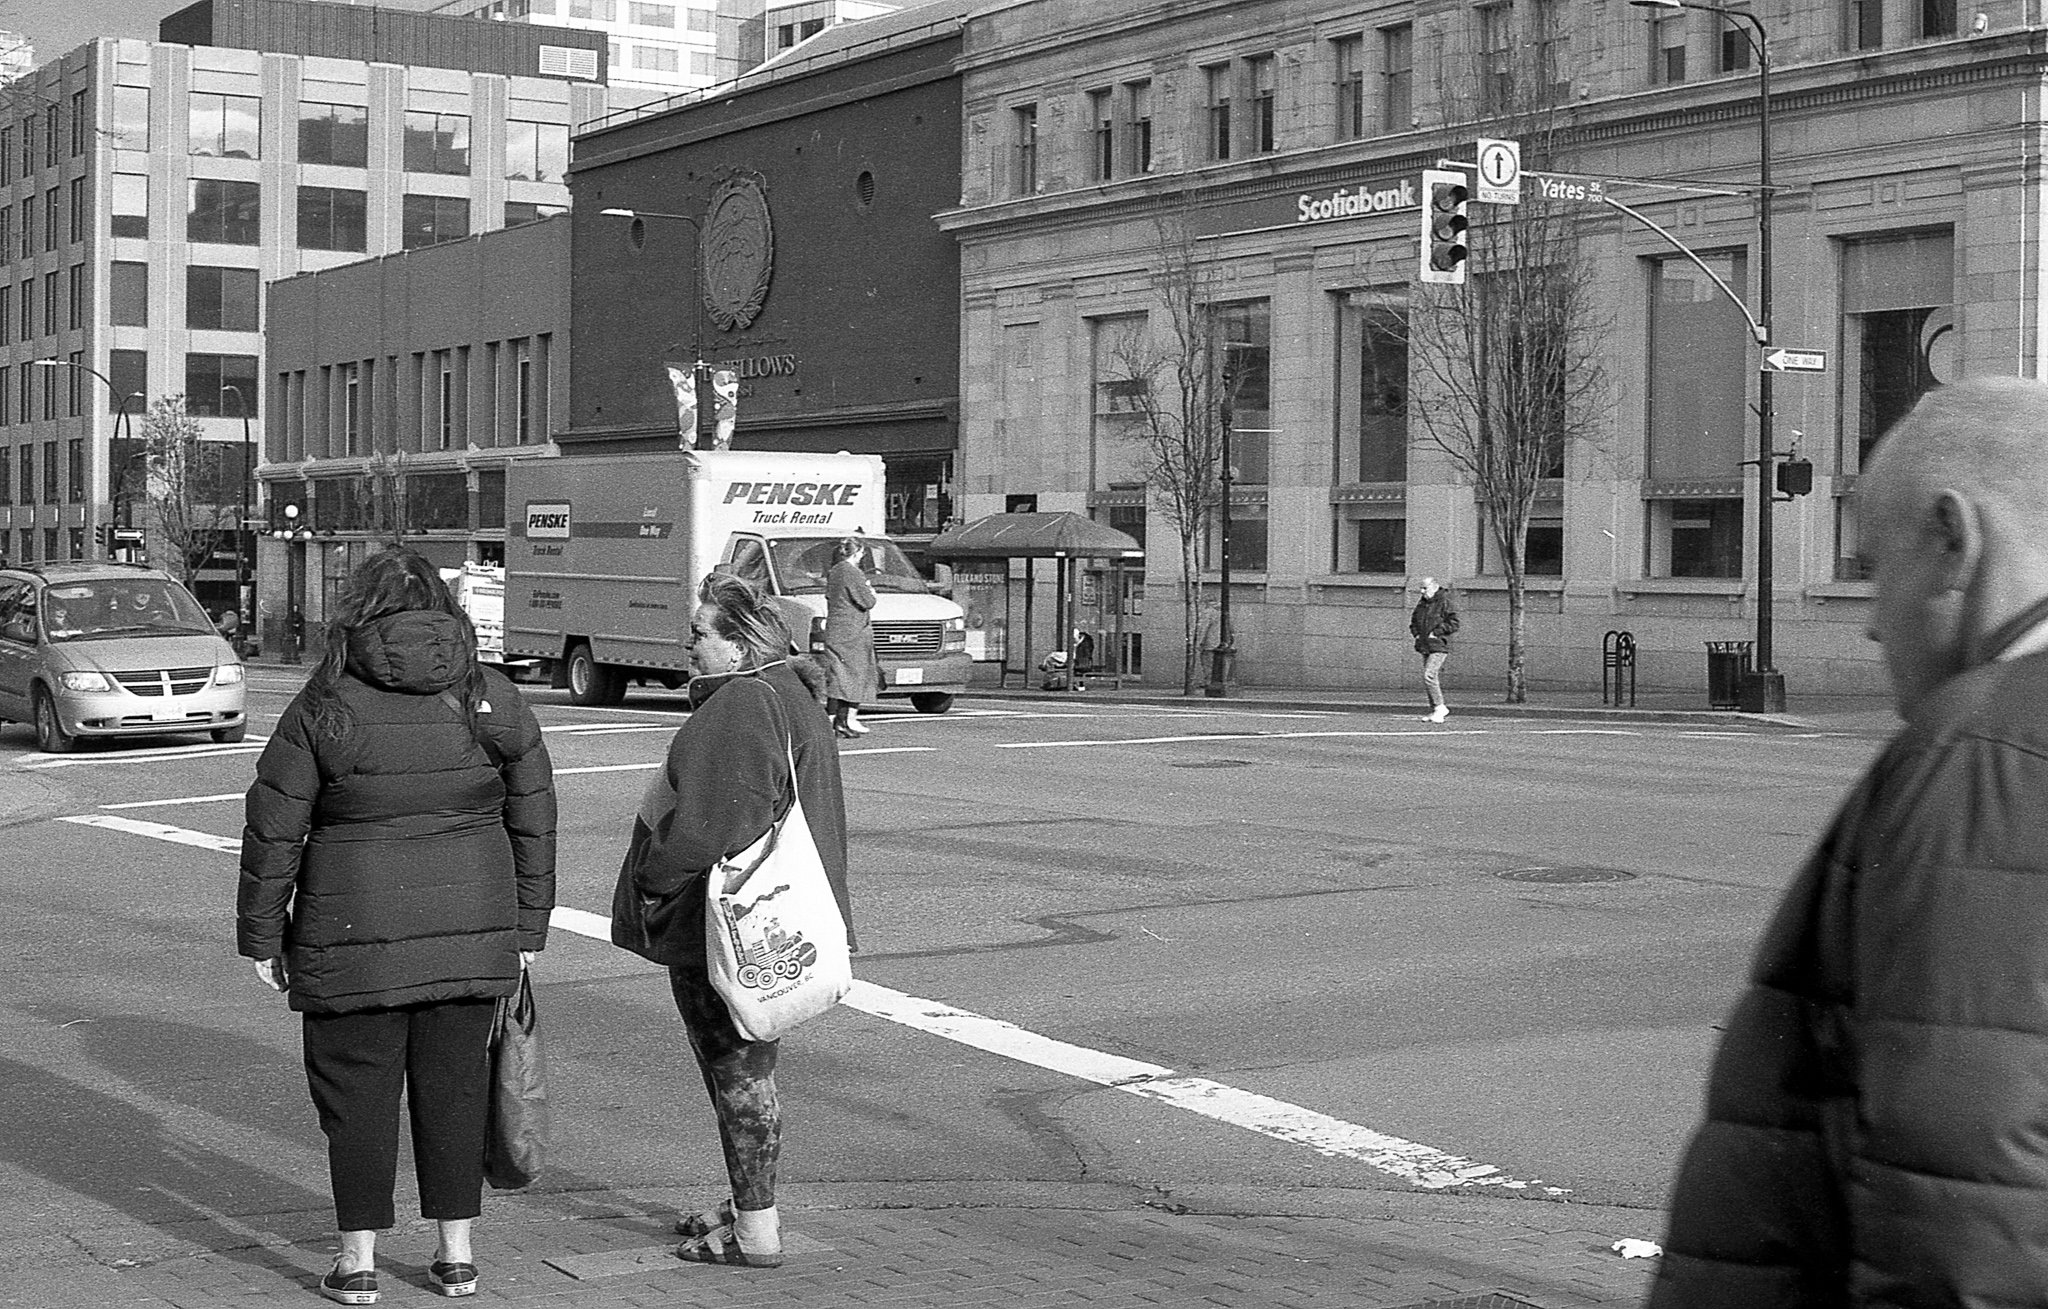
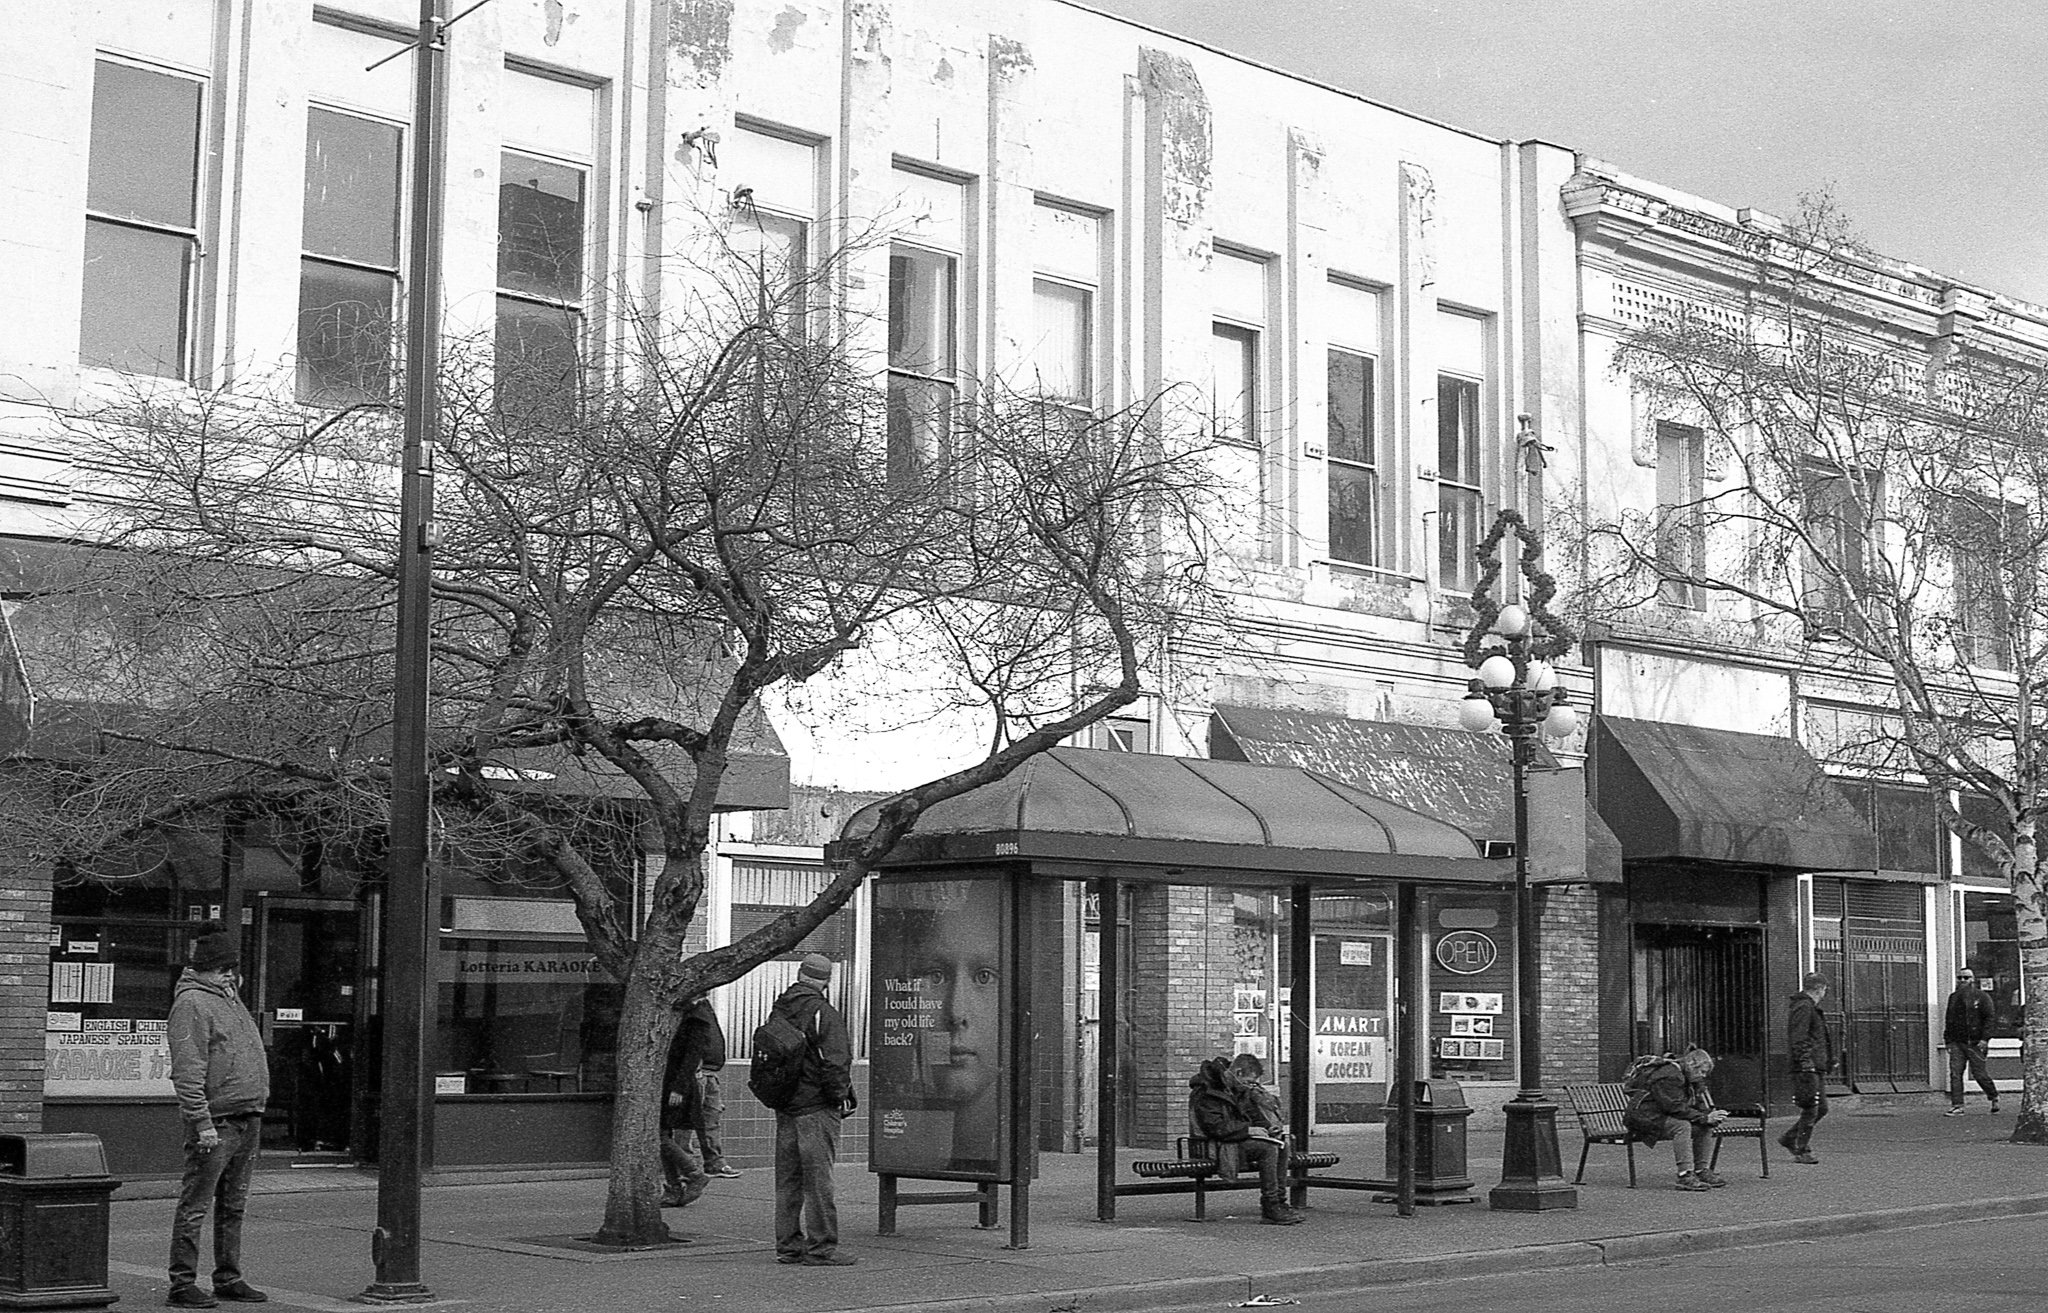
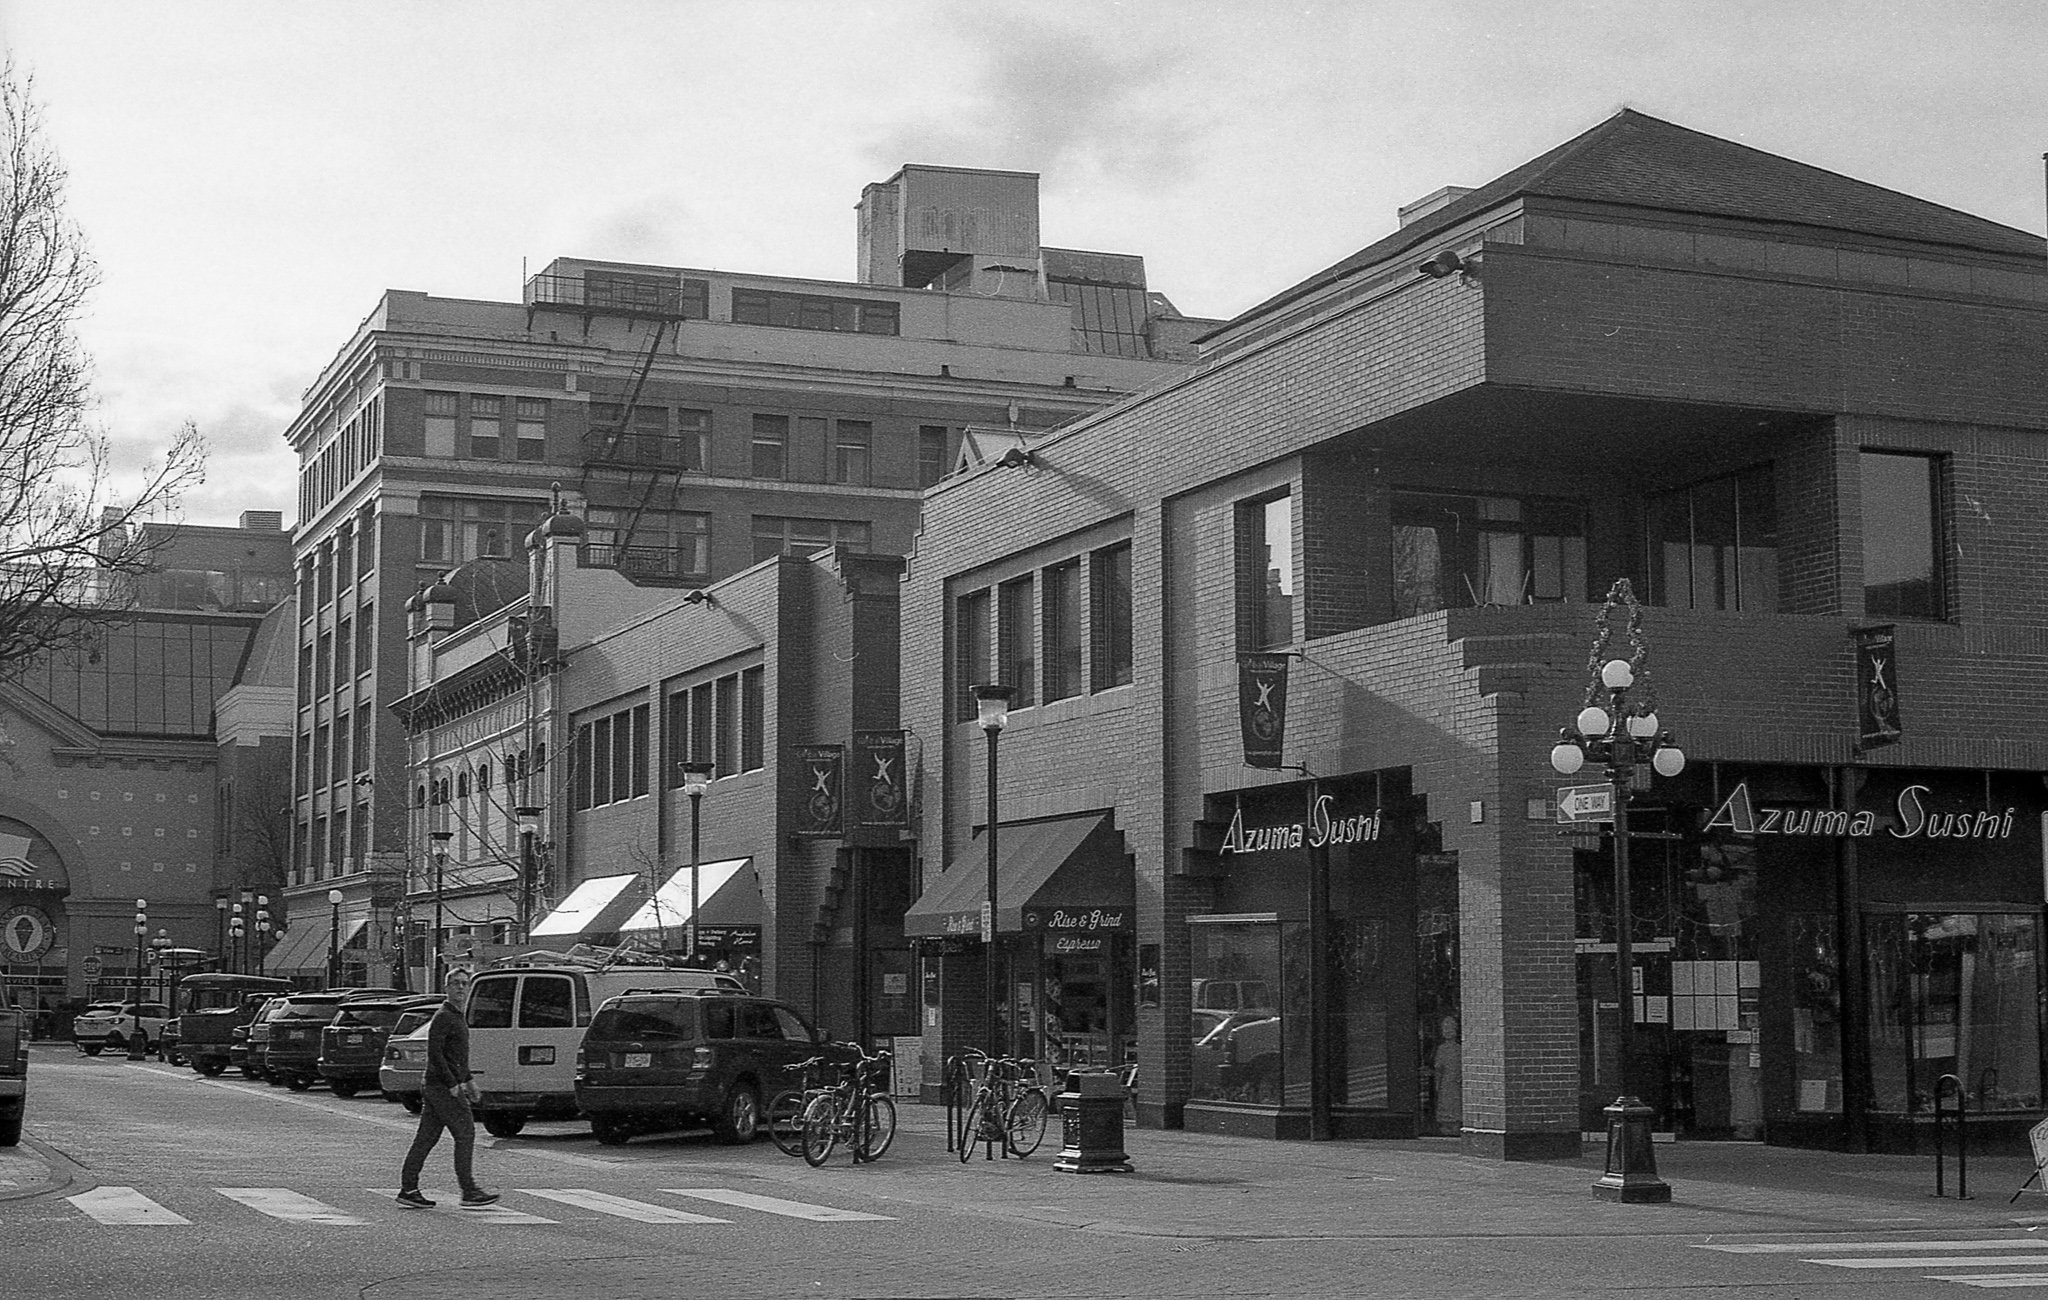
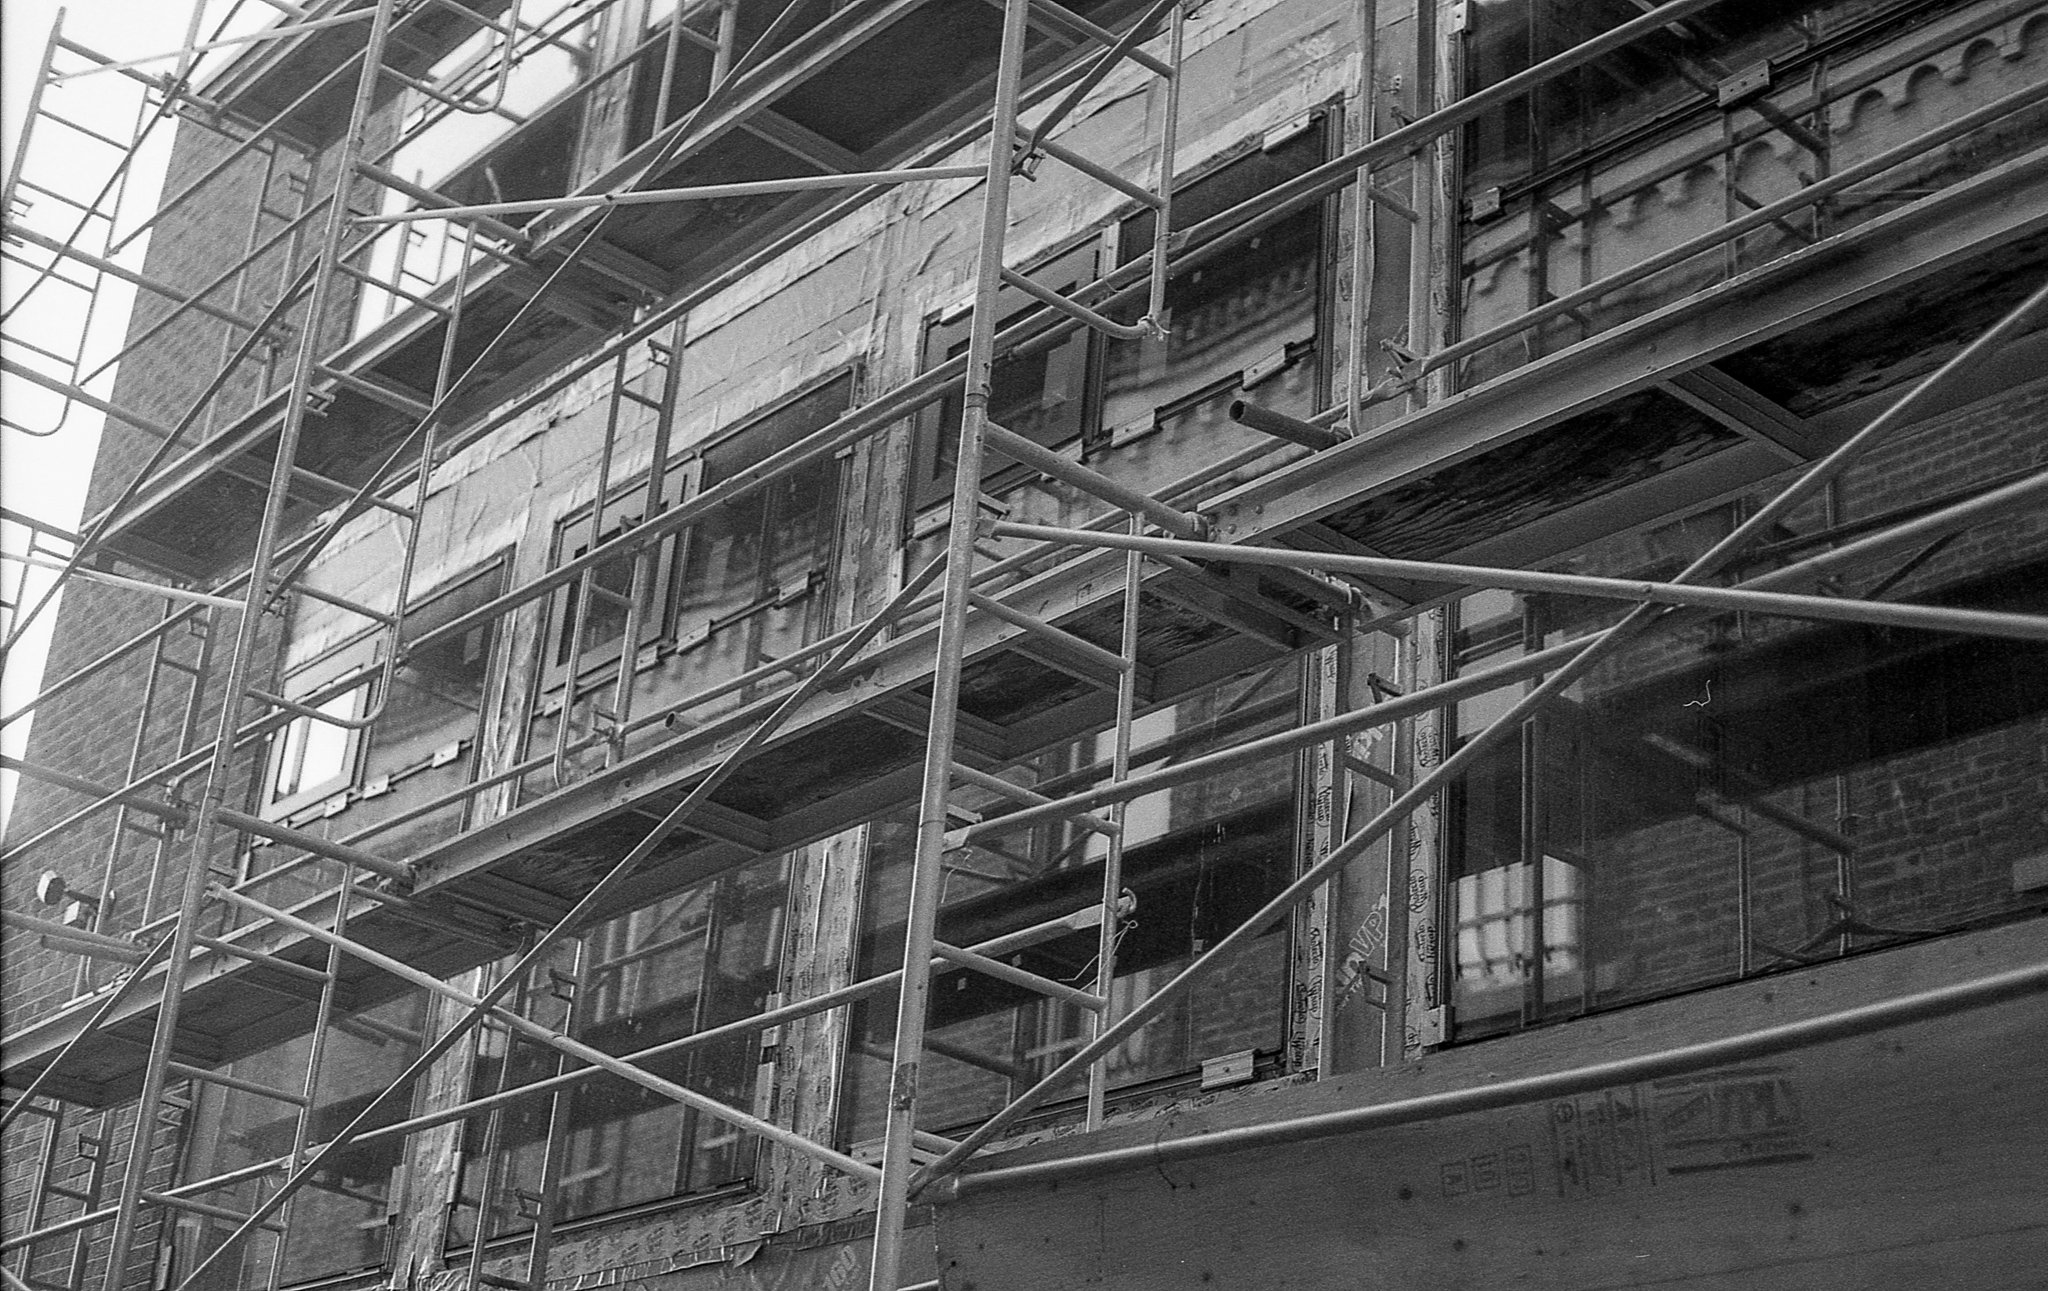
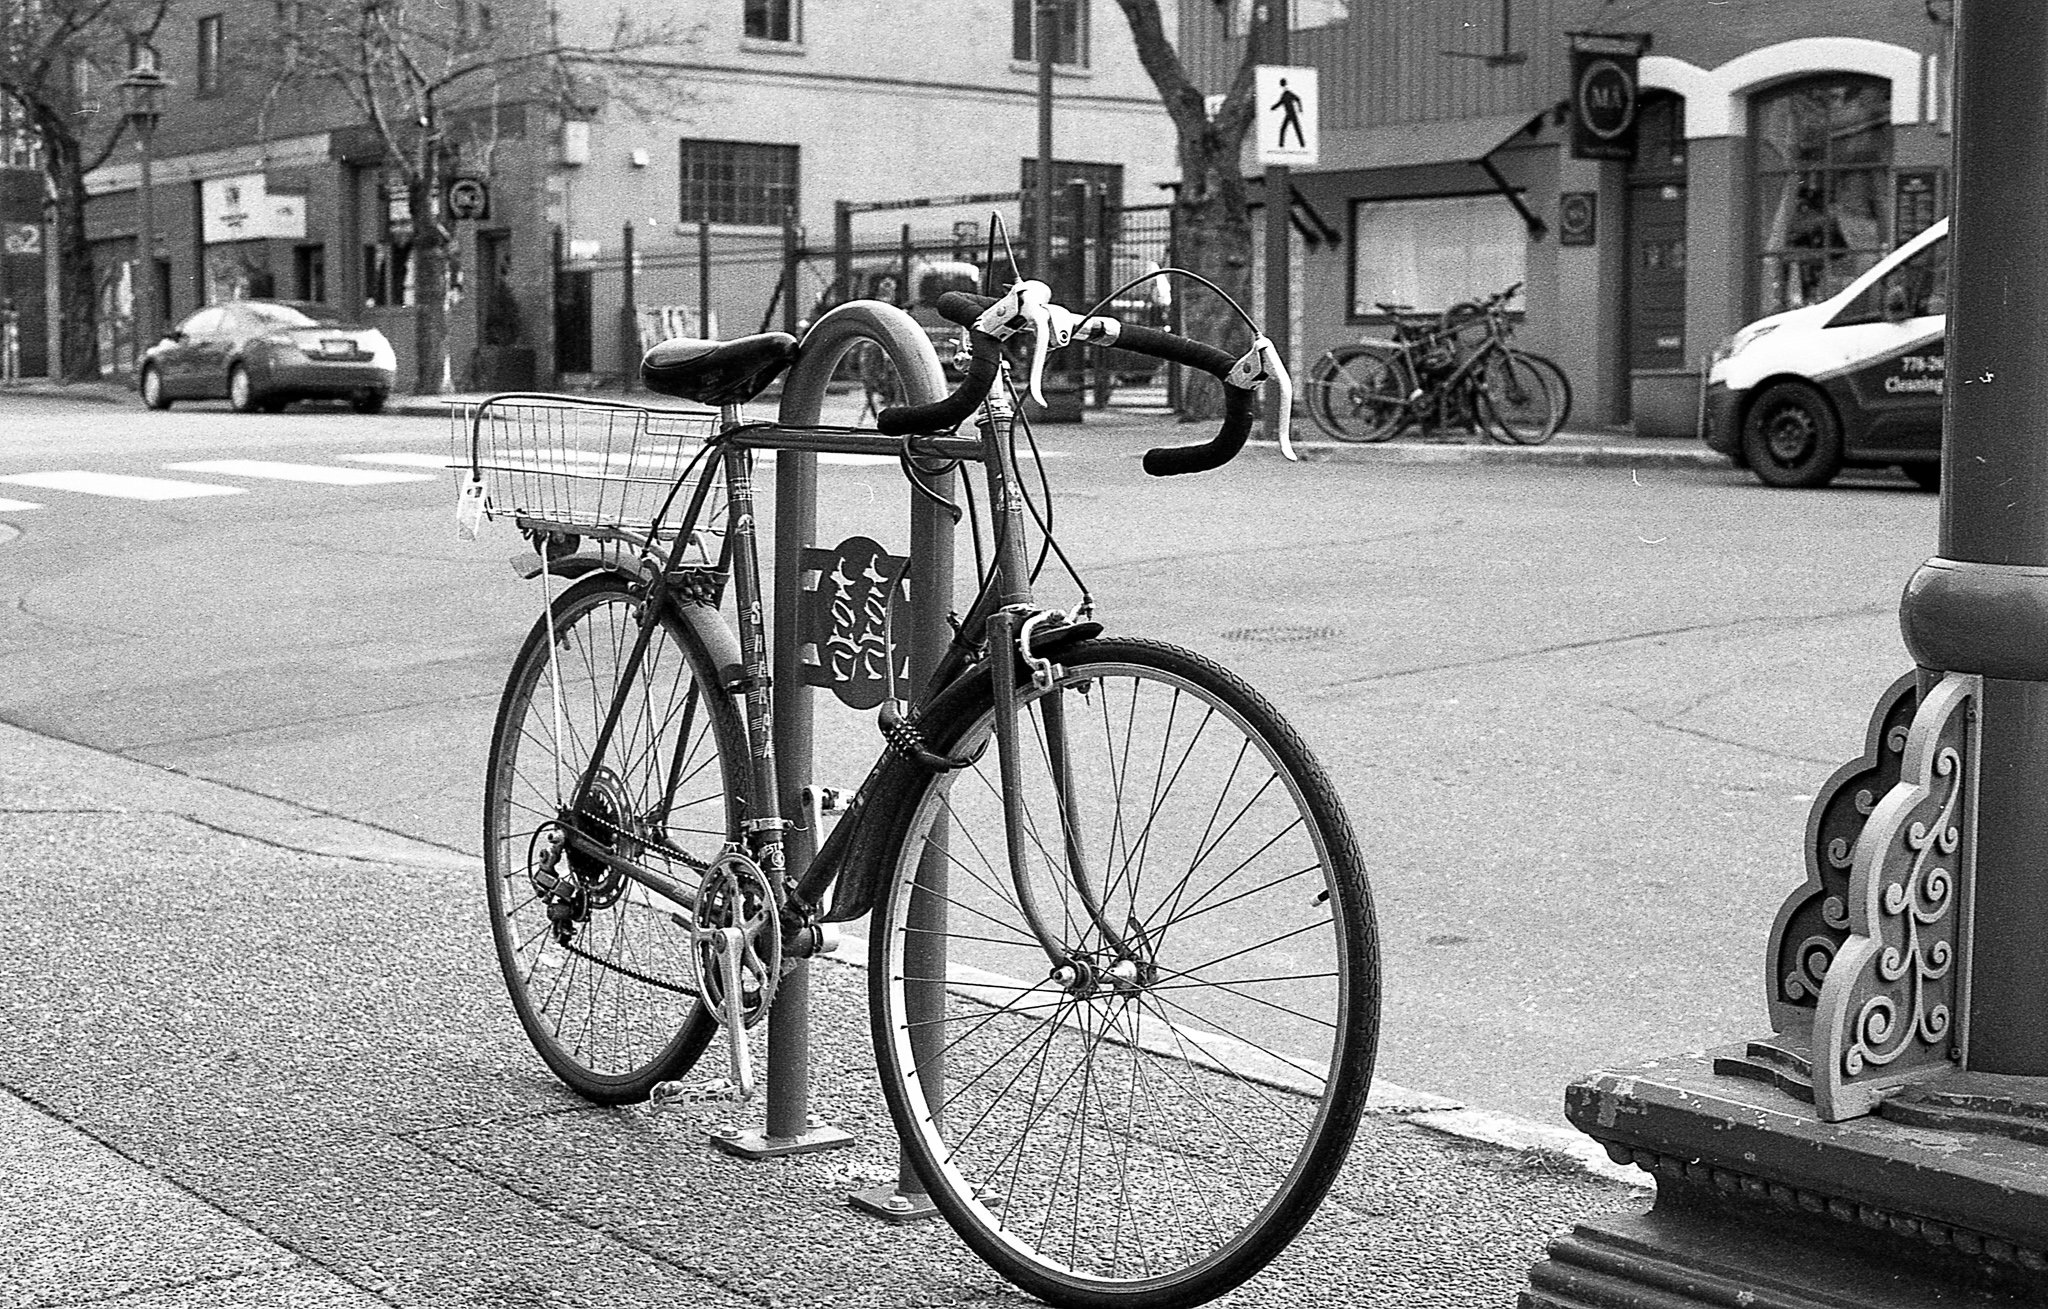
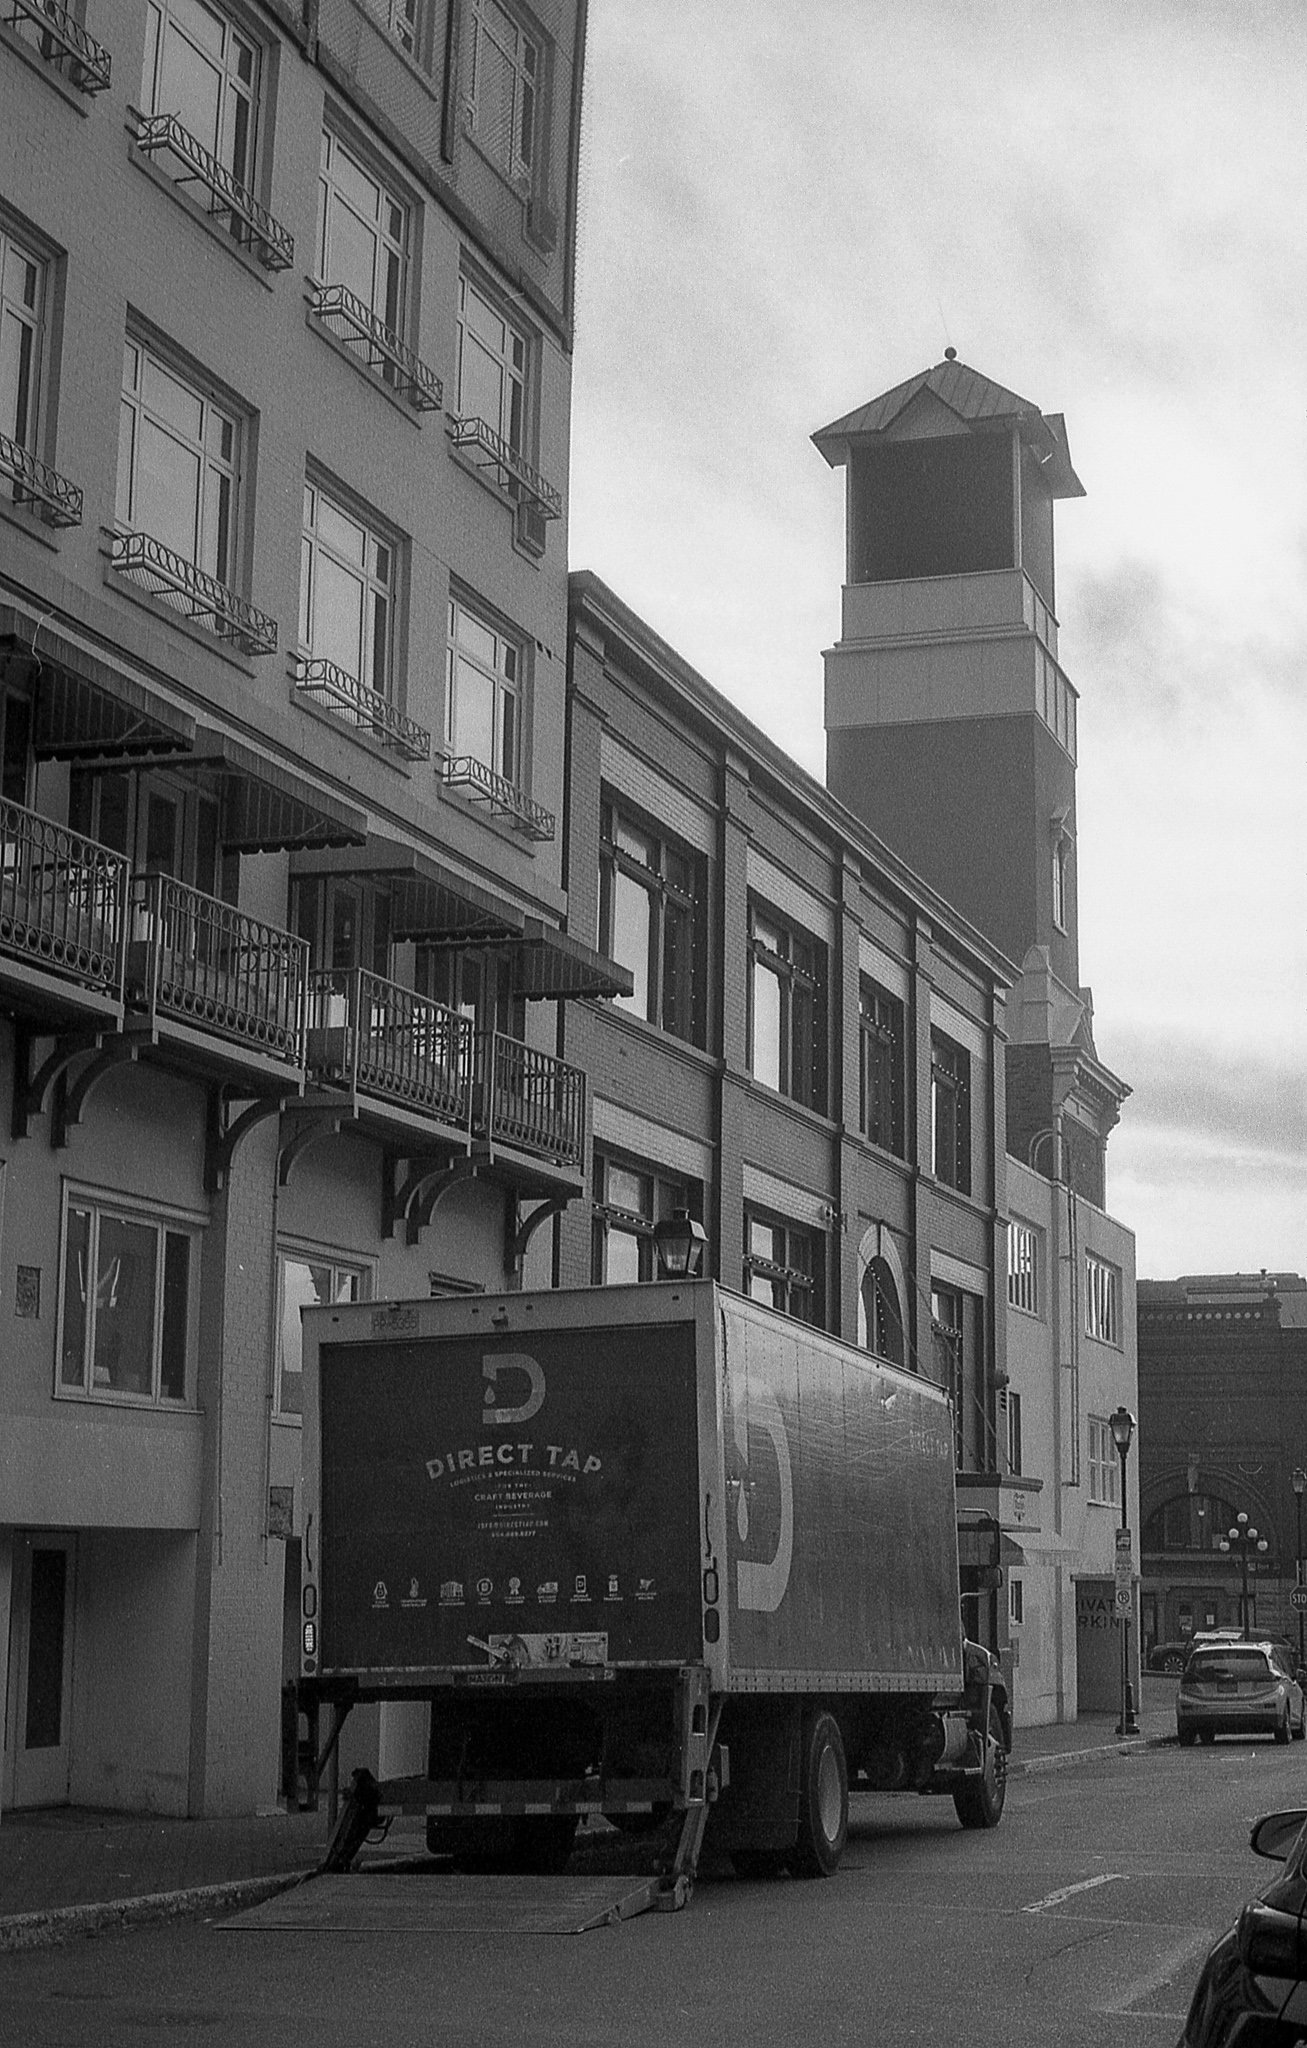
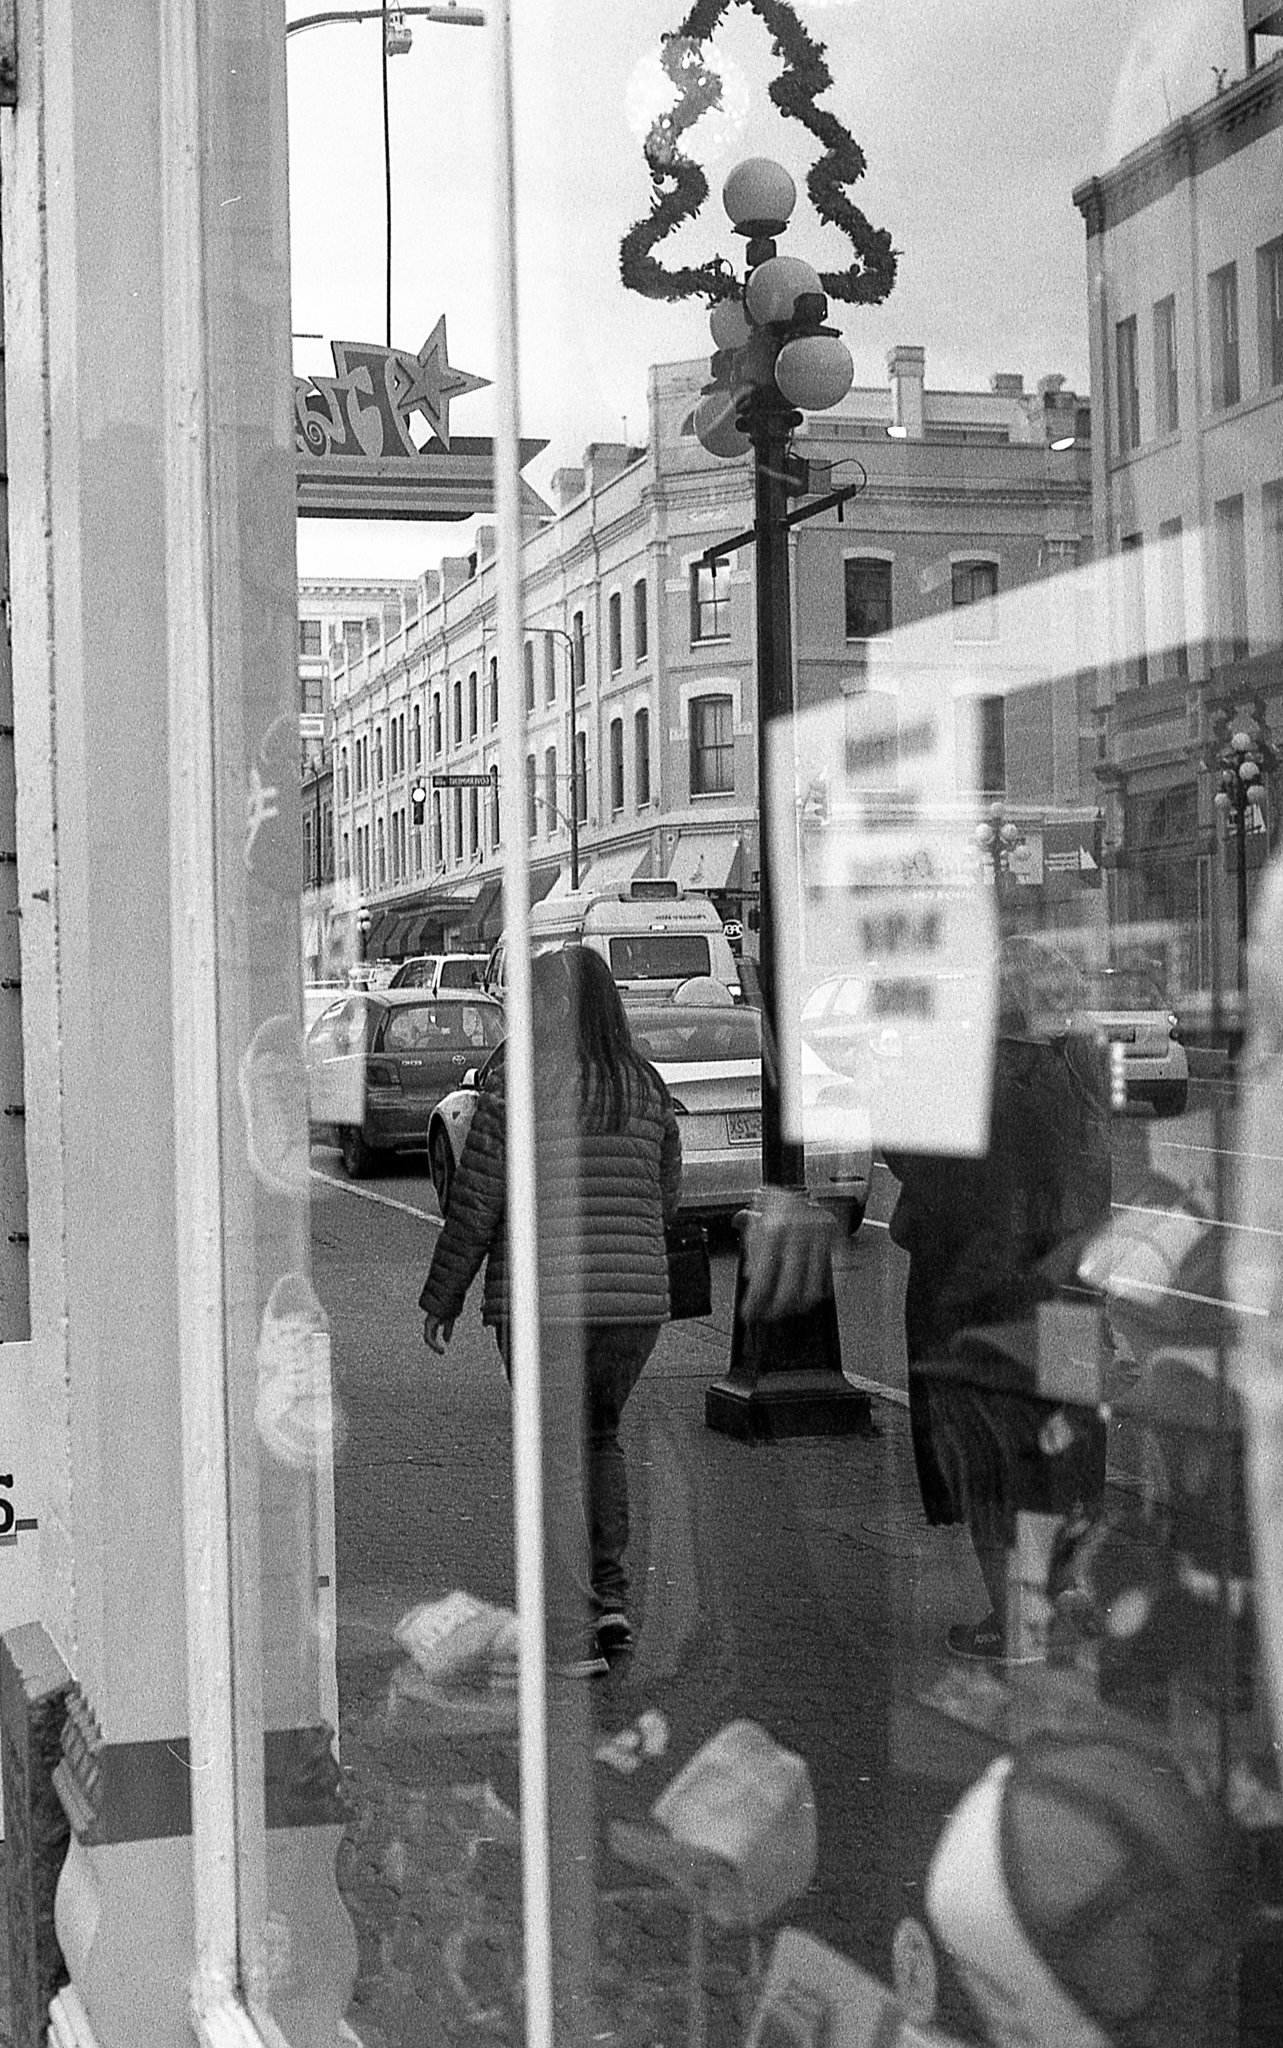
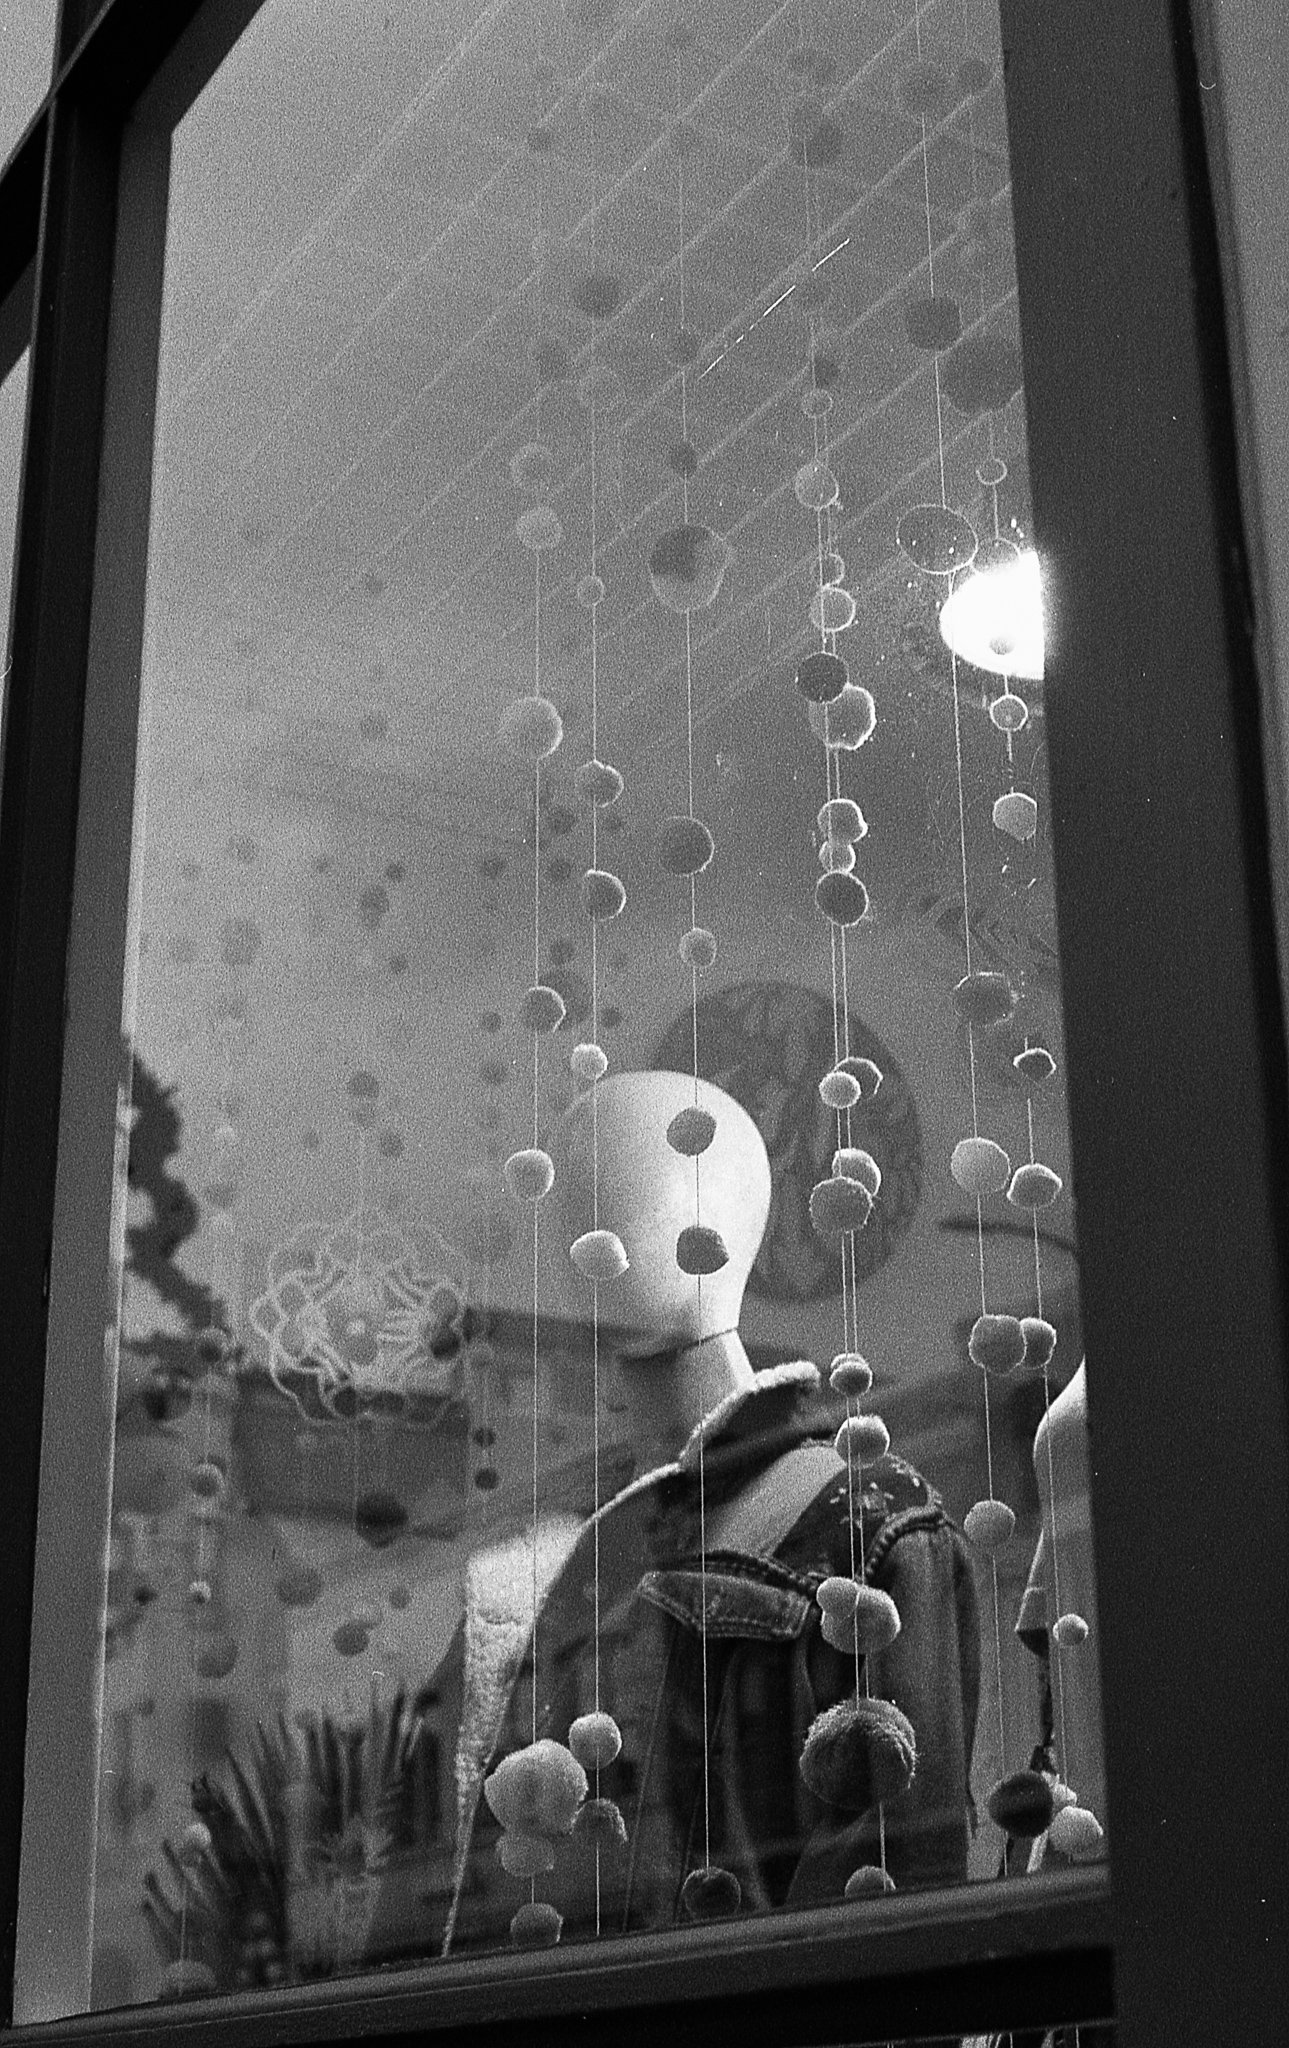
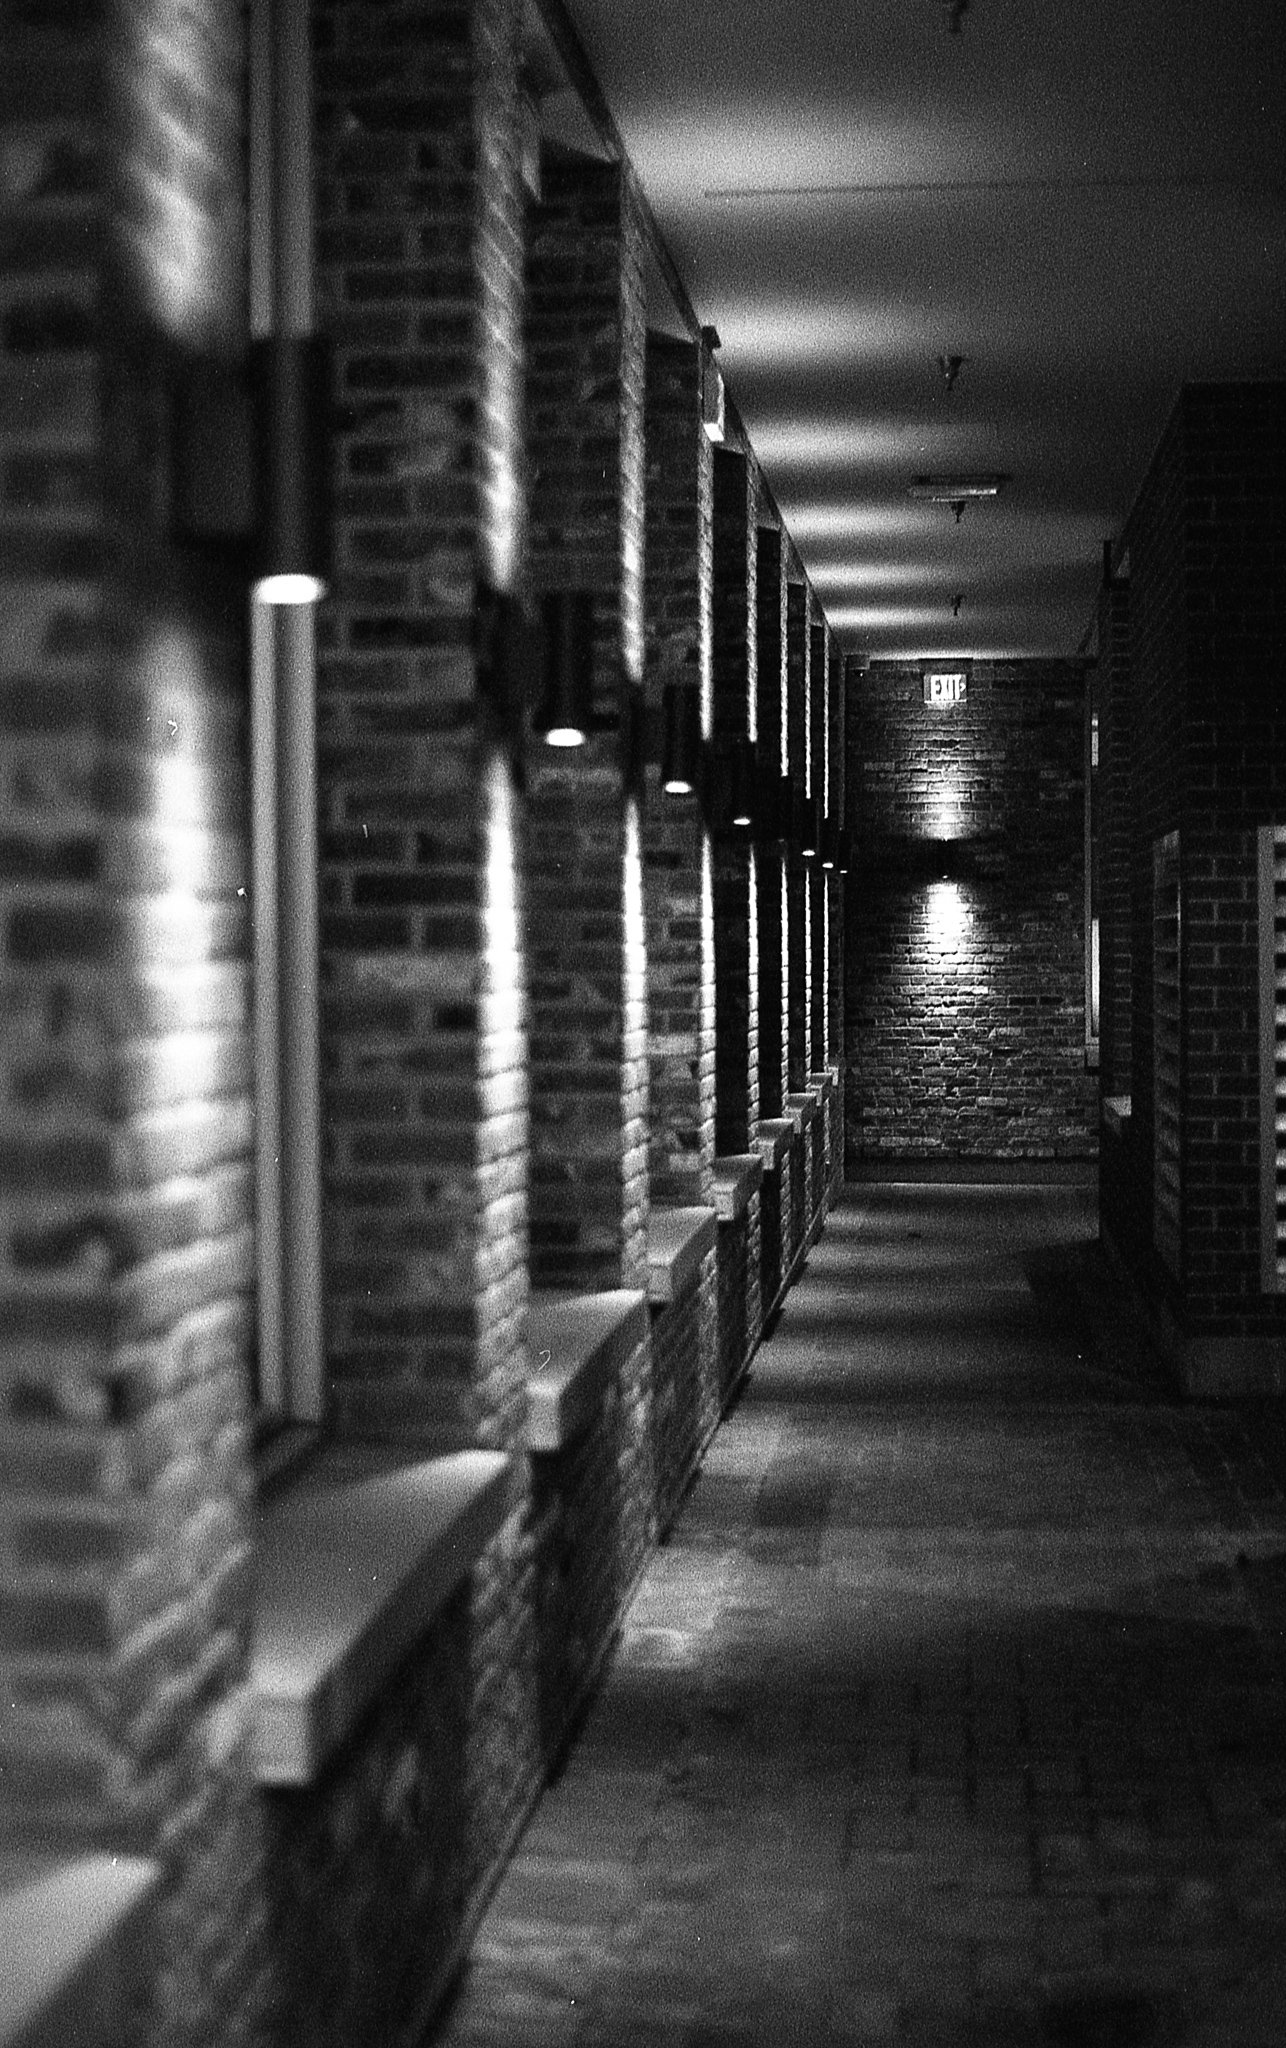
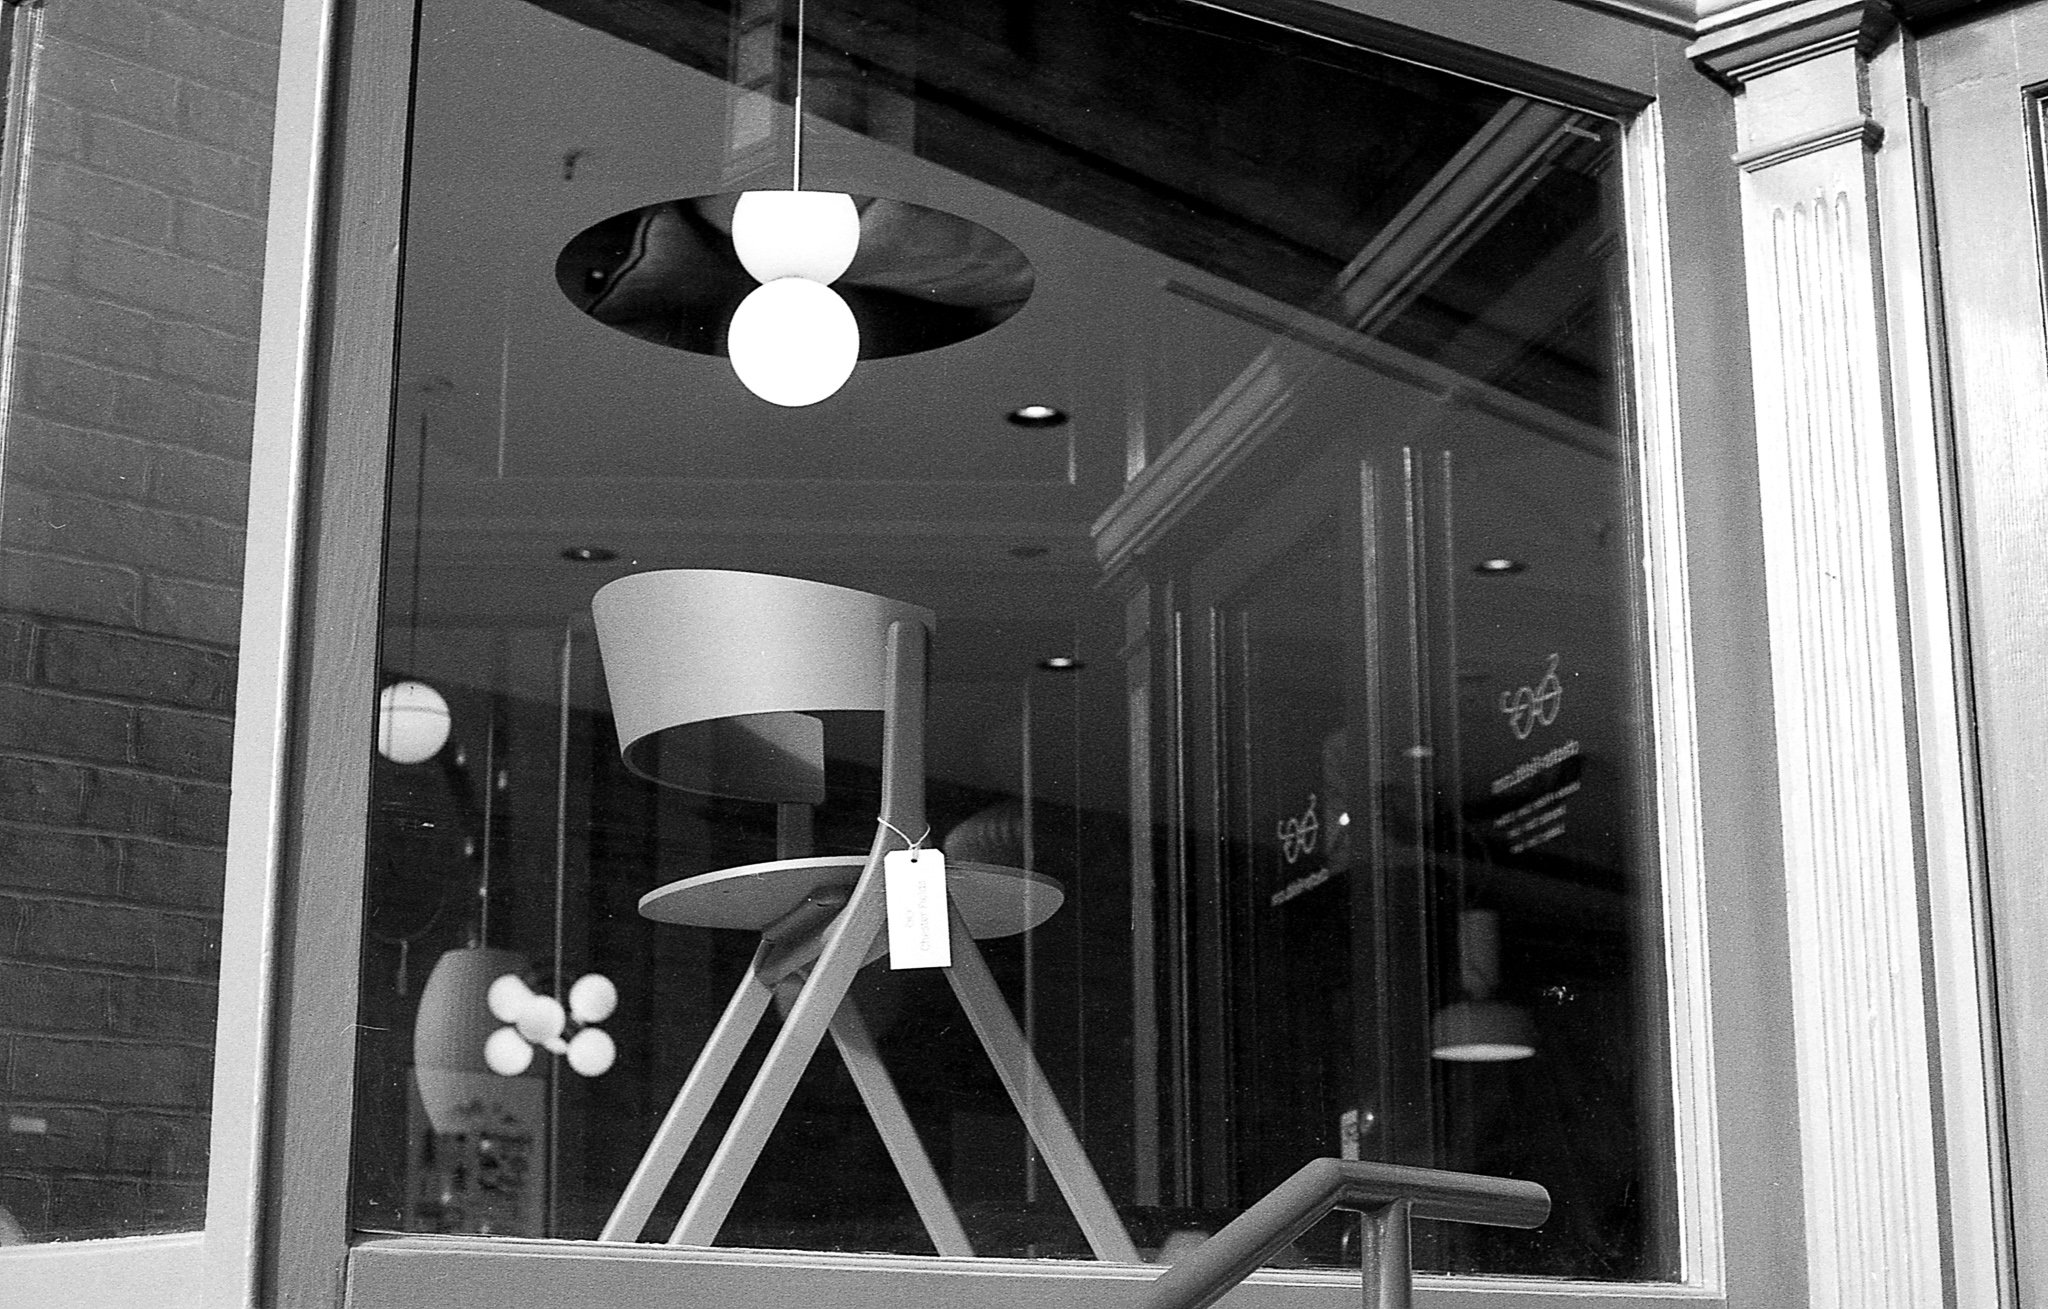
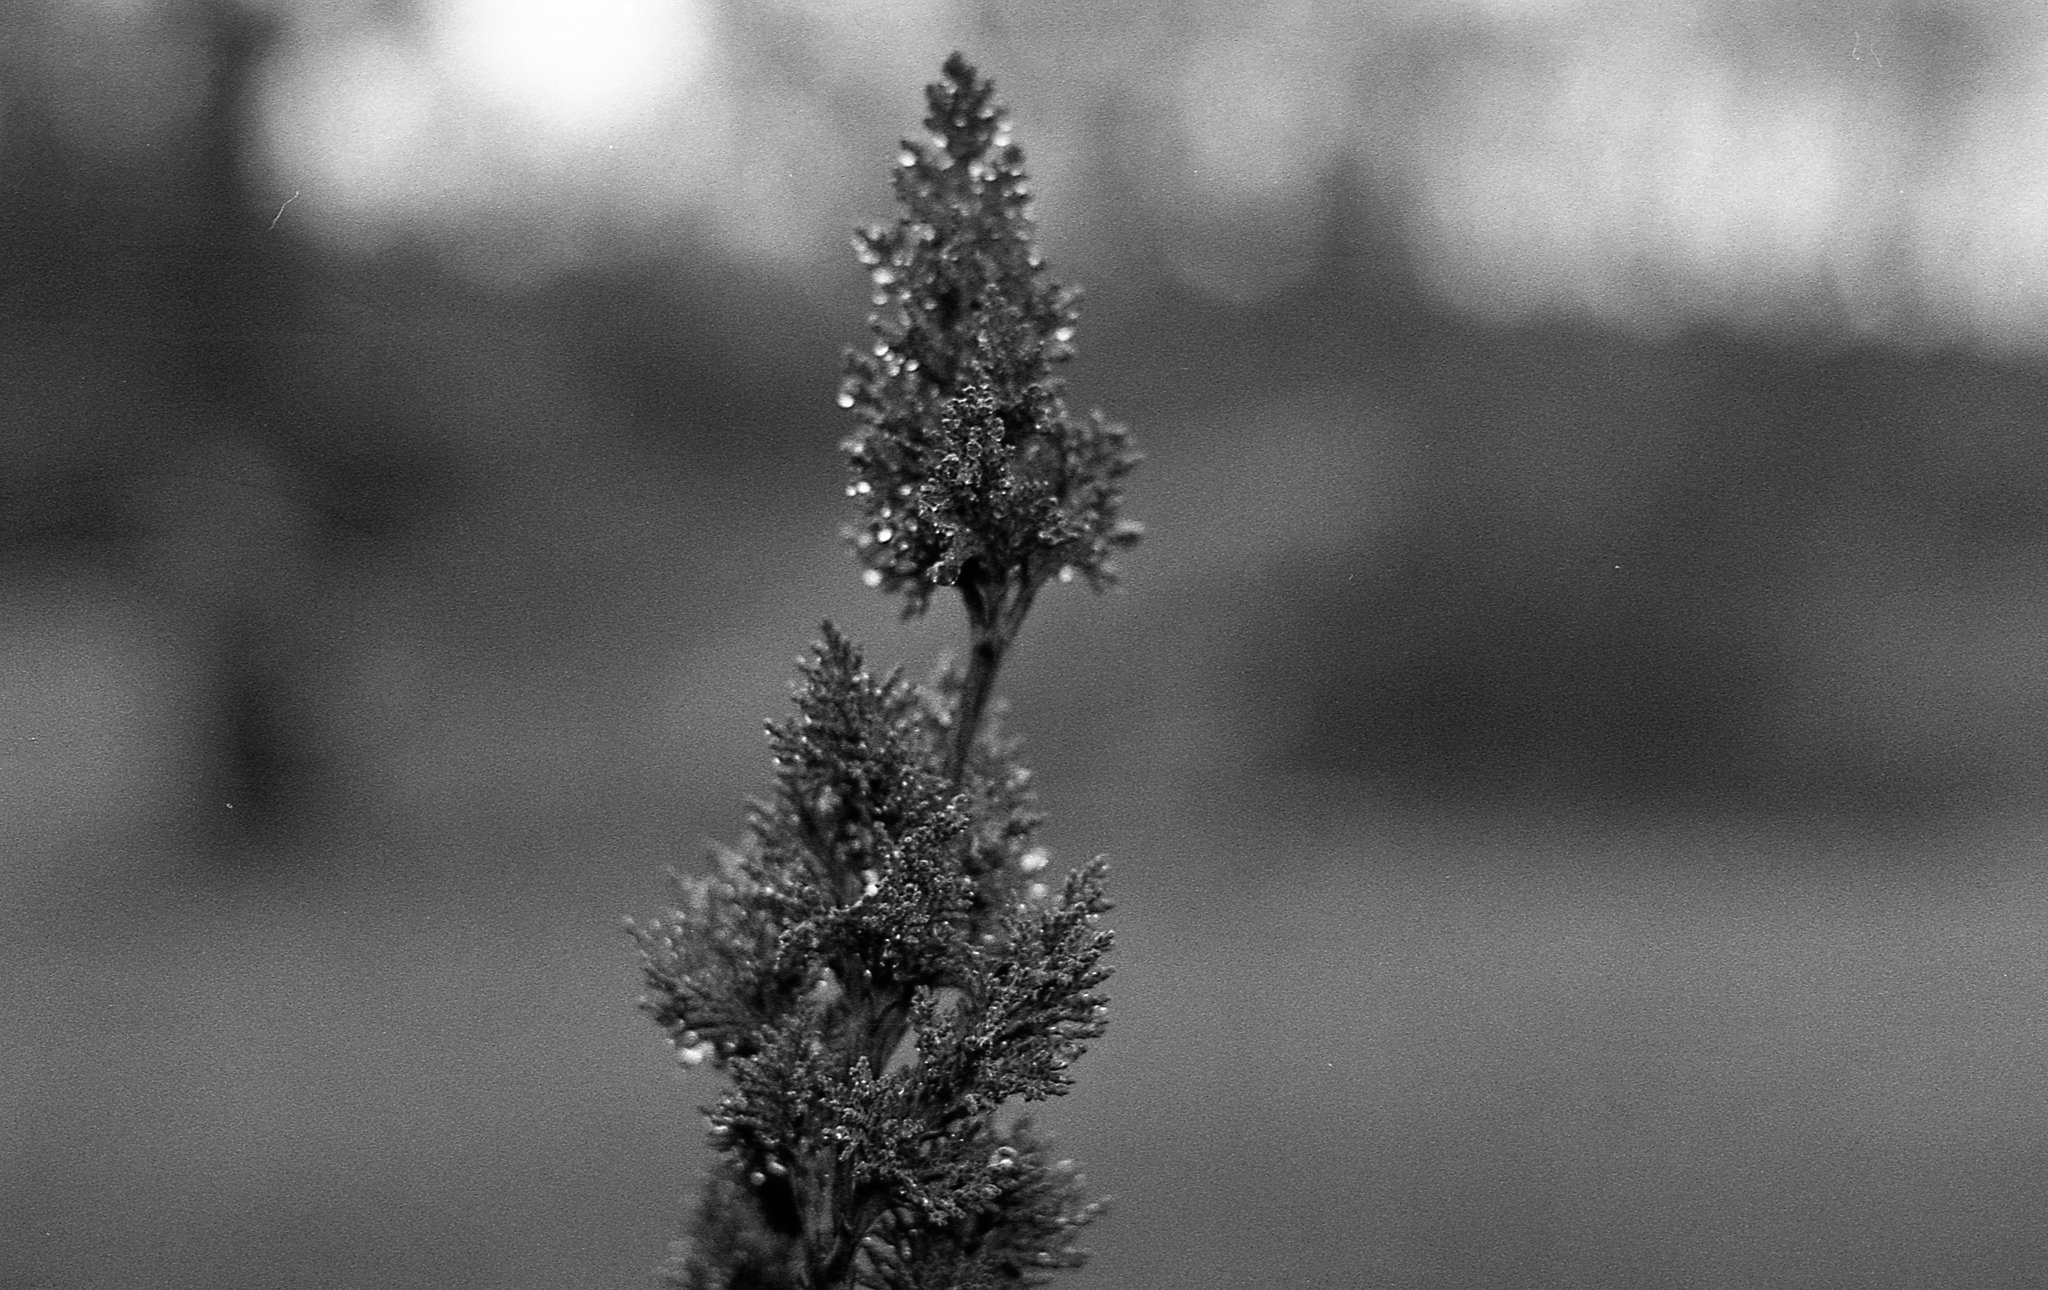
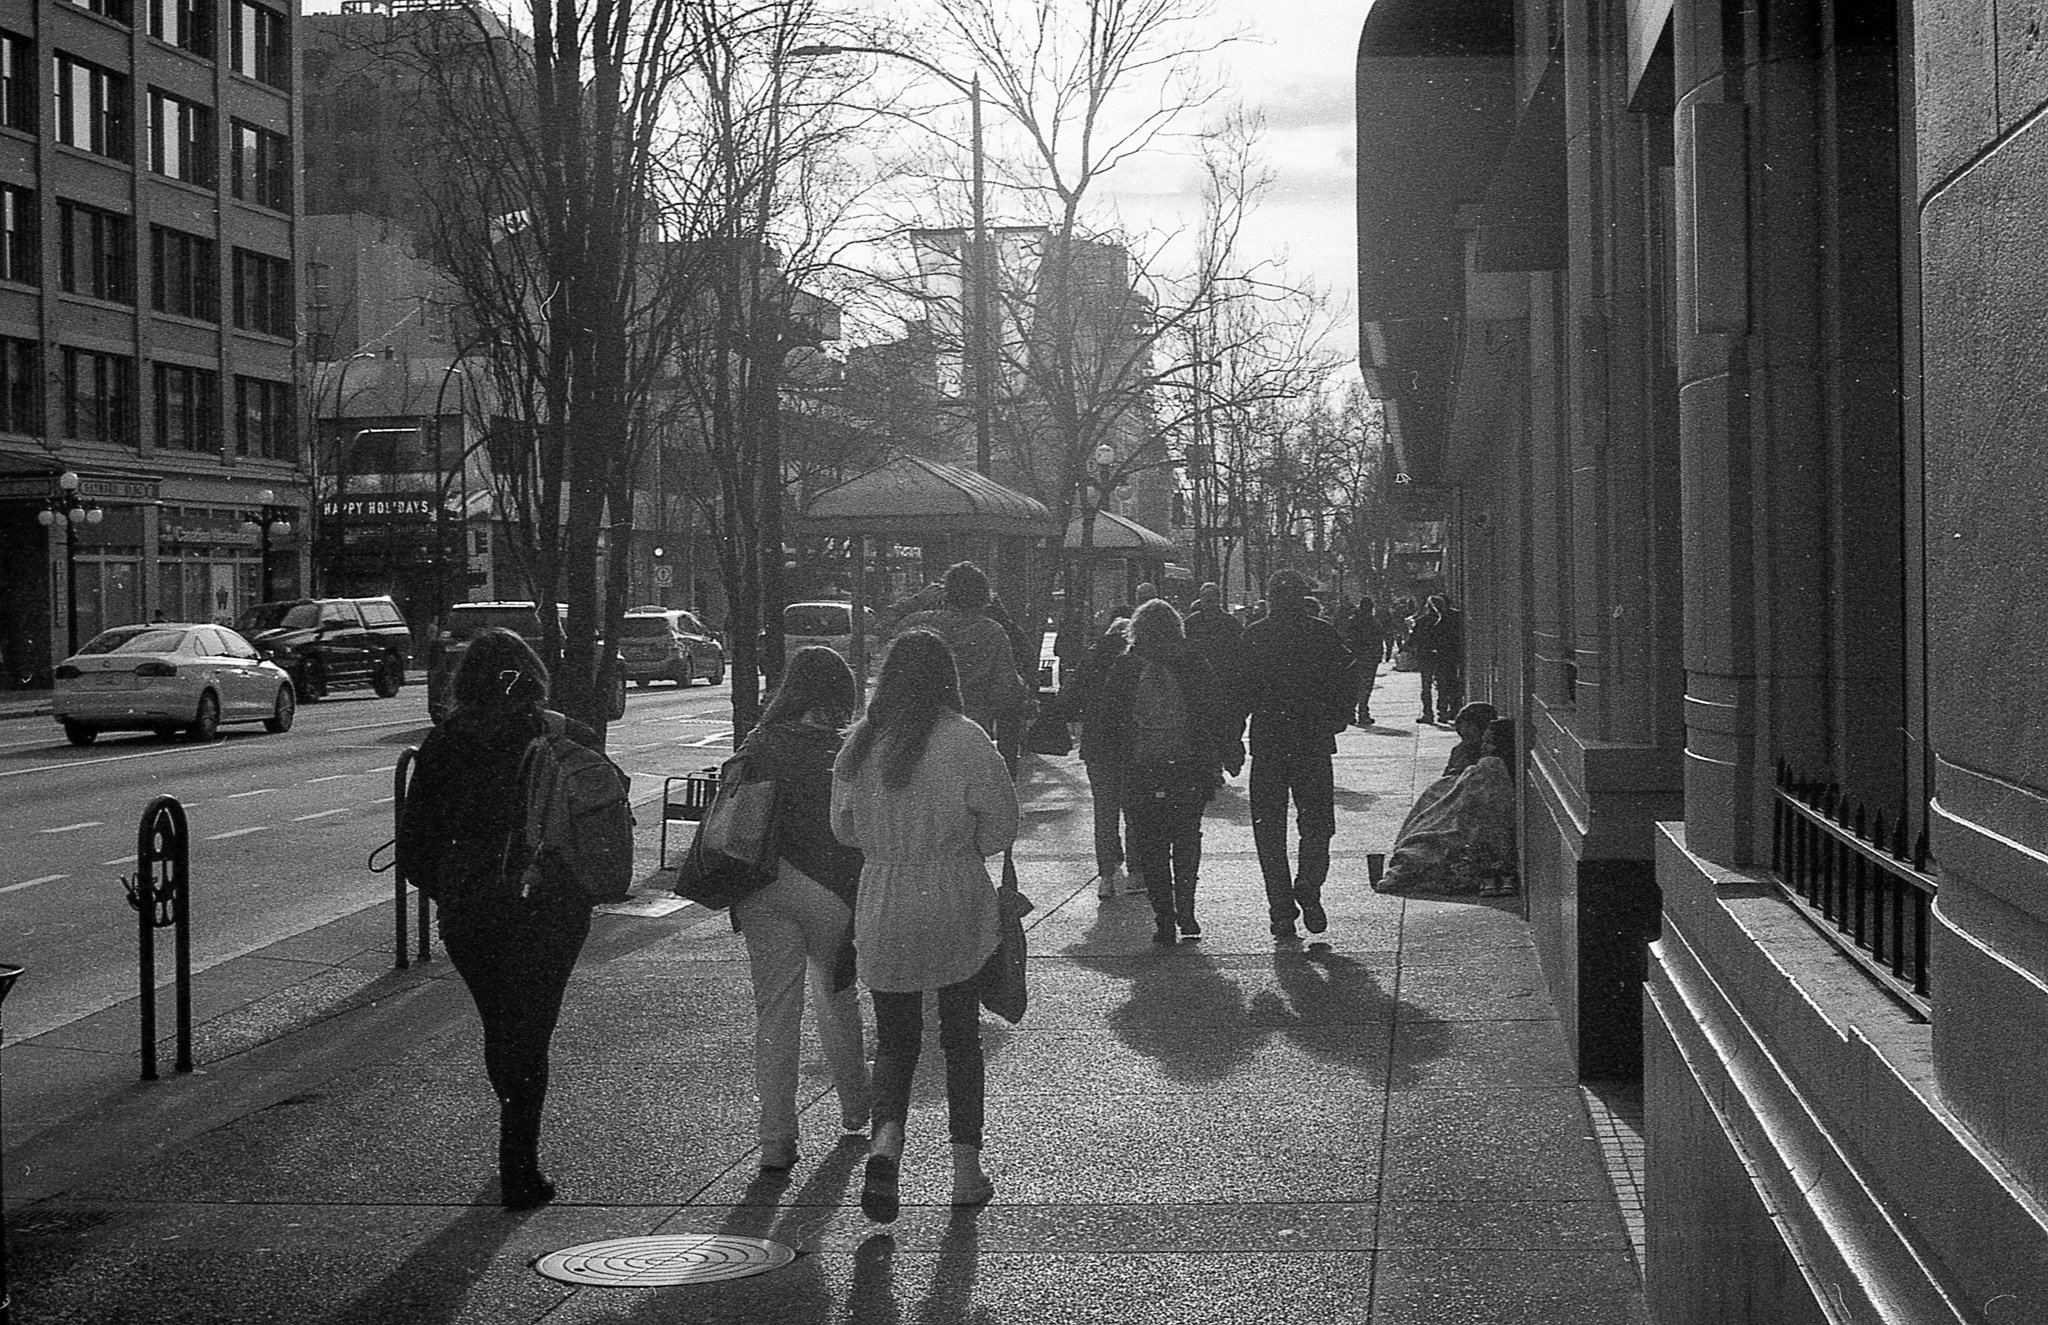
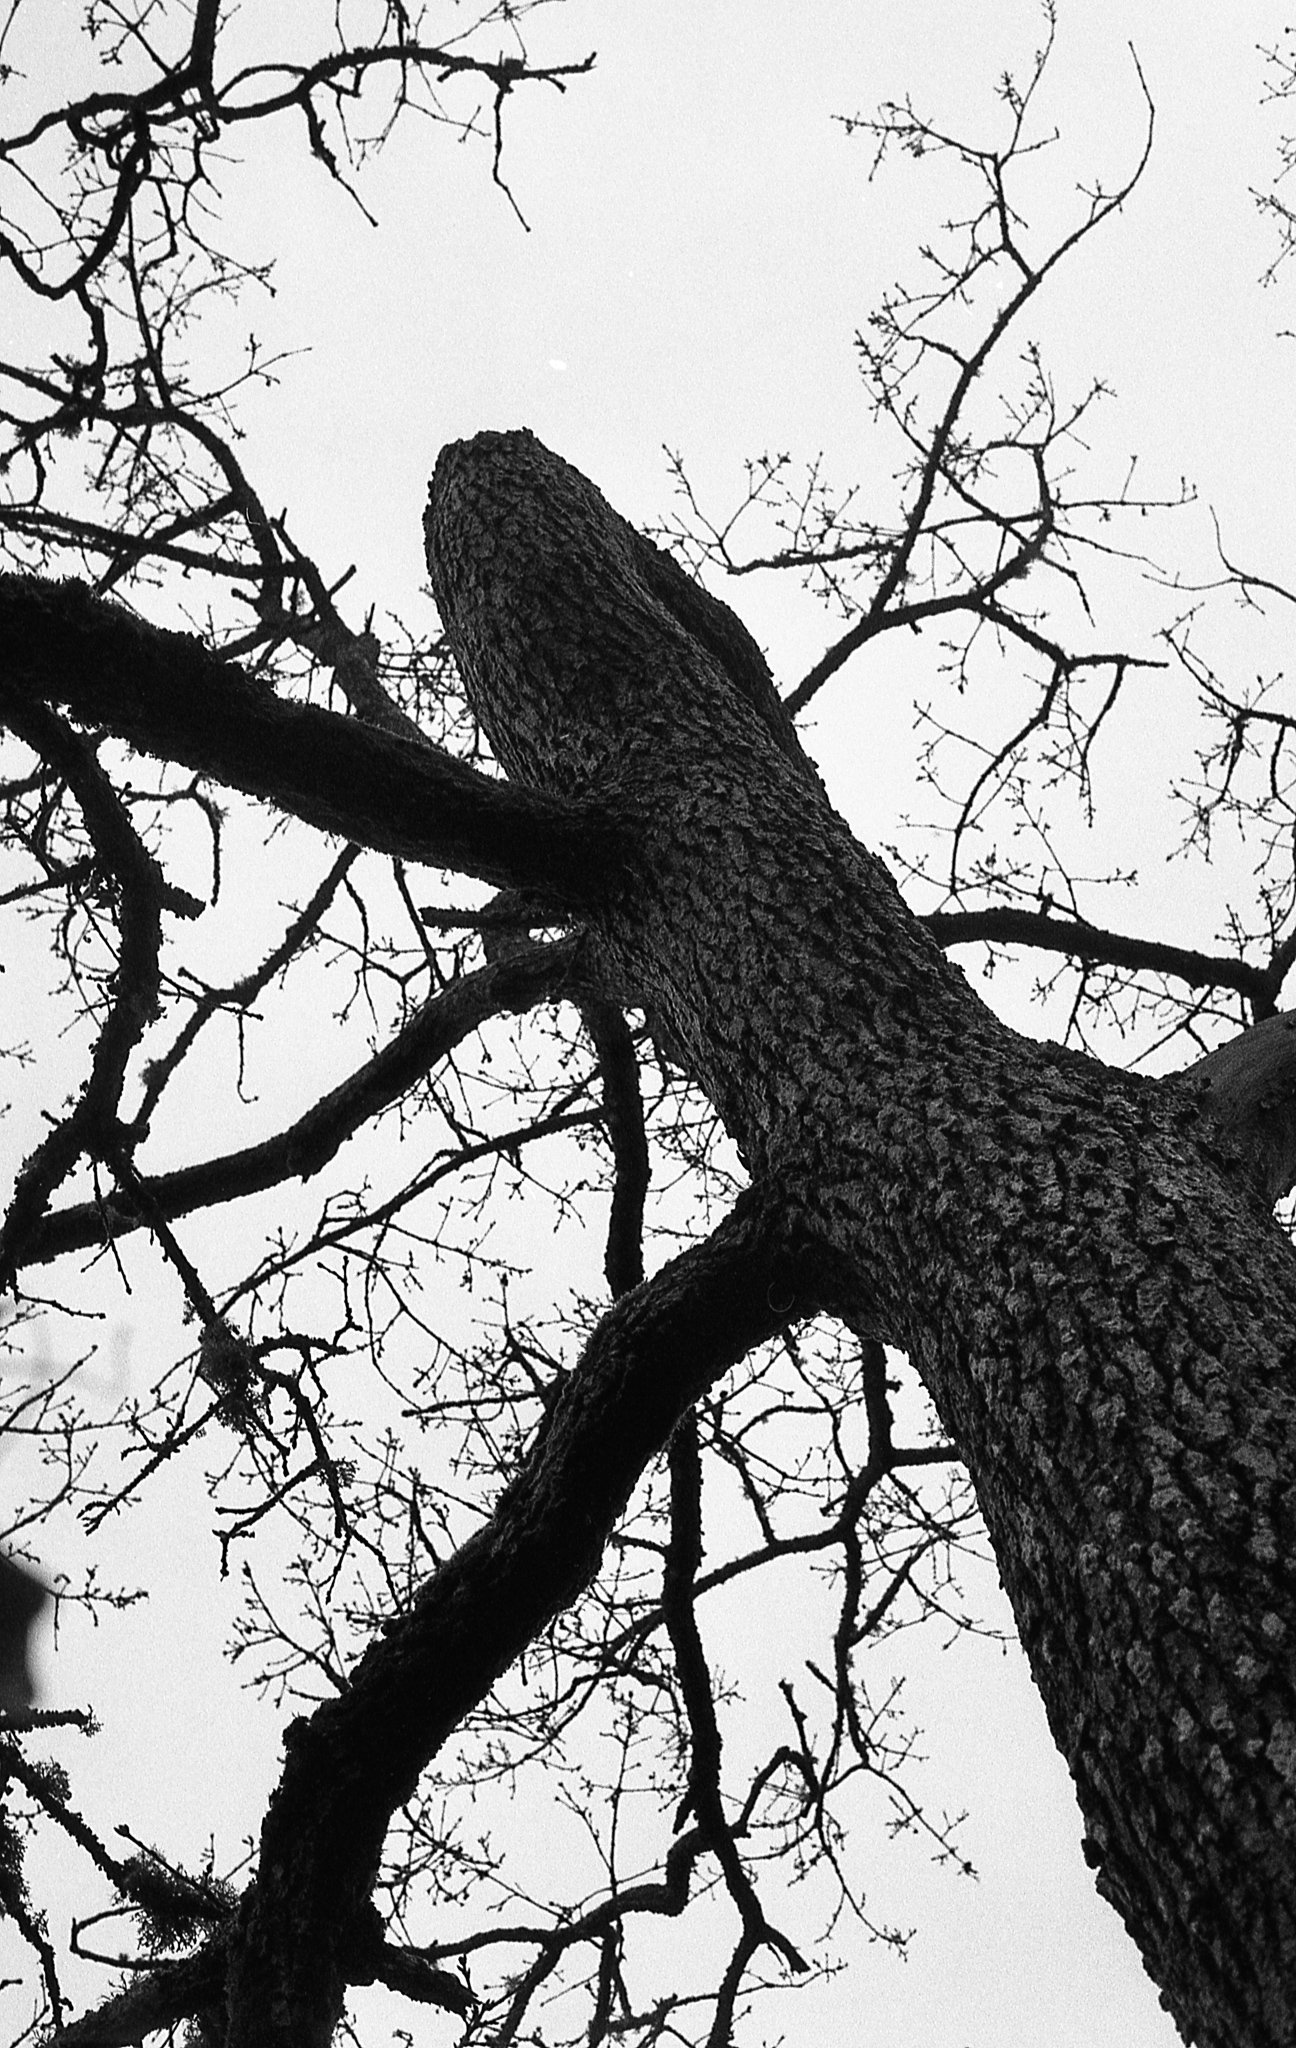
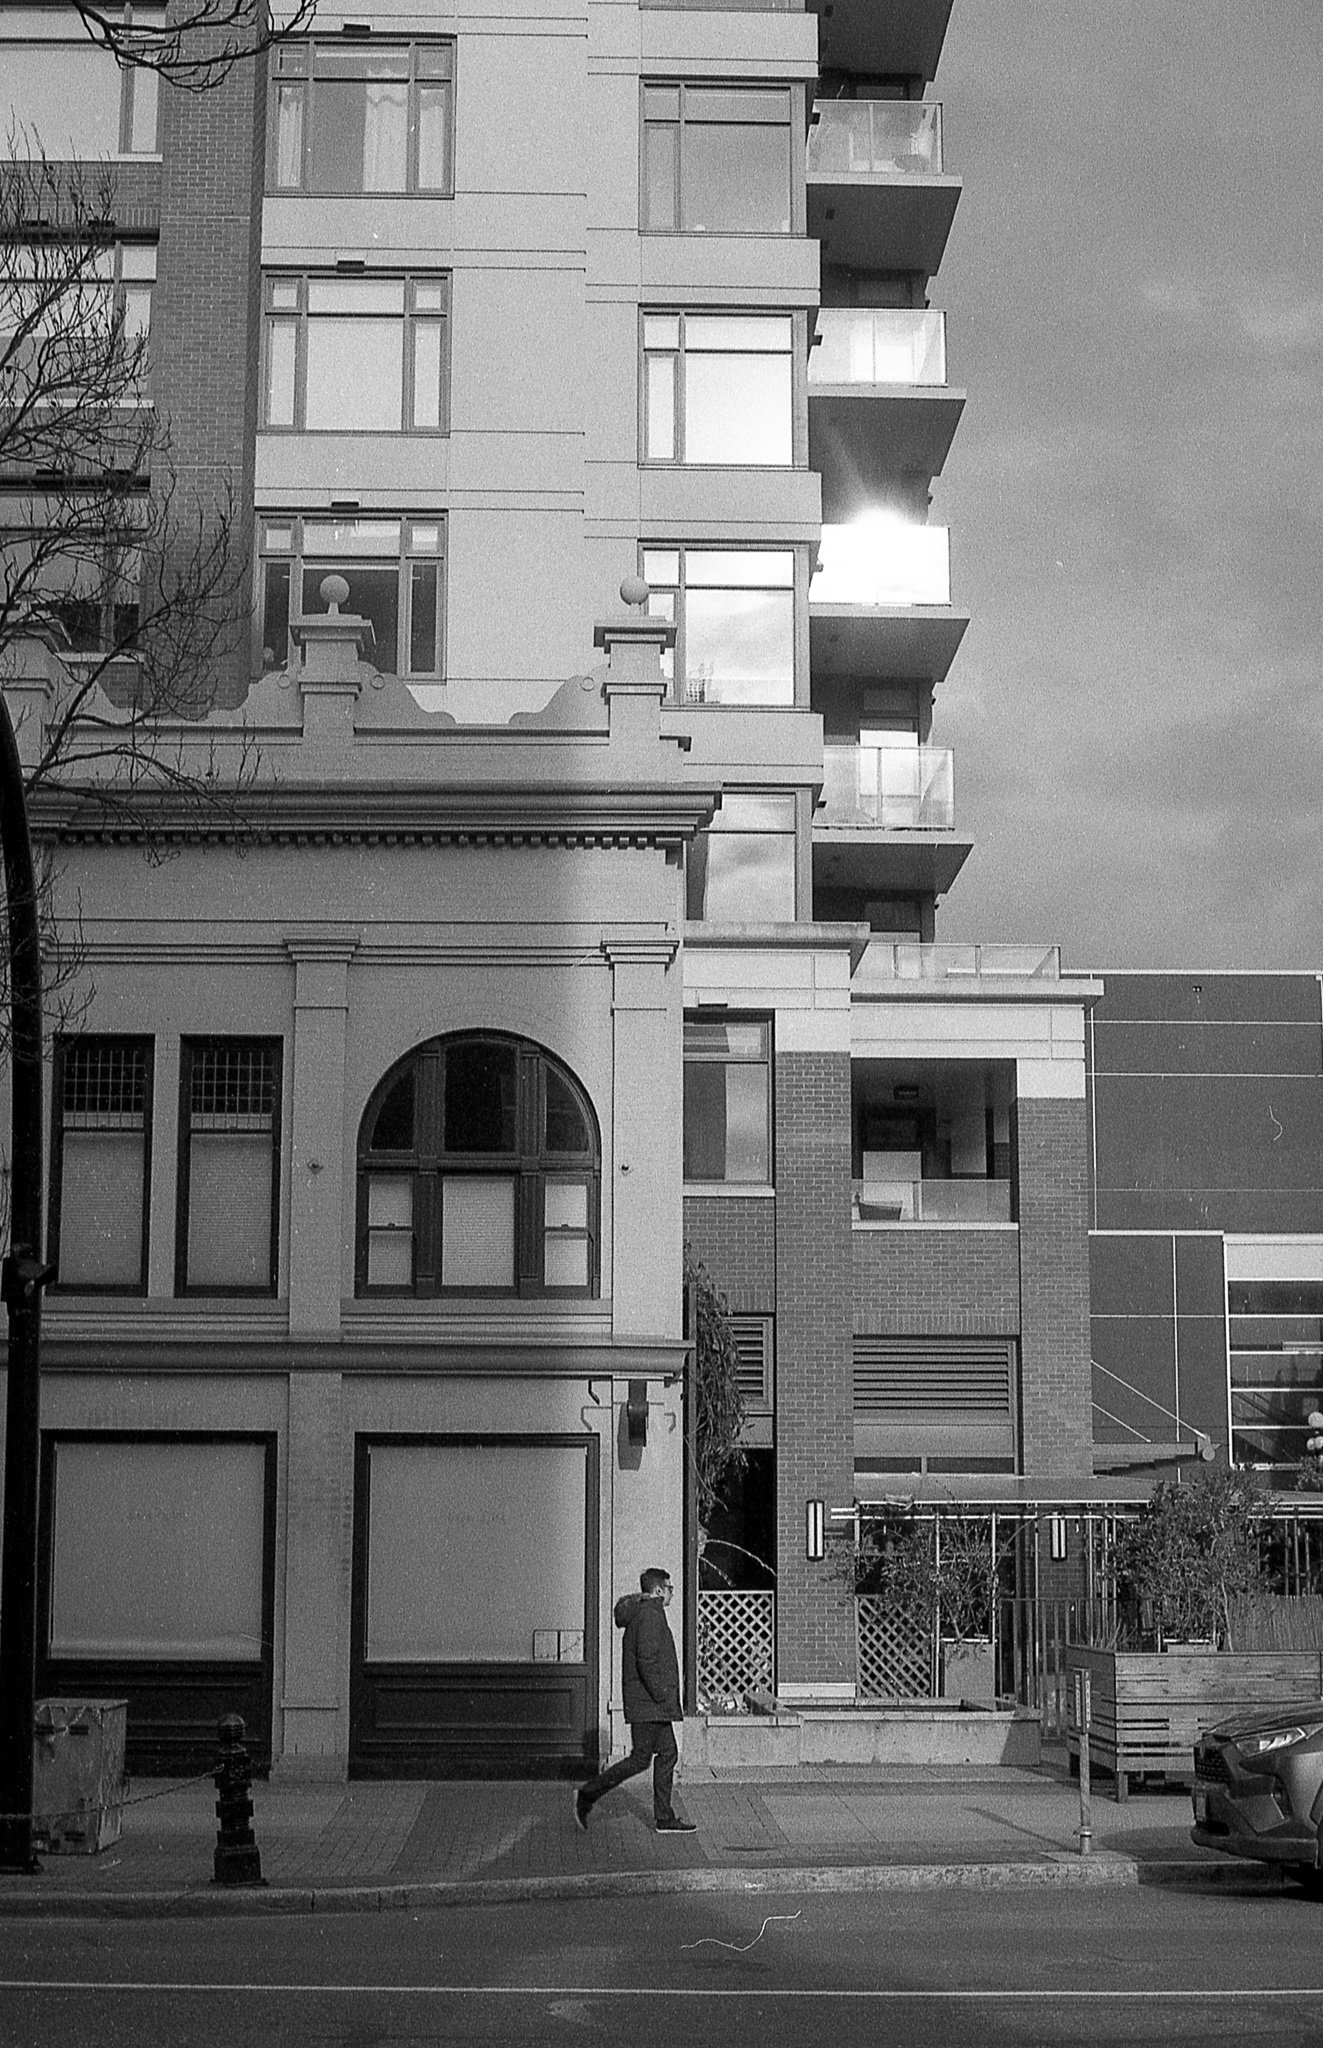
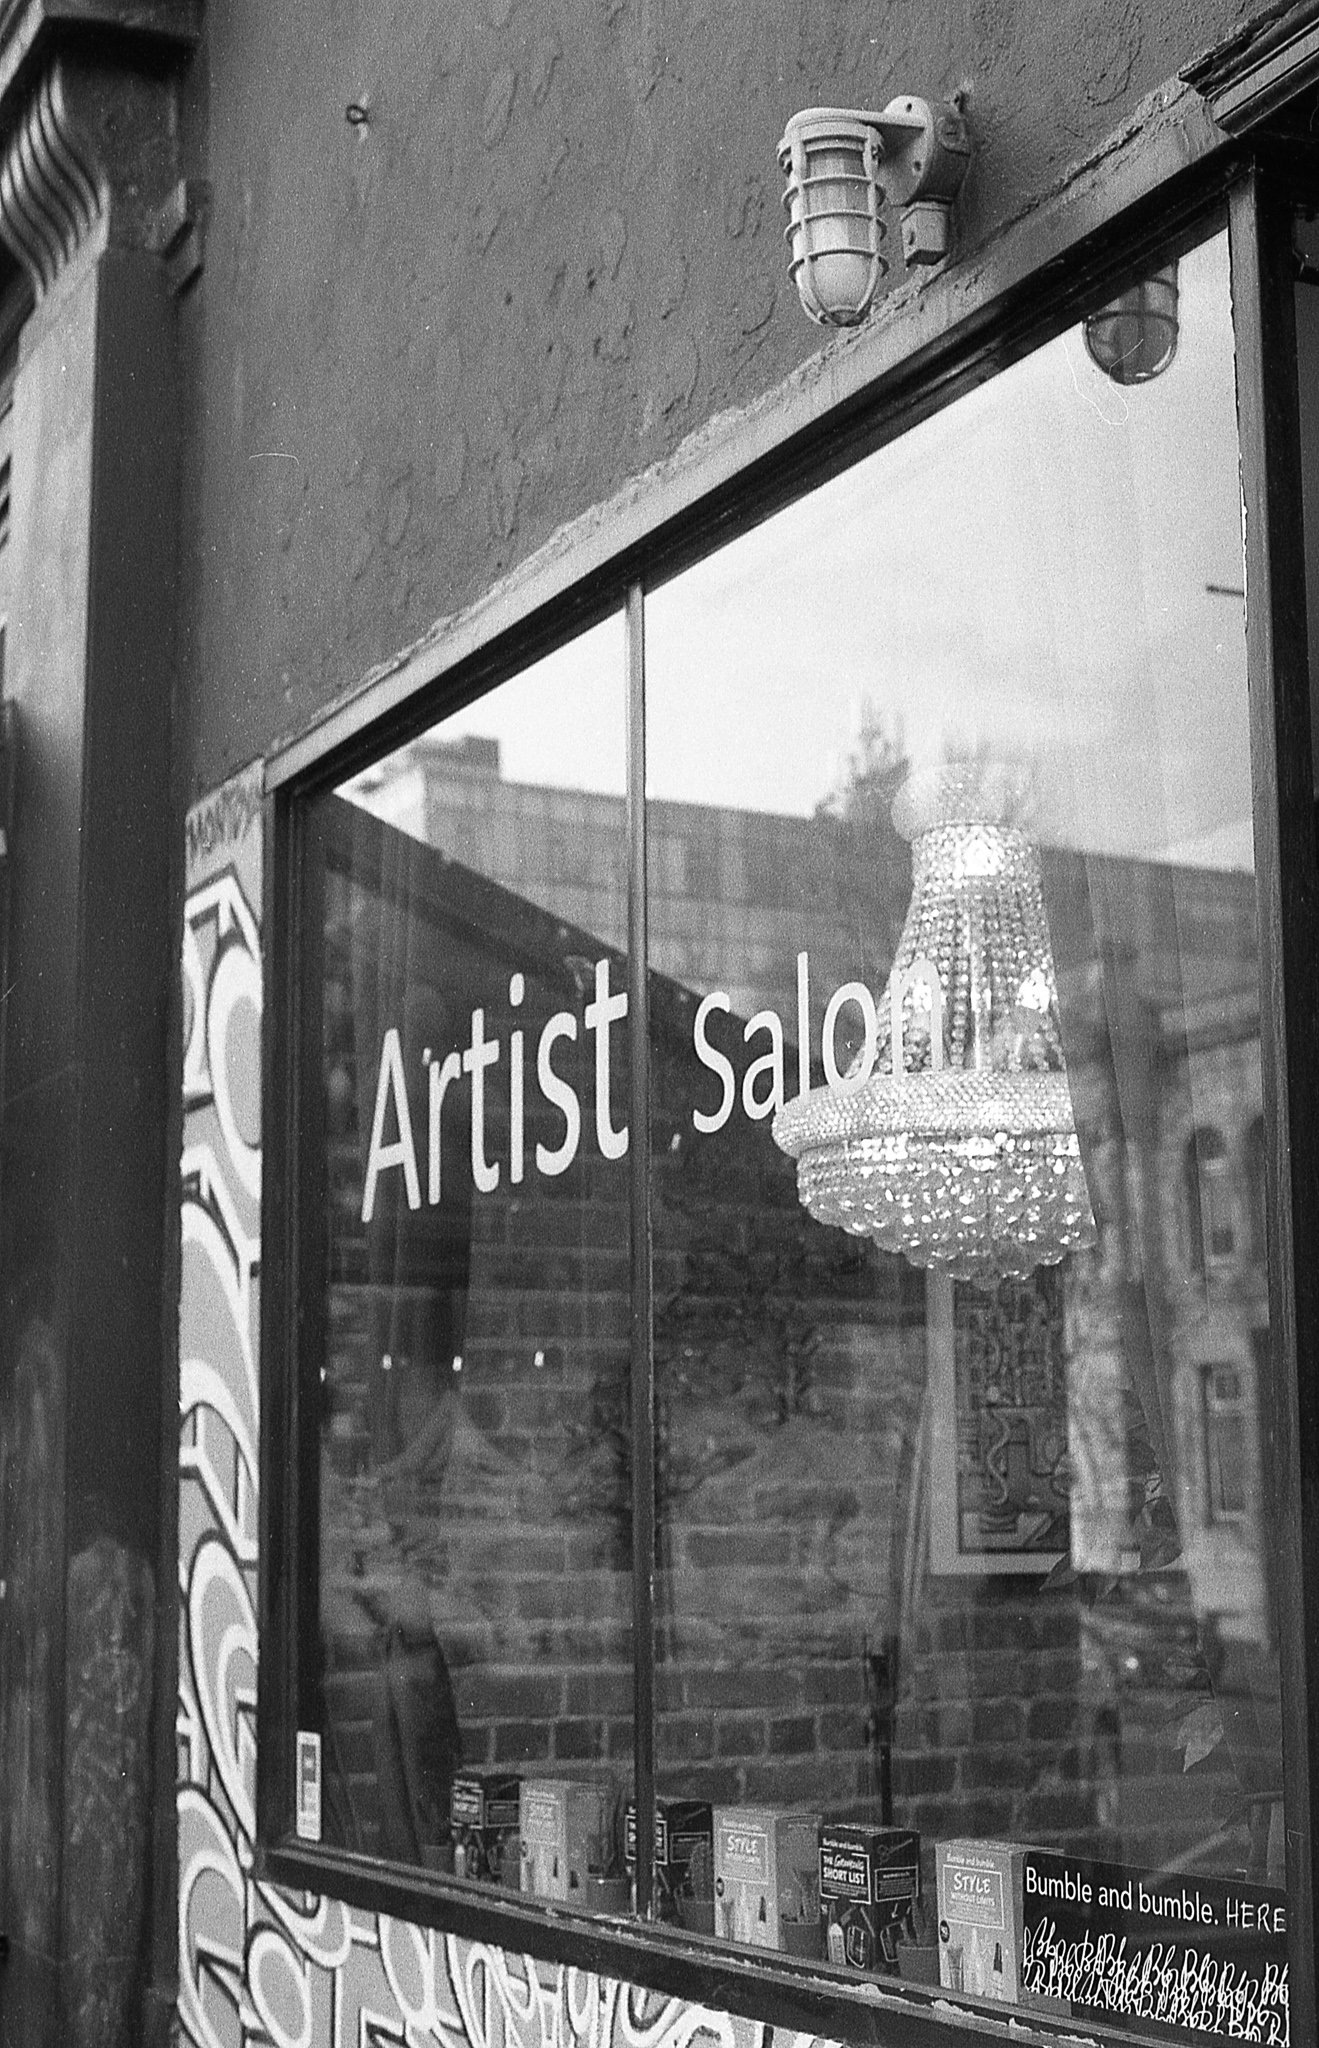
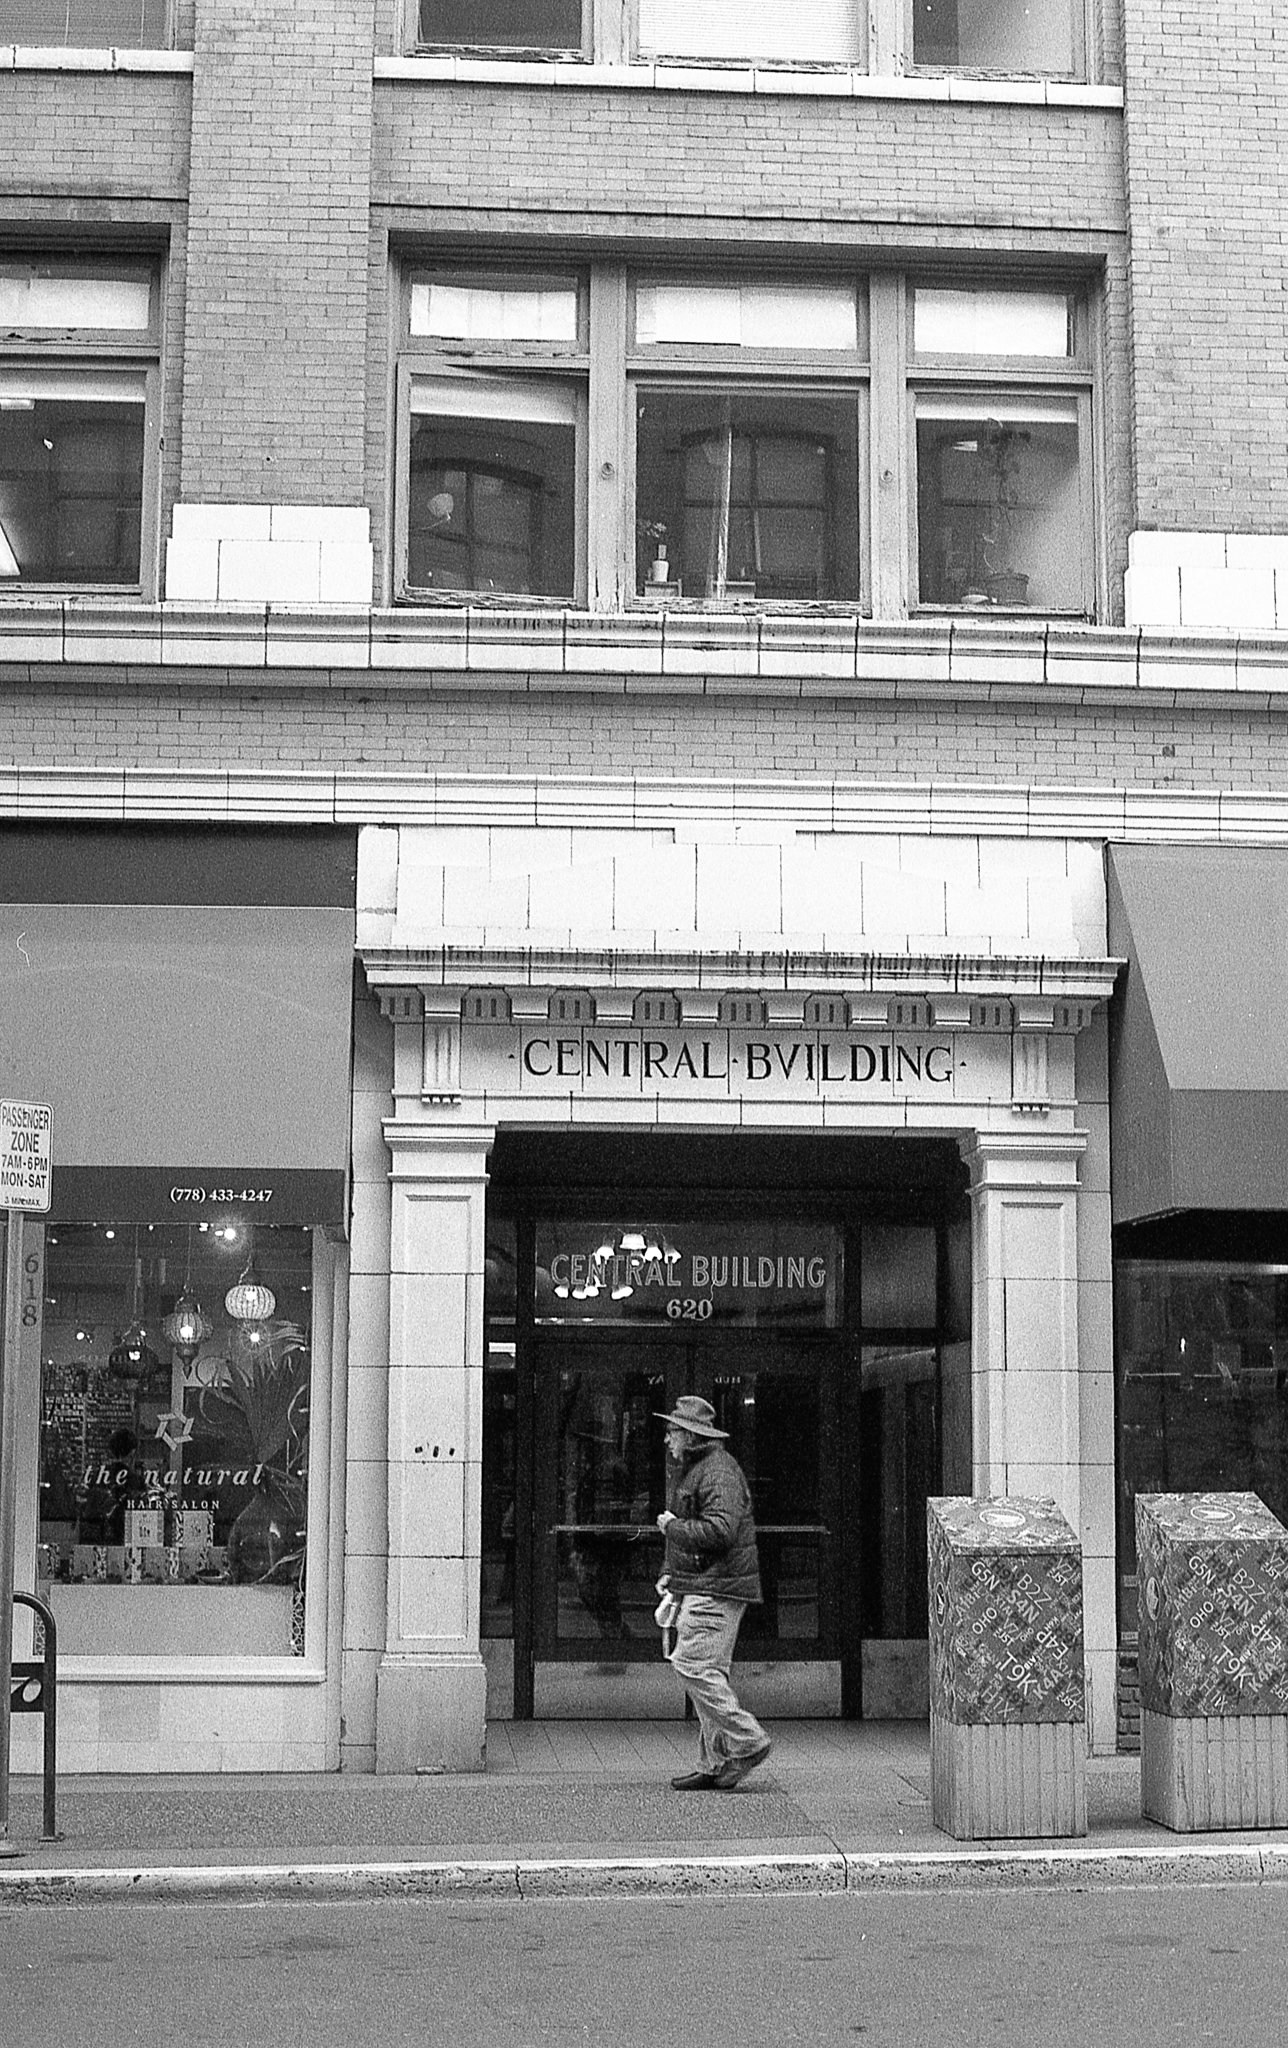
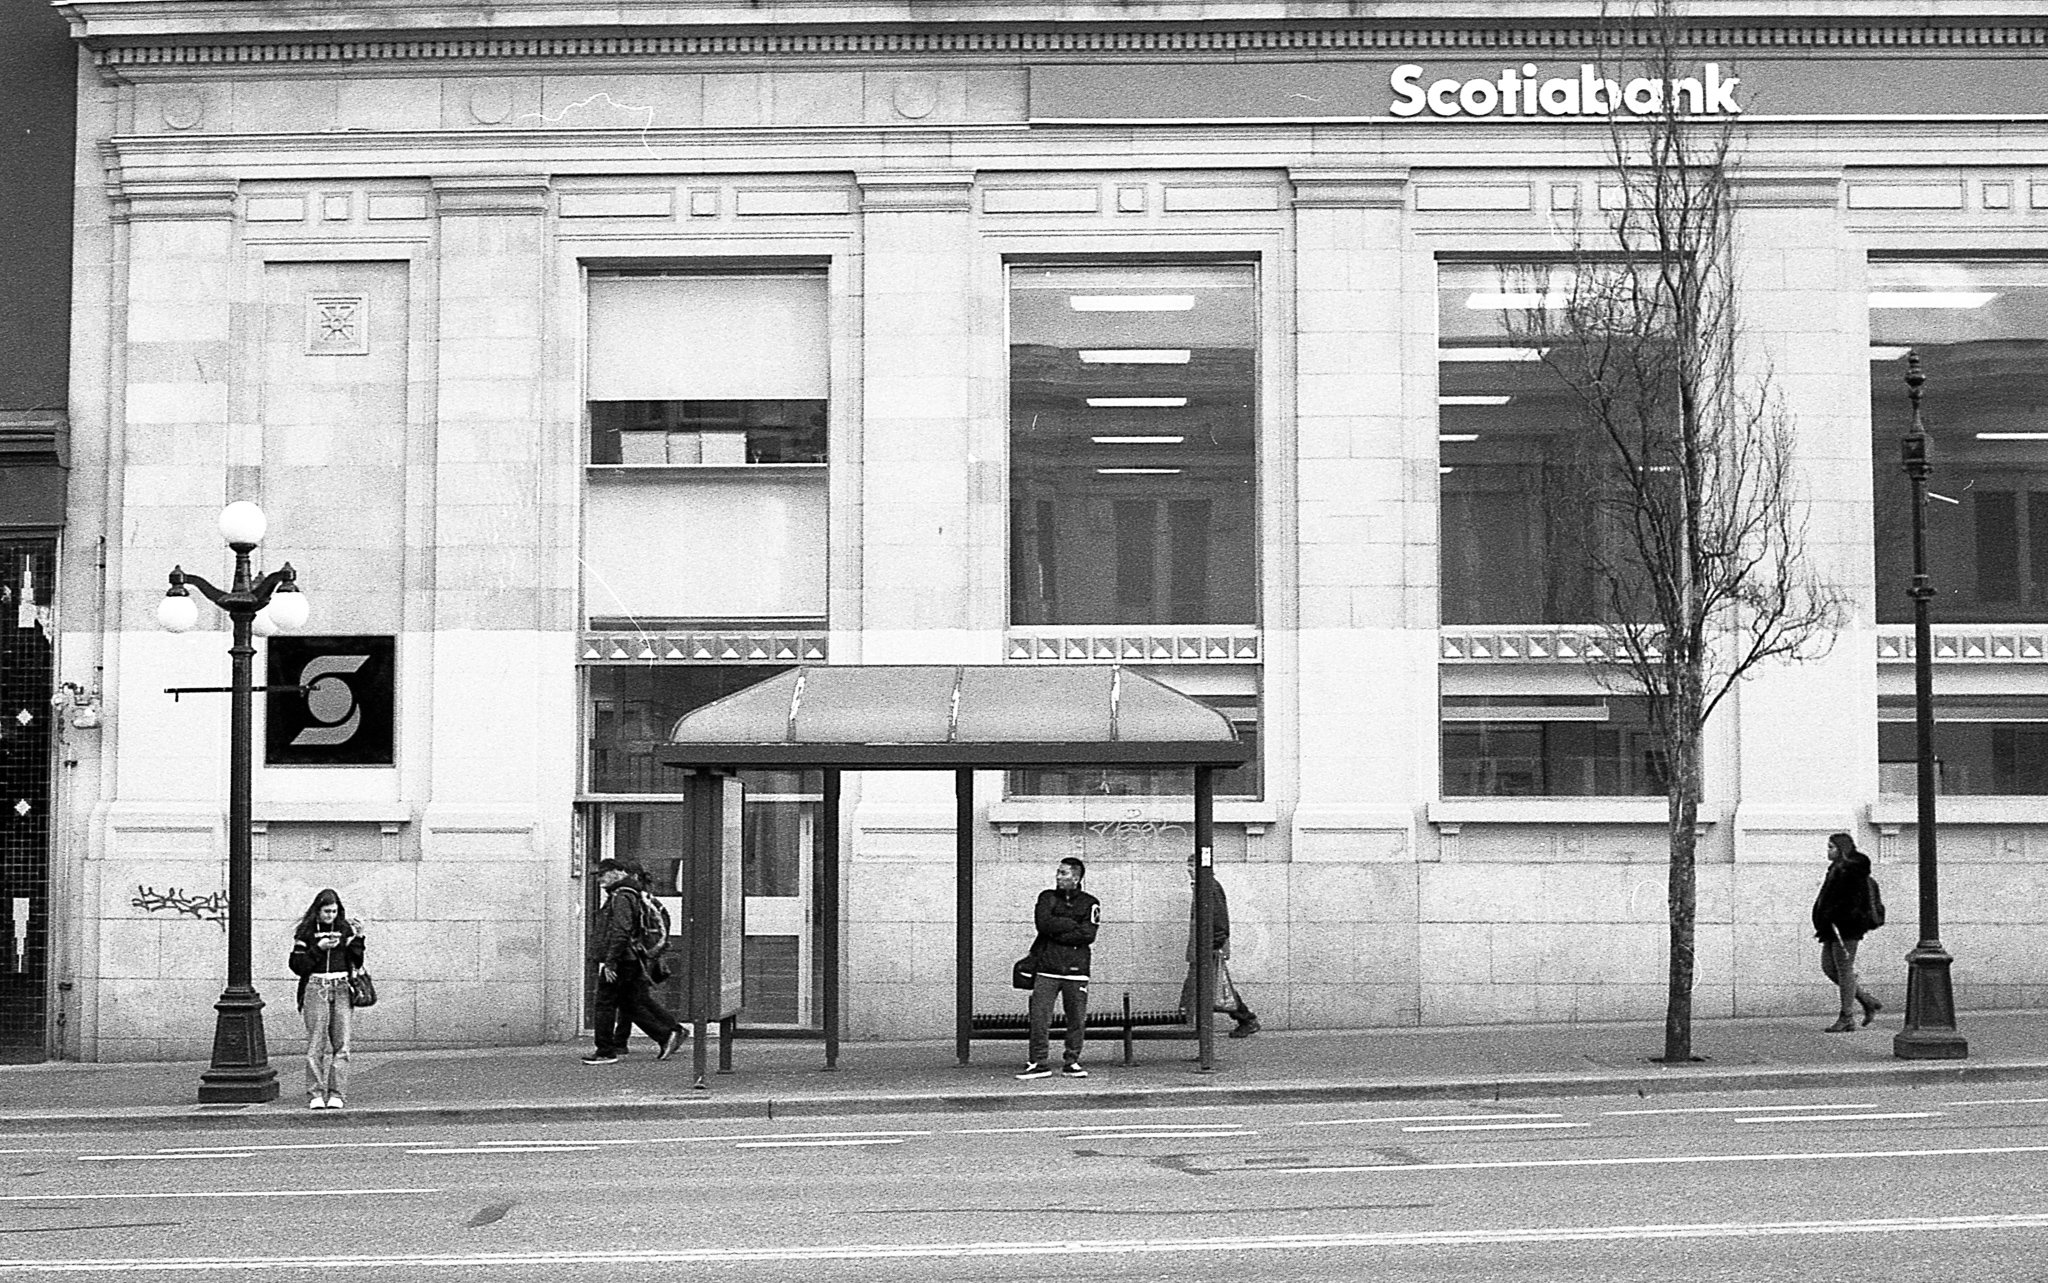
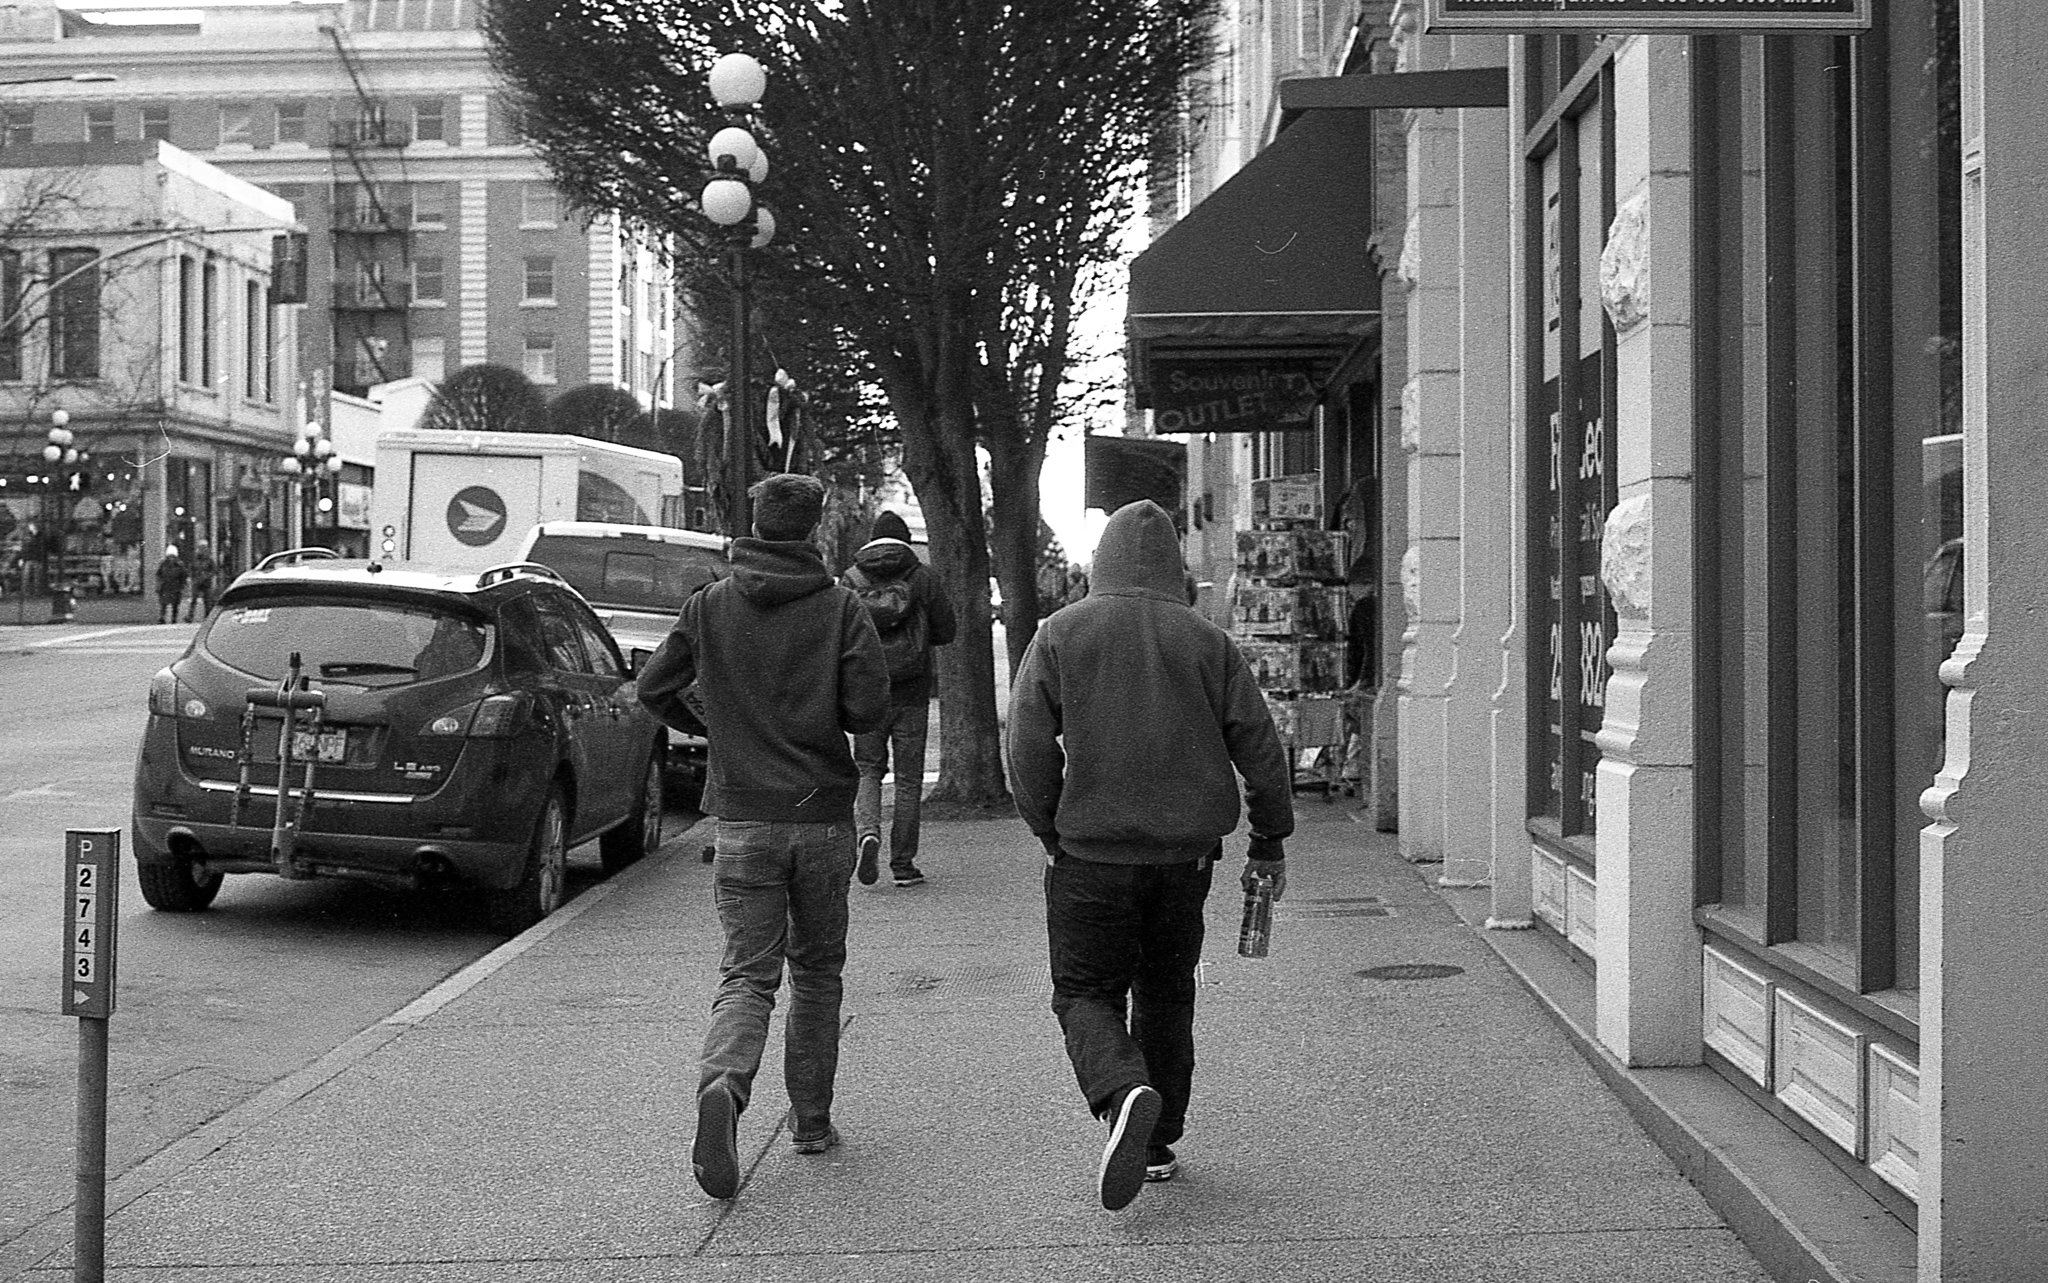
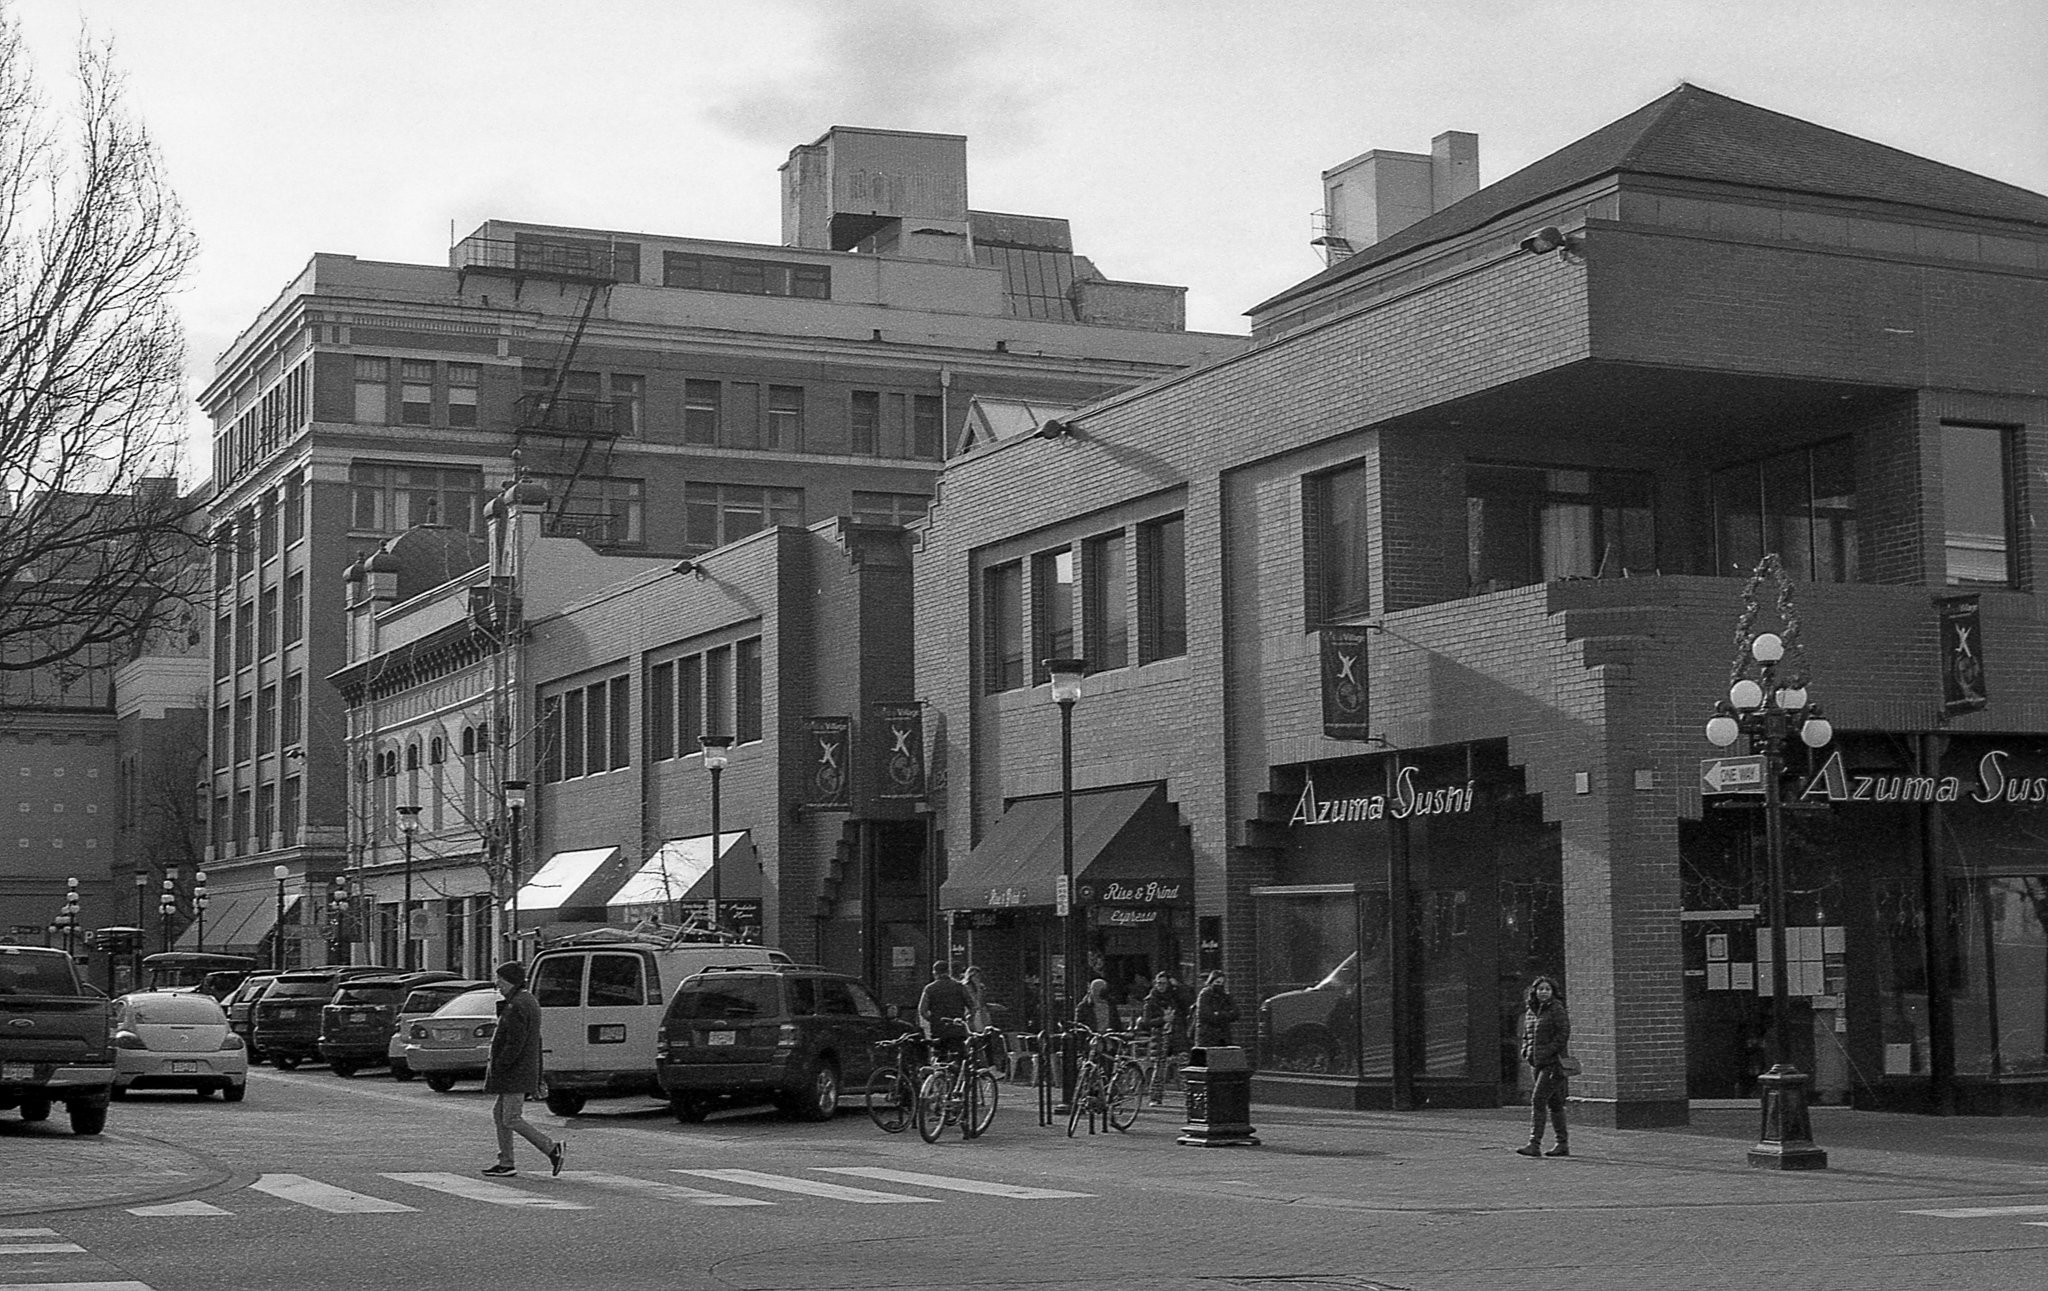
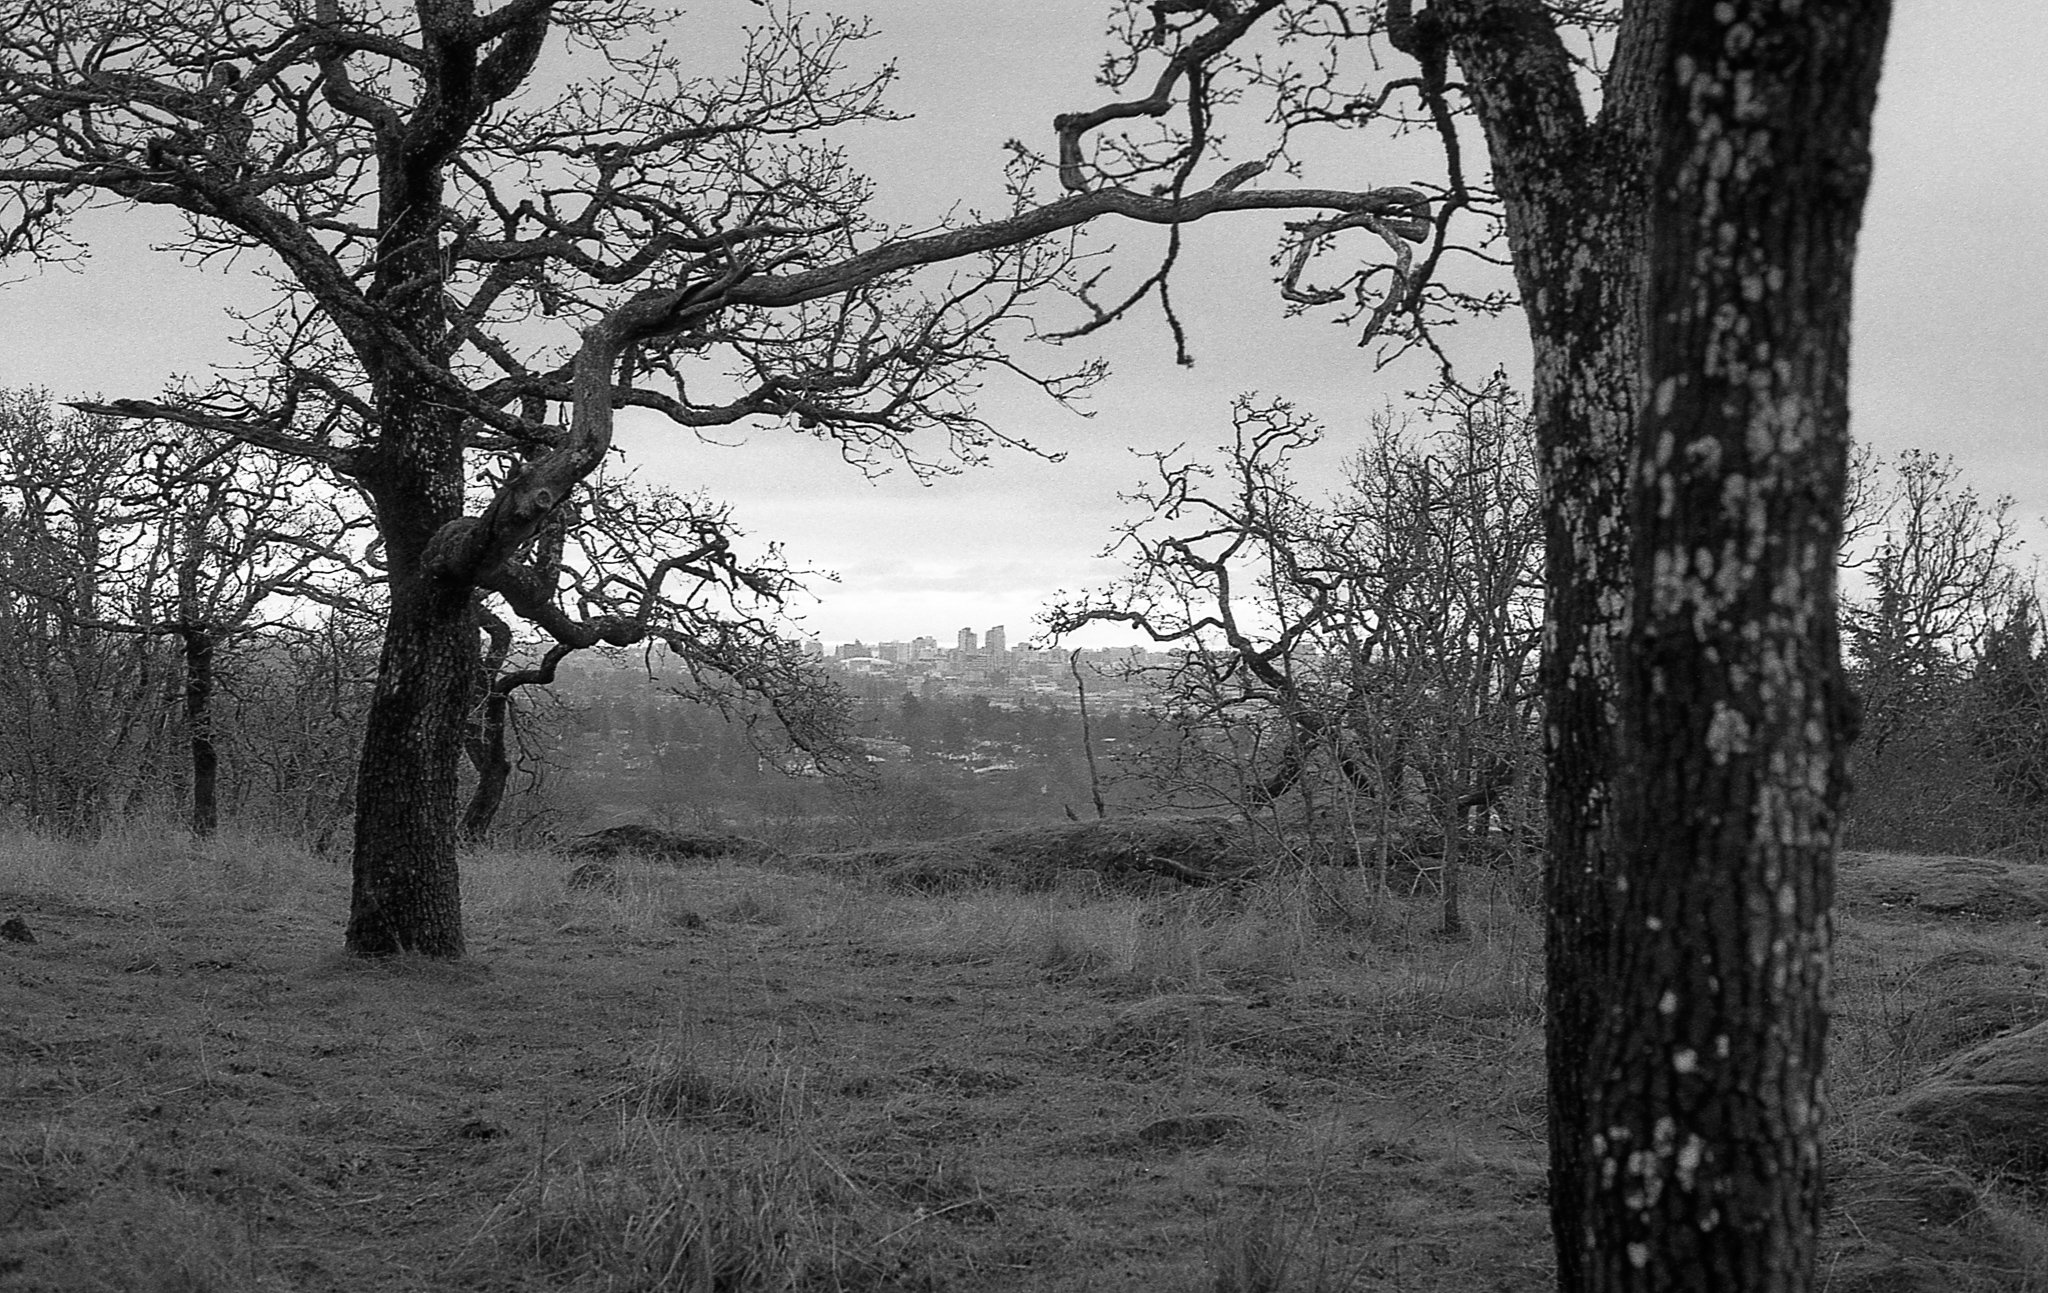
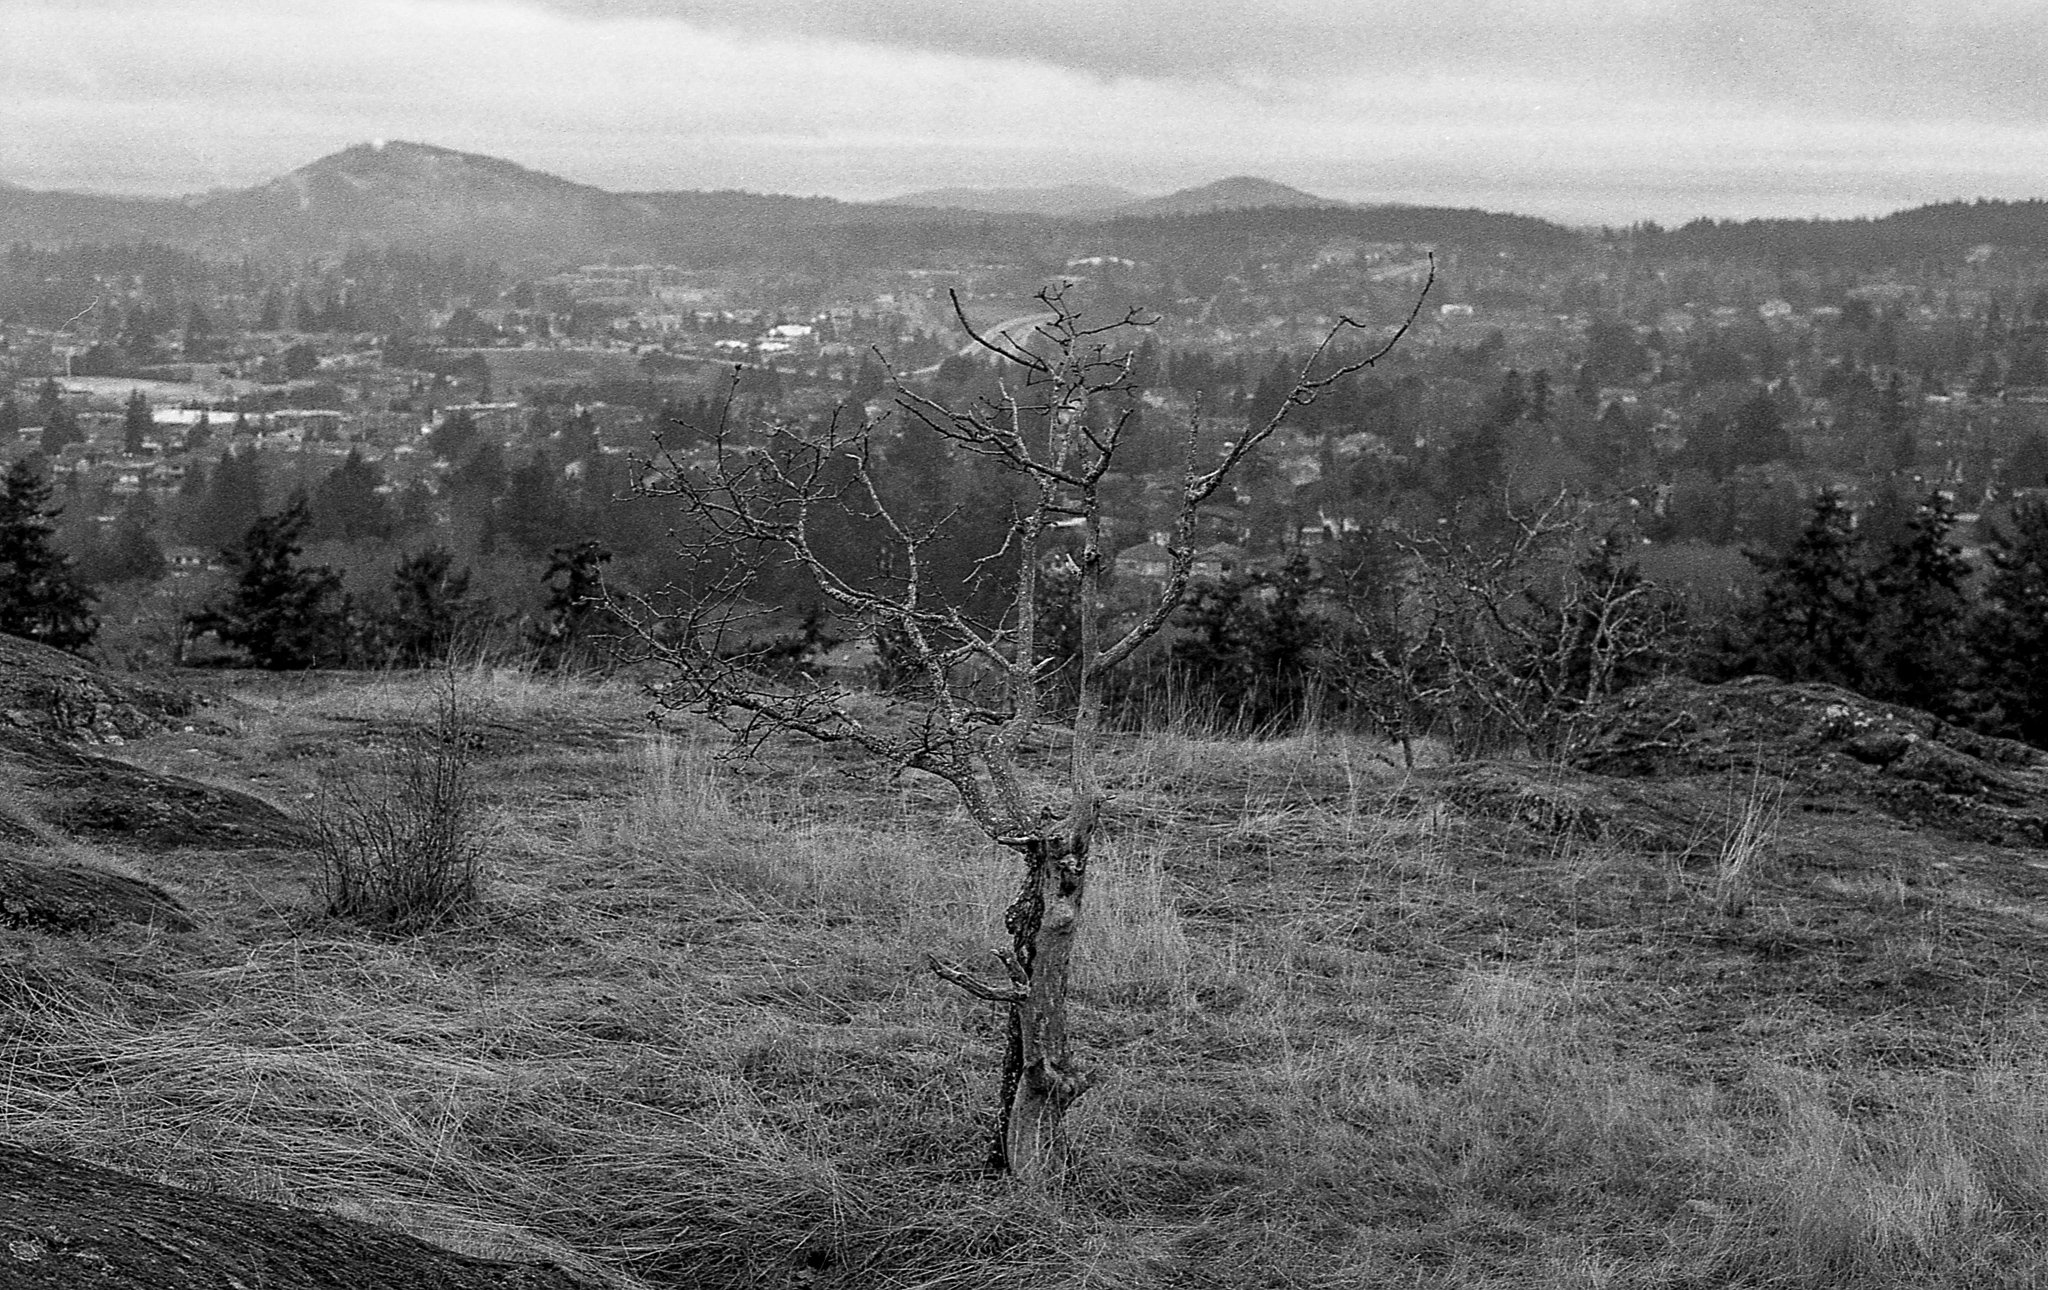
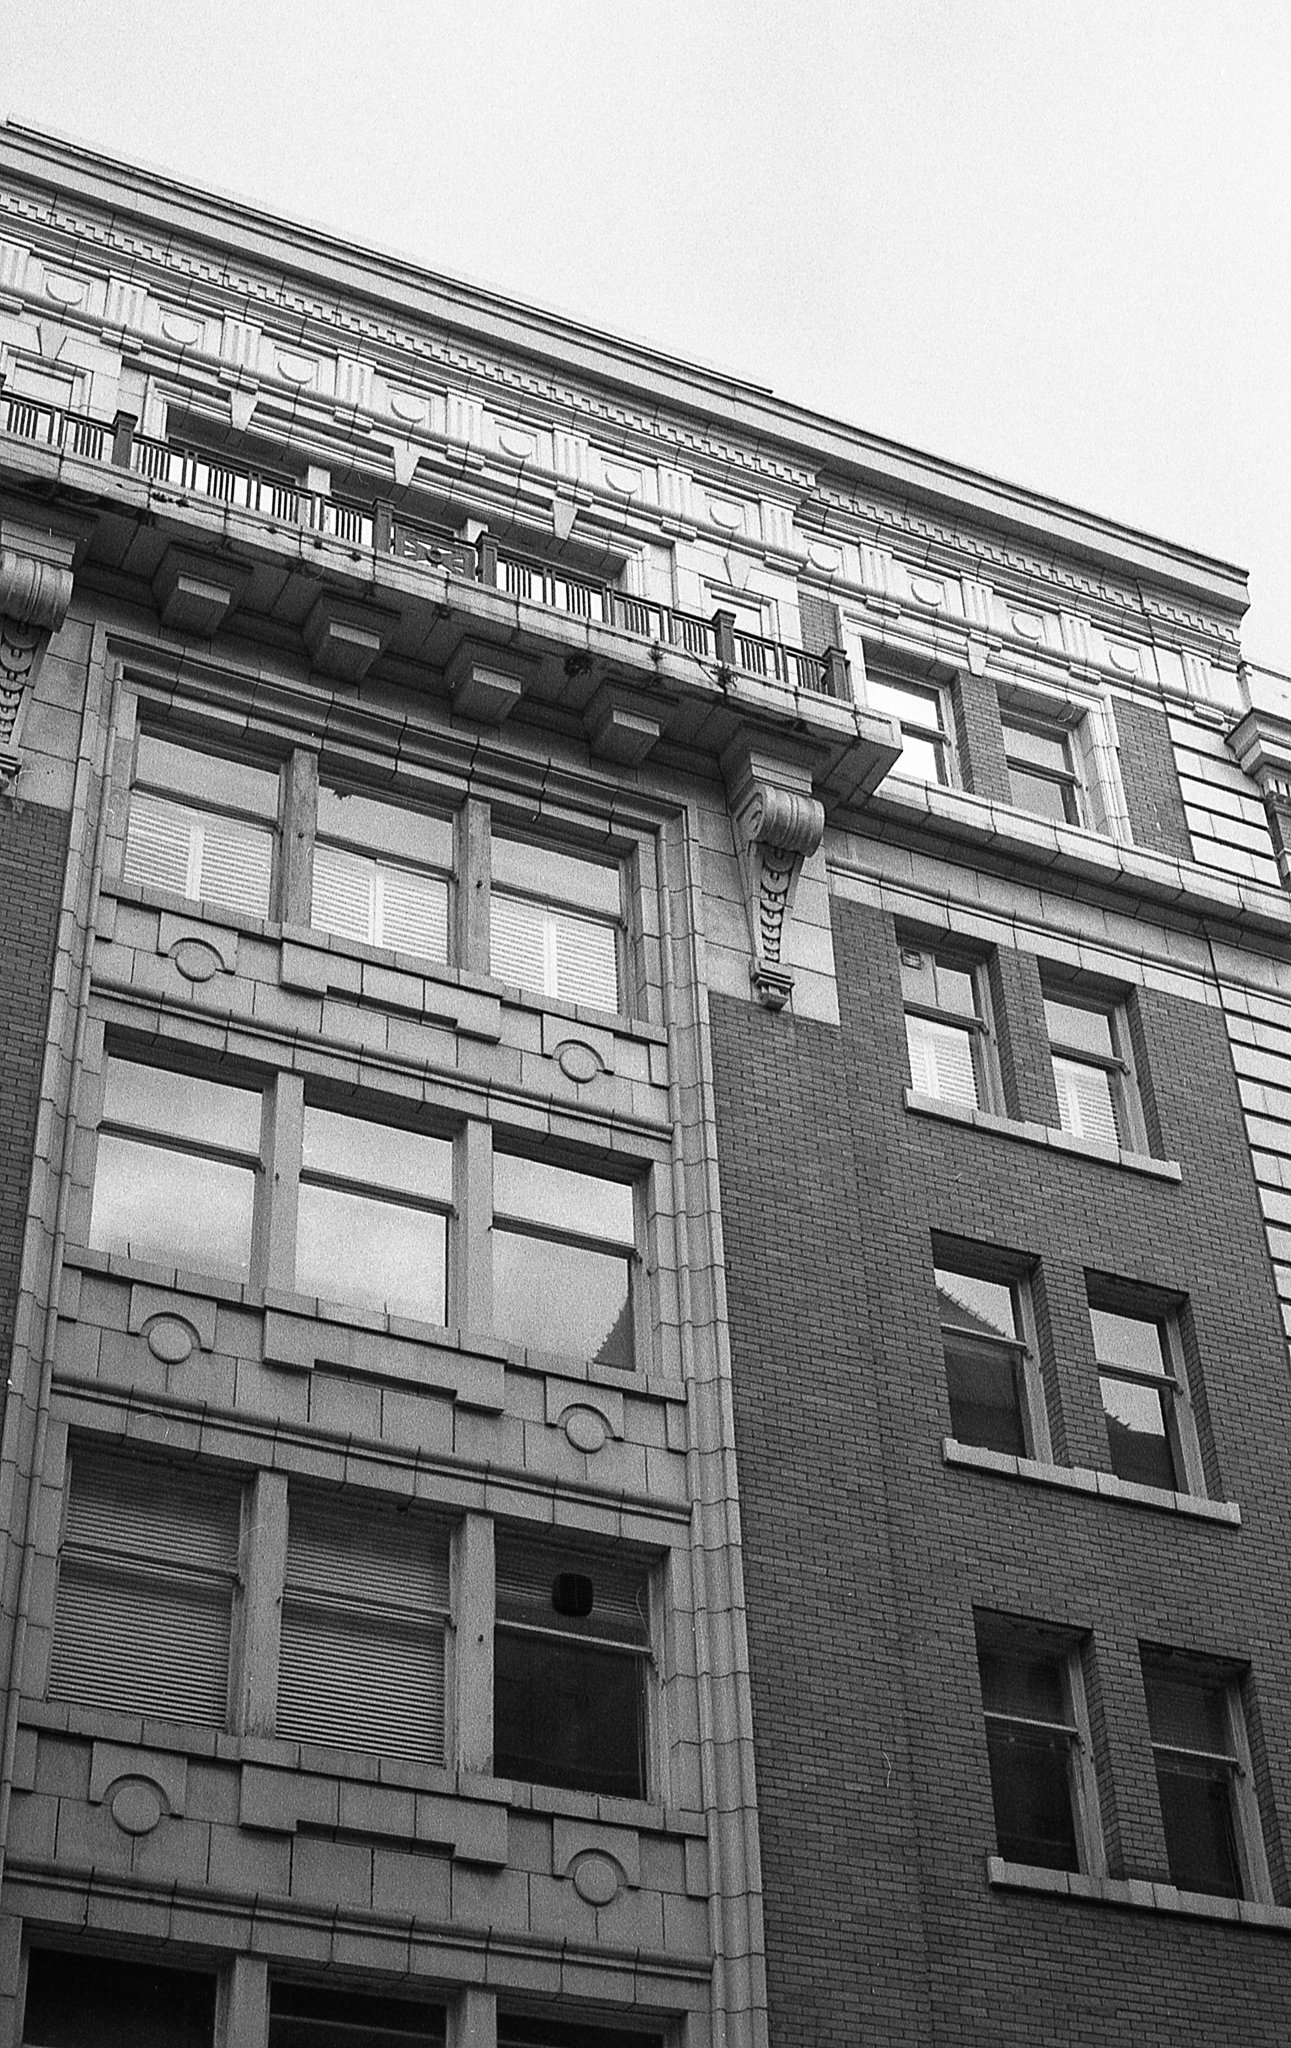
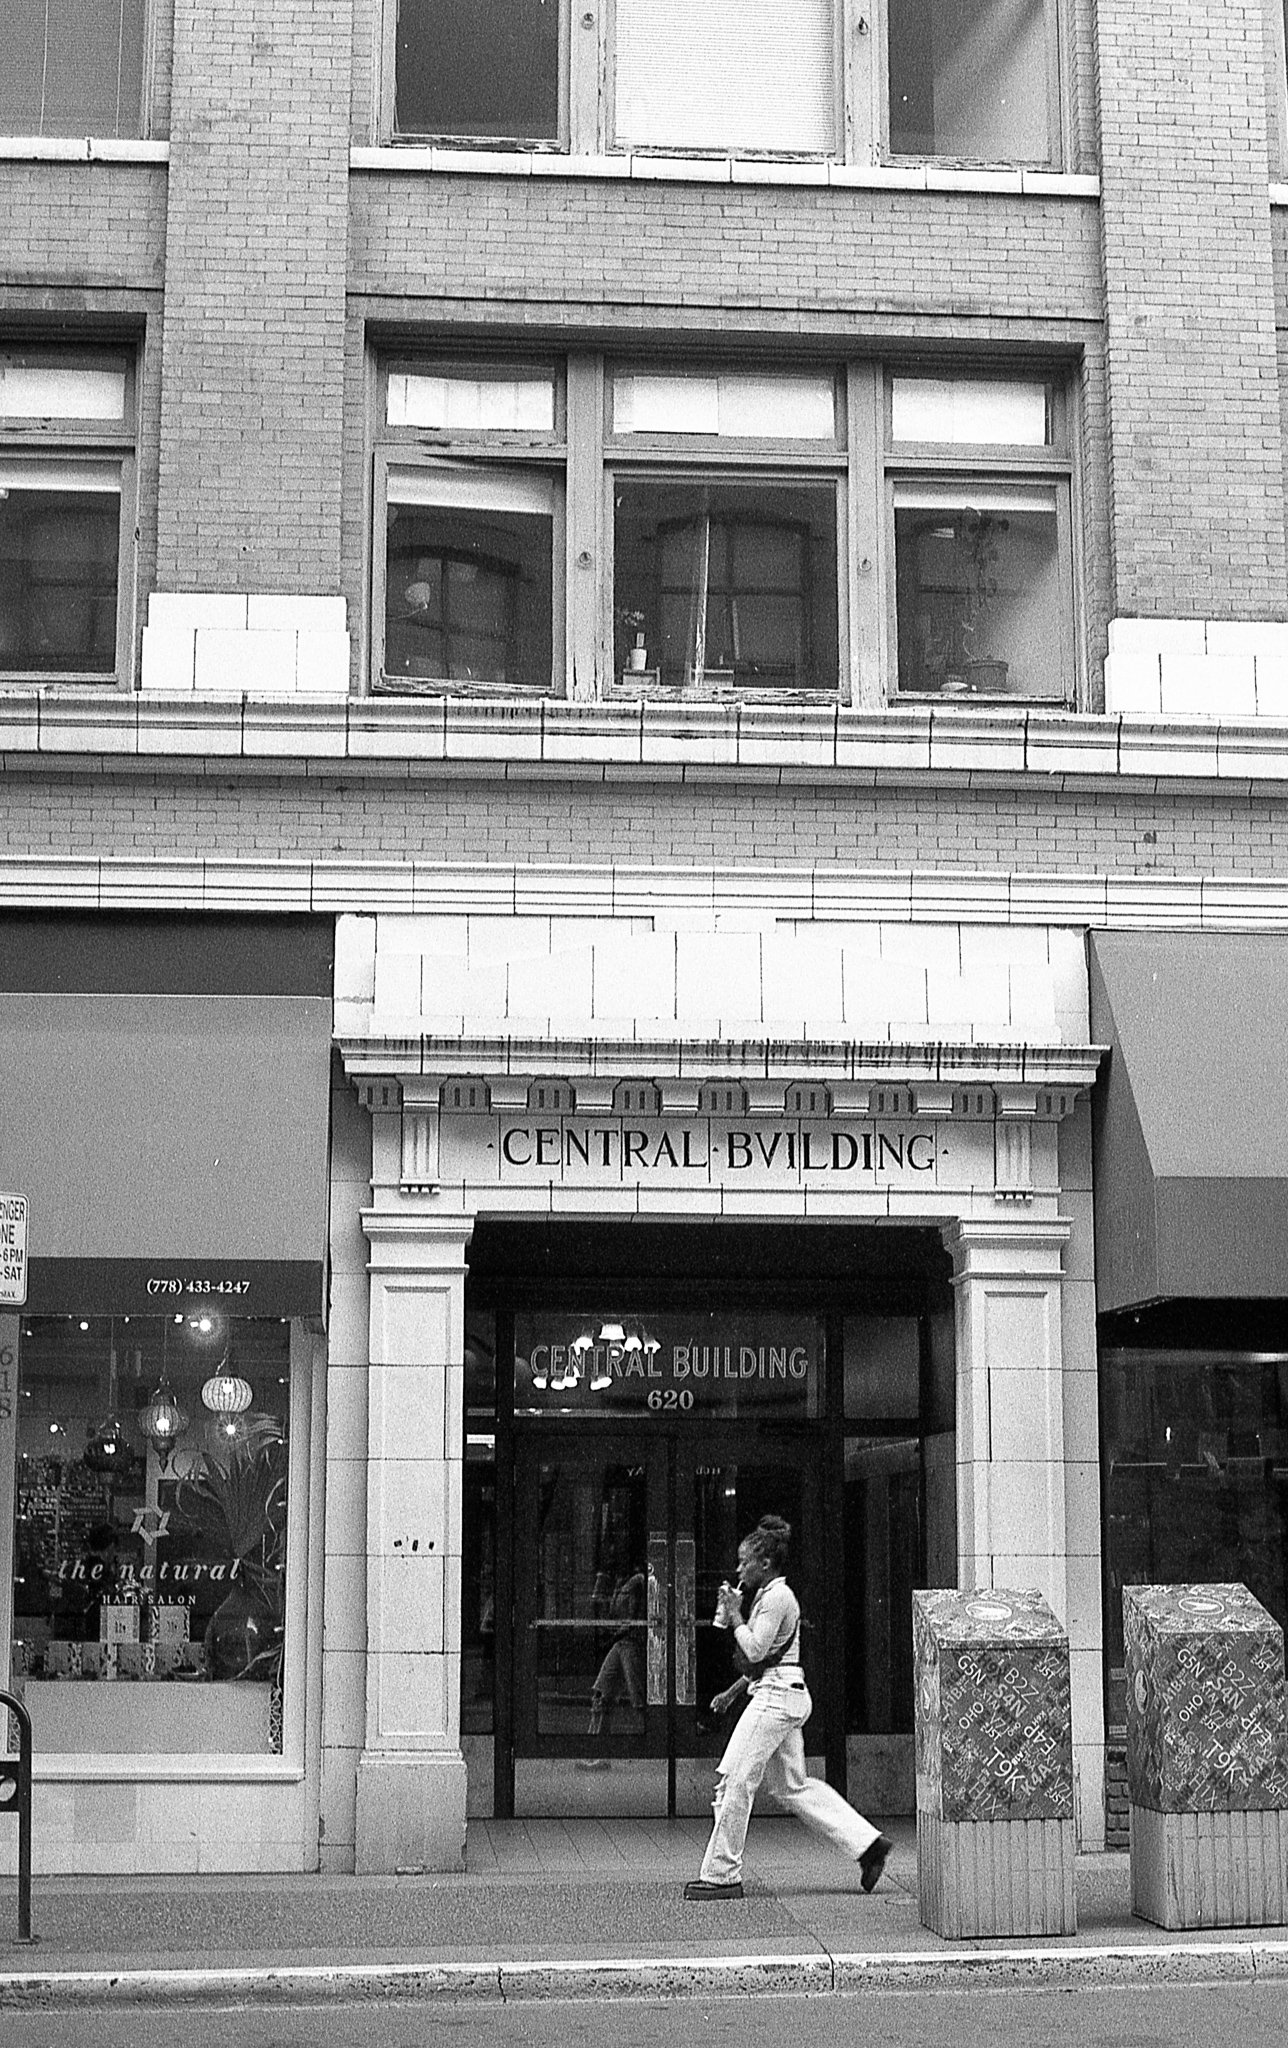
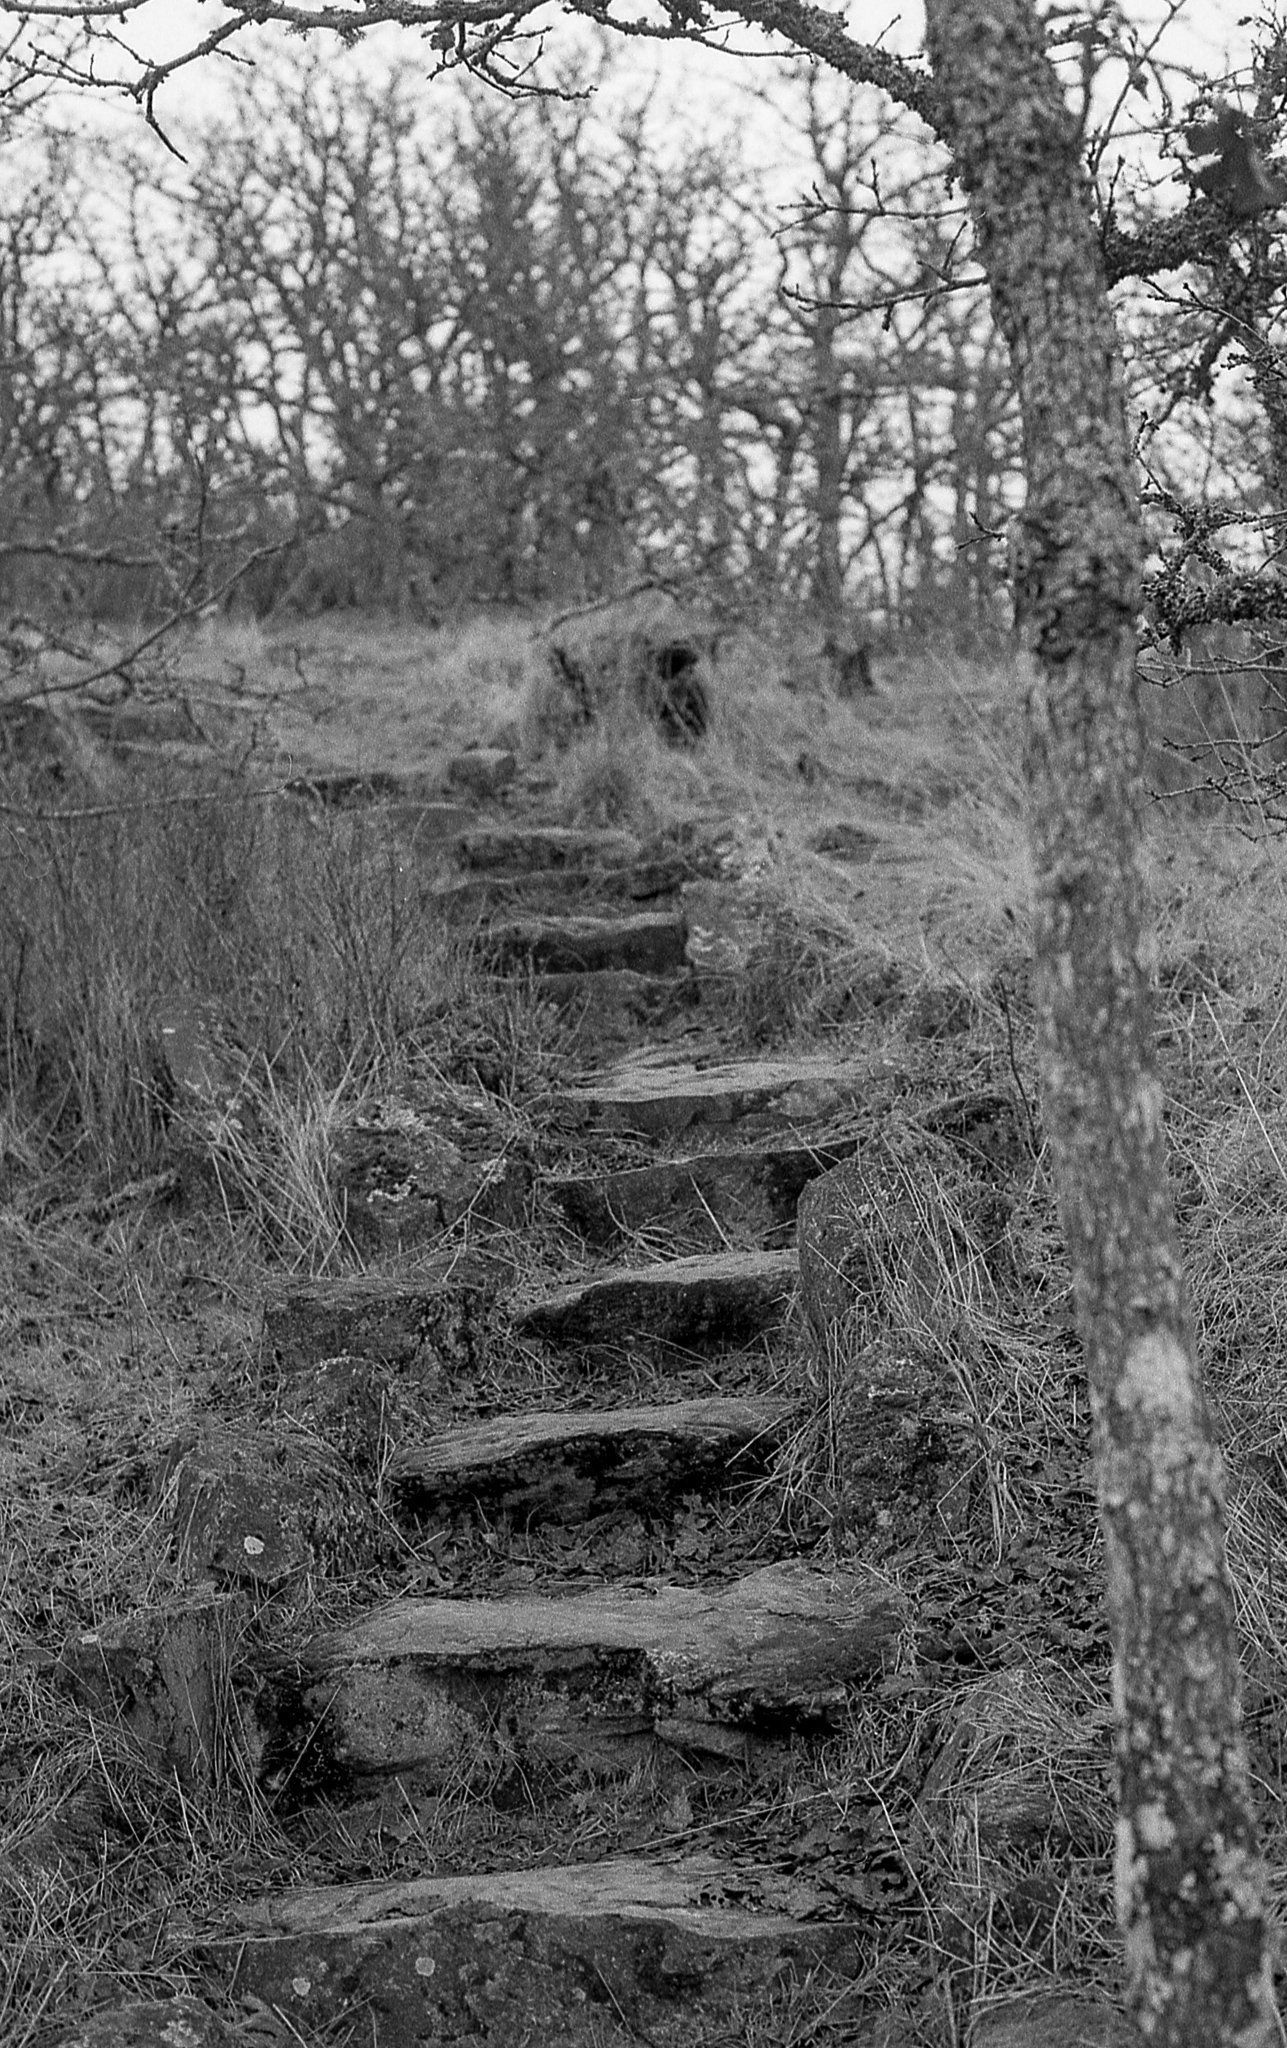
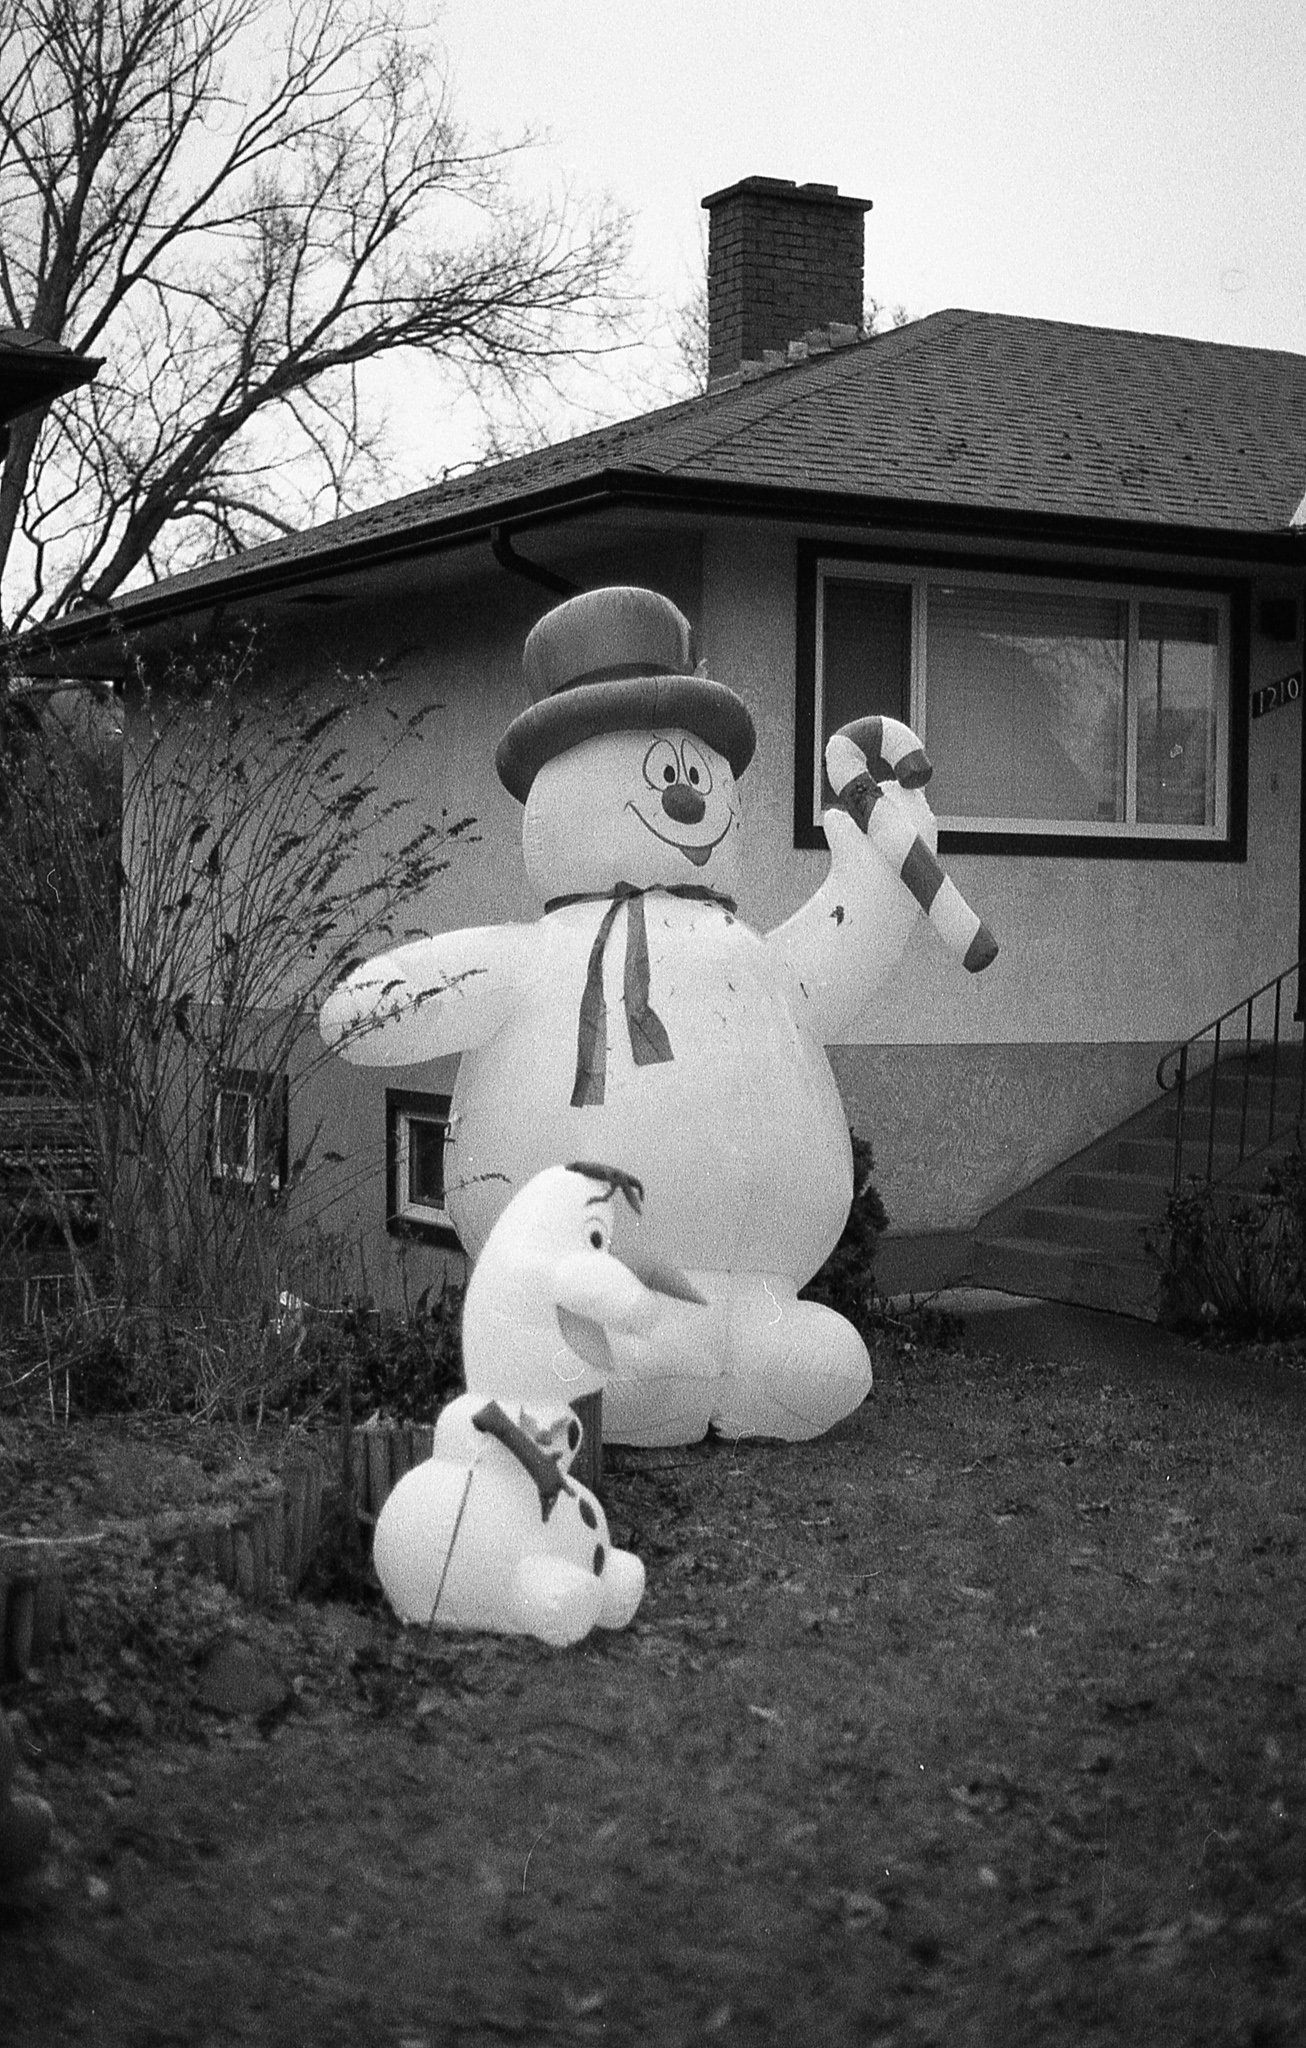
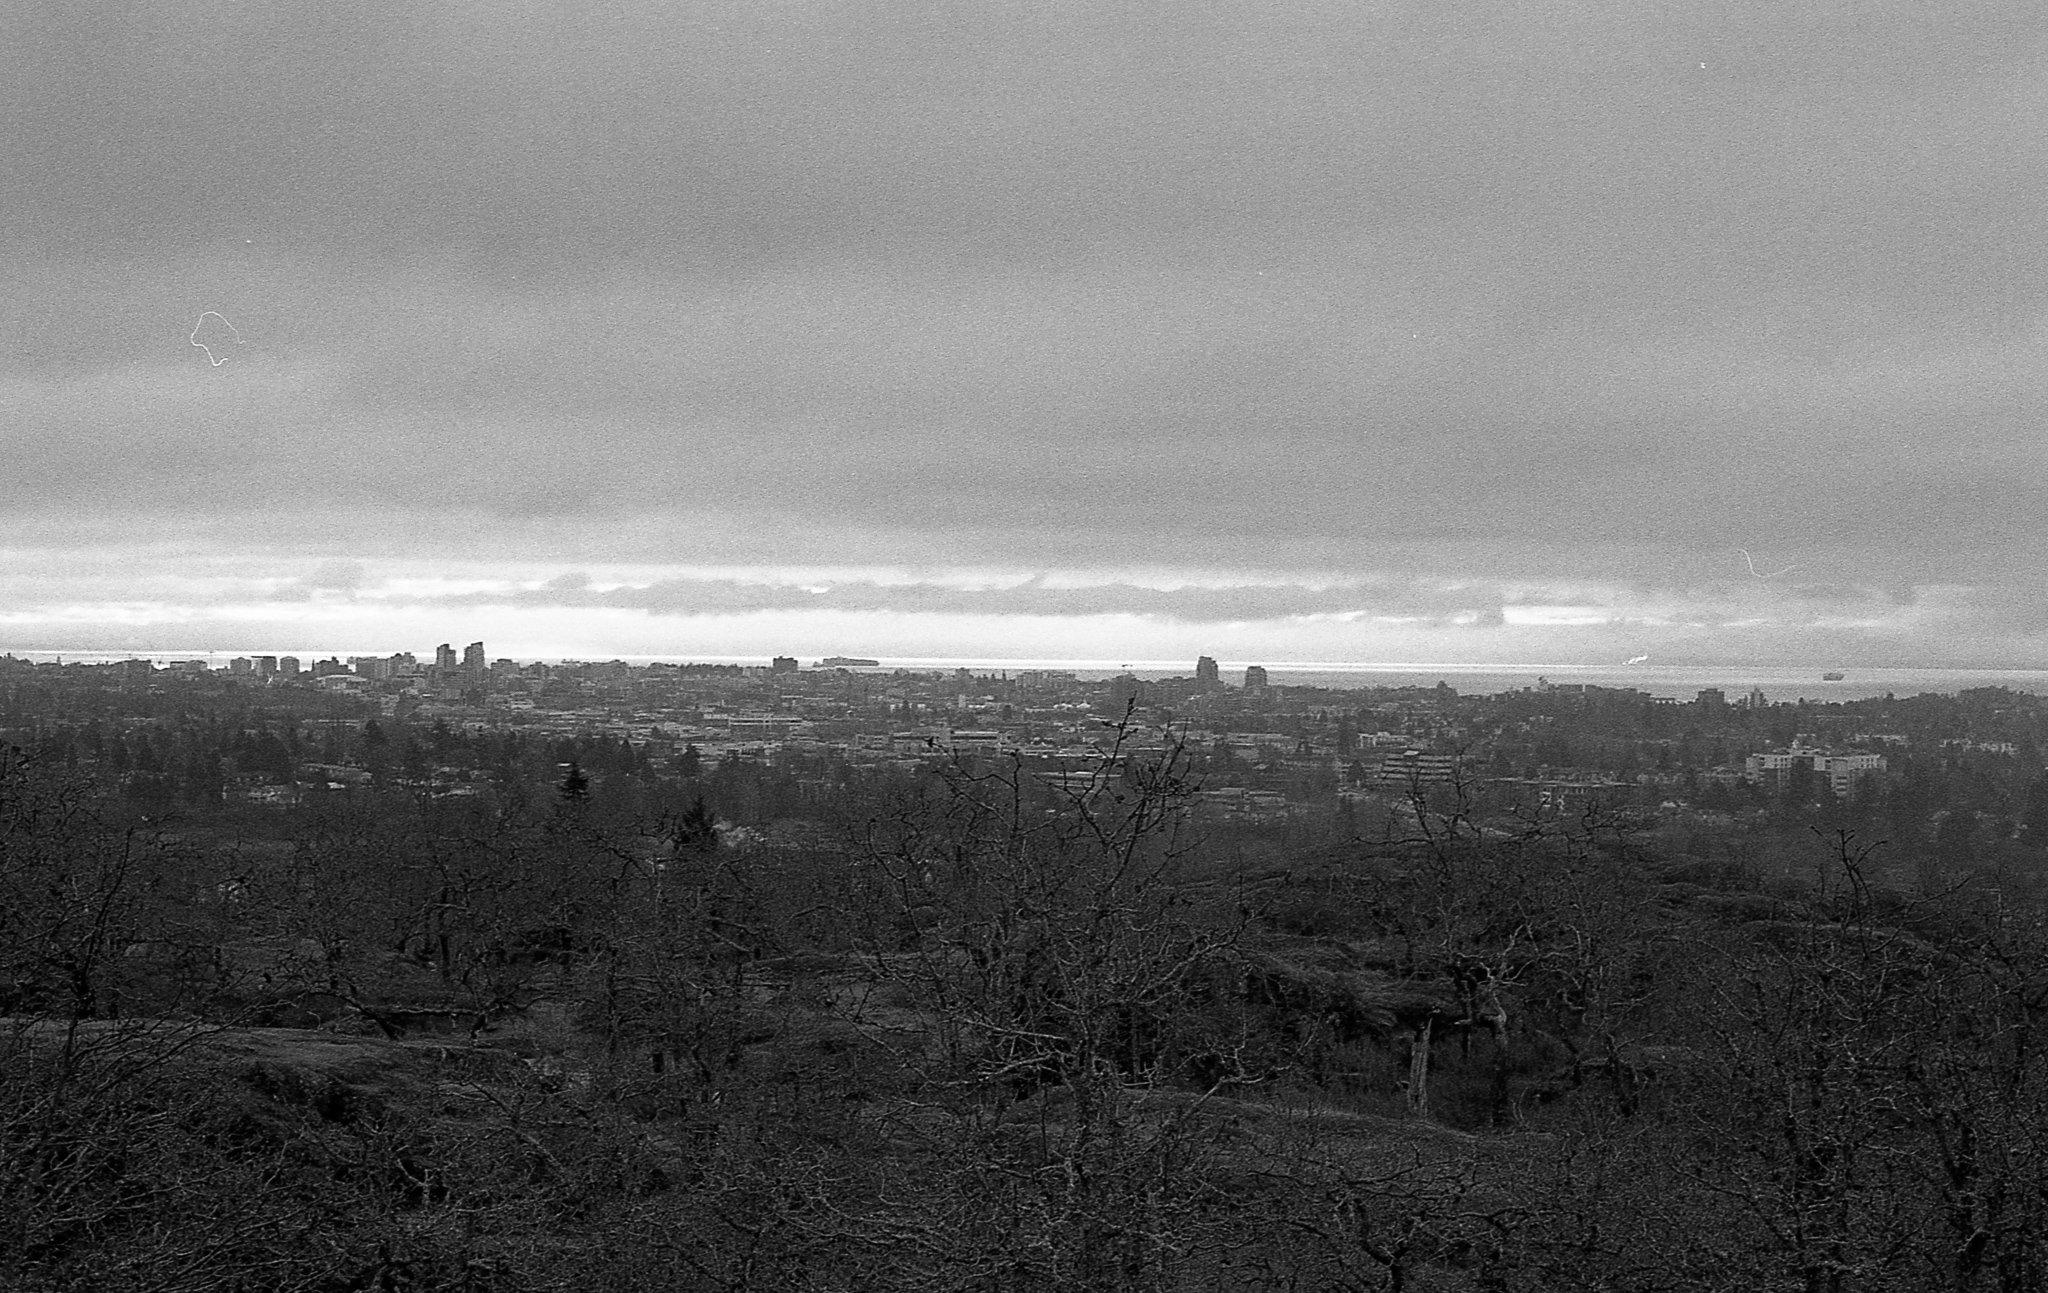
After all of that I took the film out for my first look at it and I saw images!! I can’t tell you how exciting that moment was. I shook off the extra water and hung the strip to dry over the bathtub. As the strip stretched out I could see some clear definition and contrast in the negatives. I felt like it had been a success. I let them dry and then the next day had them scanned. The results with a few personal shots removed are here for you to have a look at.
Is it as easy as dropping them off at Prism? No. Is it better than running all the way out to Kerrisdale Cameras or spending $30 at London Drugs? Definitely. And I will say it was pretty fun. I am looking forward to trying some more types of developing in the future too and seeing what I can achieve in developing my own film that I had been limited by in the past with having someone else do it. I would love to try and do it in a proper darkroom but I am not aware of any that you can use in Victoria. If you know of one, please let me know!

